St Patrick’s Day Cookies
Making St Patrick’s Day Cookies is always such a joyous occasion for me, especially during the vibrant season of spring! As the scent of fresh blooms fills the air, it’s the perfect time to whip up these delightful treats that bring a splash of color and a hint of whimsy to any gathering. I remember the very first time I baked these cookies; it was a chilly afternoon, and I wanted to create something festive for my friends. As the cookies baked, the entire house filled with a warm, sweet aroma, and I knew I had created something special. These cookies not only taste amazing, but they also bring smiles and laughter to every occasion.
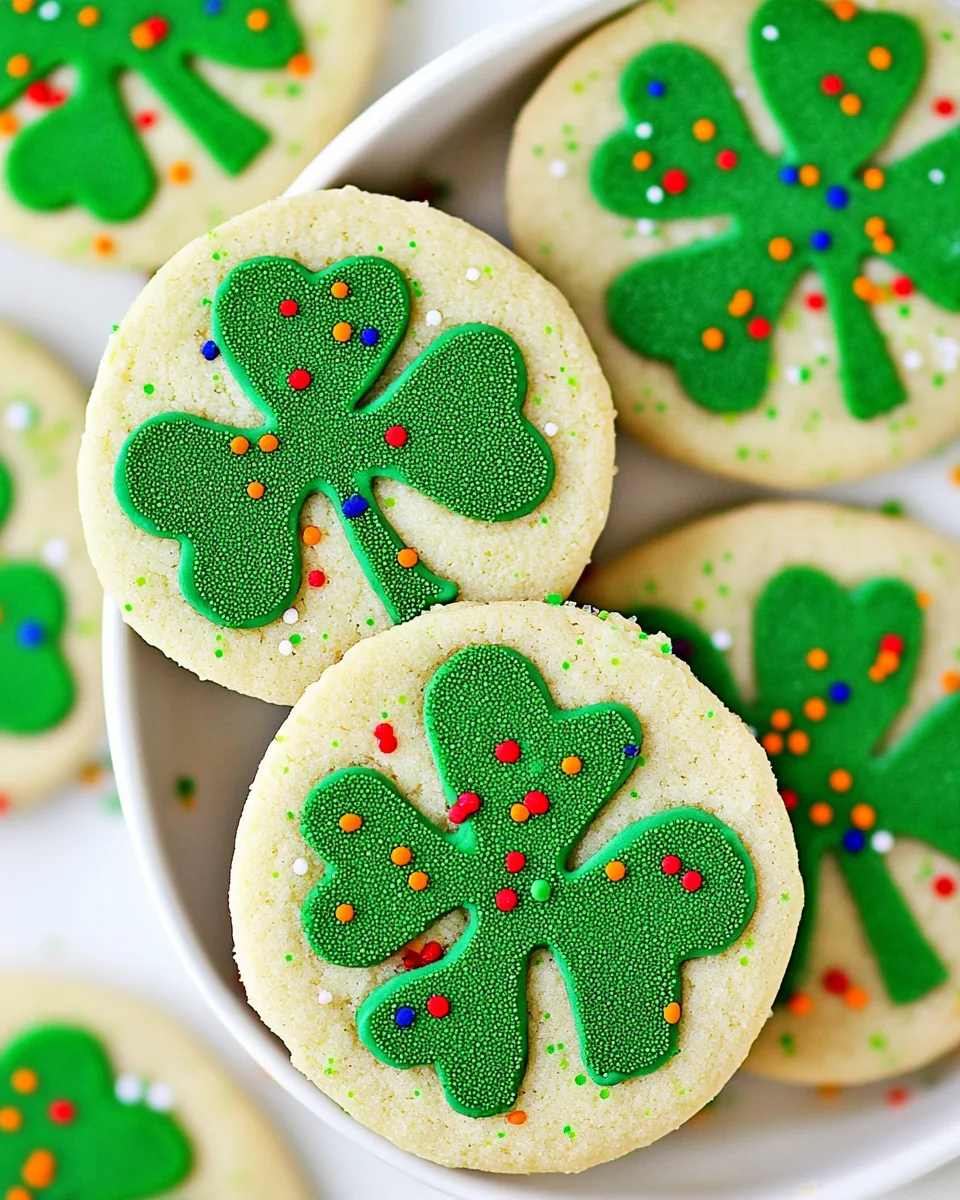
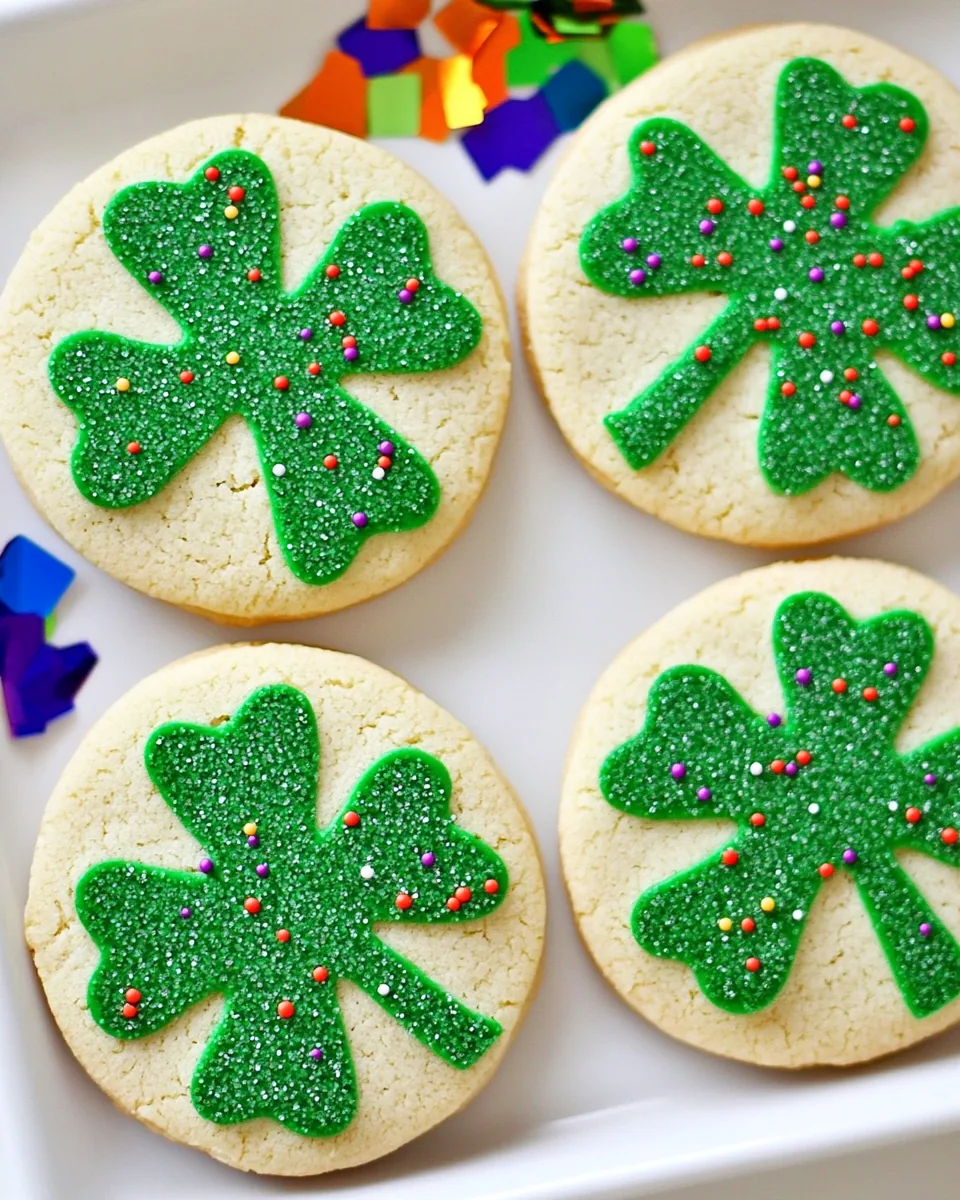
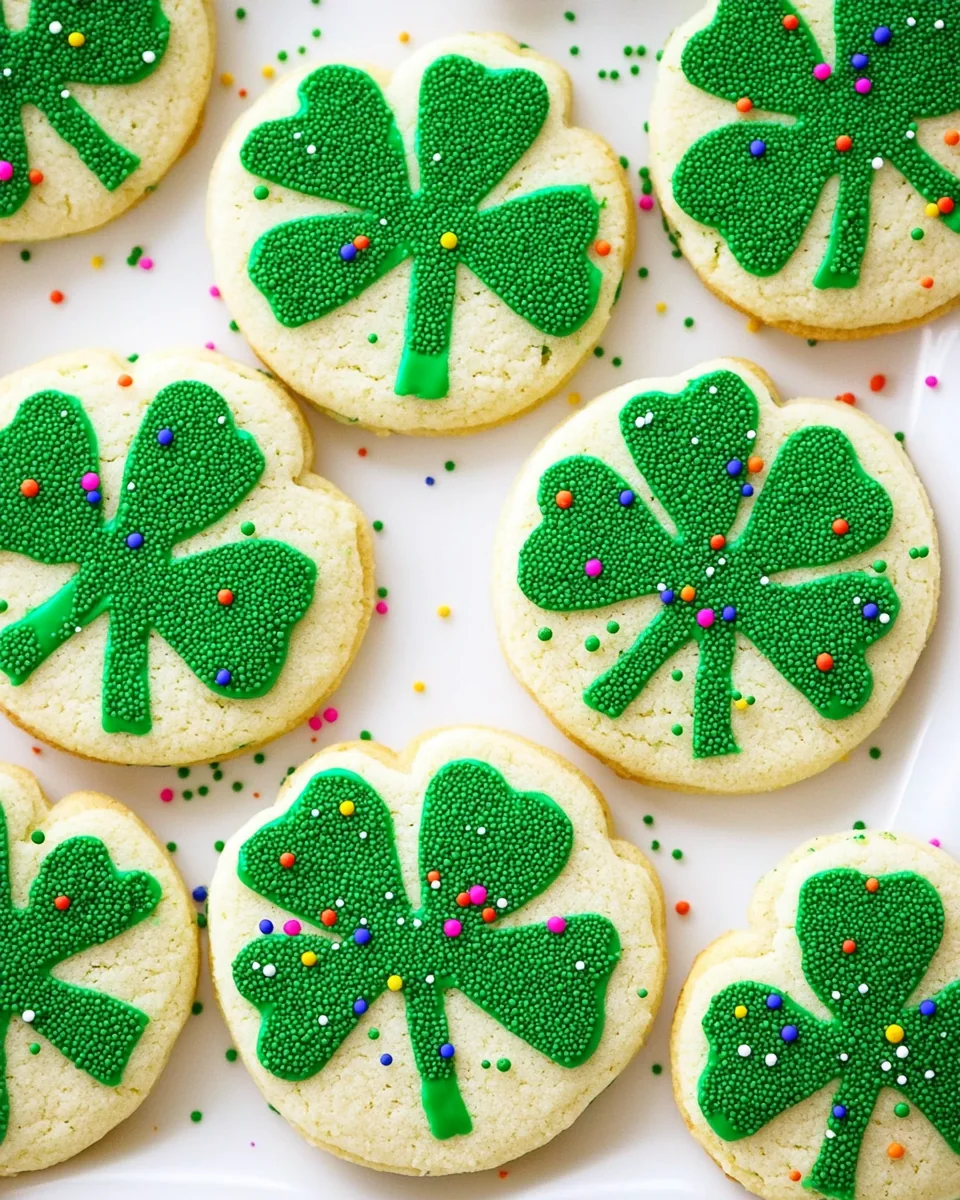
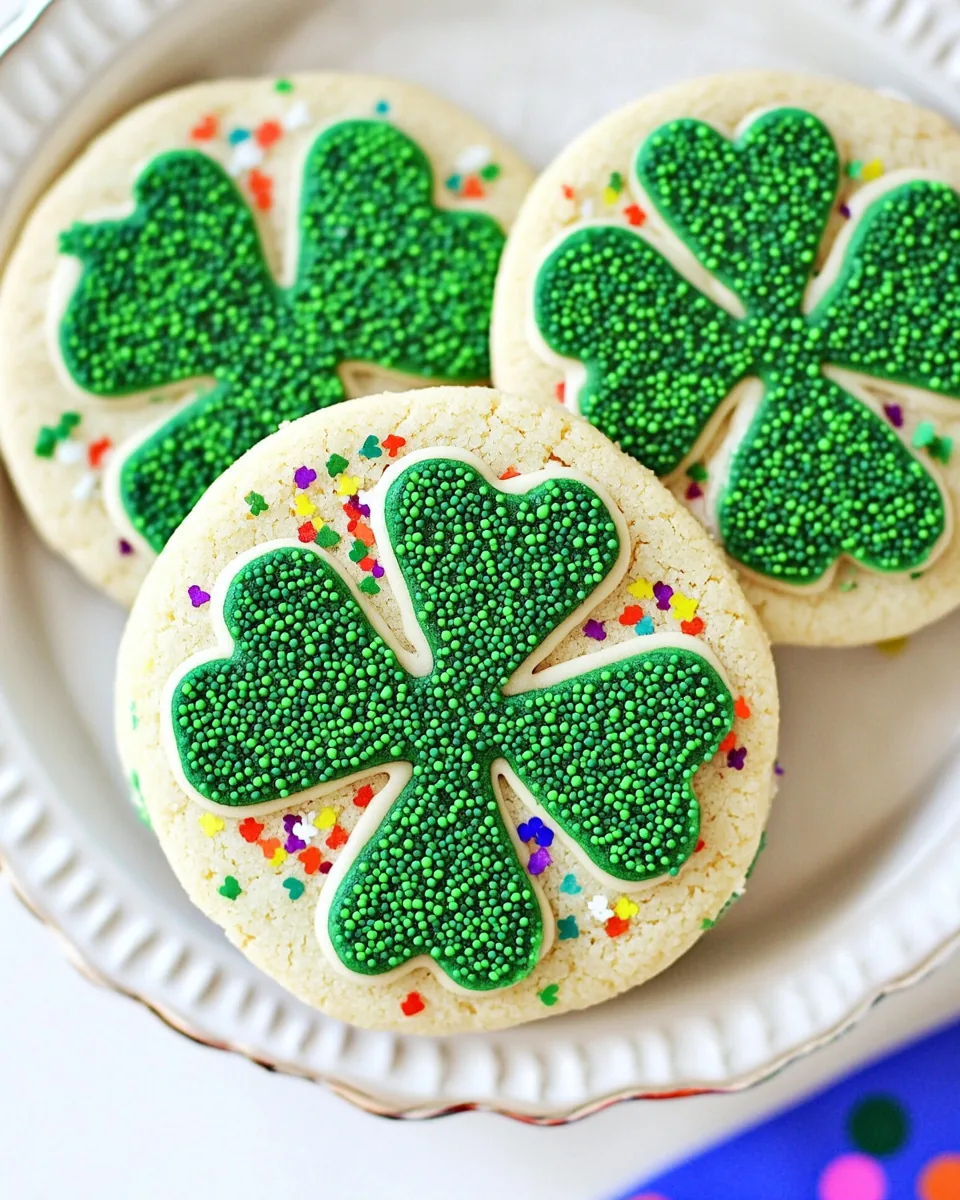
With their cheerful green hue and delightful sprinkle coating, St Patrick’s Day Cookies are perfect for celebrations, whether you’re having a small family gathering or a larger party. Each bite is a reminder that spring is in the air, and with each cookie shaped like a clover, I can’t help but feel lucky! So gather your loved ones and let’s create some edible art that will be the highlight of your St. Patrick’s Day festivities. Trust me, they won’t last long on the plate!
Recipe Snapshot
20 mins
10 mins
10 mins
Hard
105 kcal
1 g
Paleo, Whole30, Vegan
5 g
Oven, Mixing Bowl, Baking Sheet, Chef’s Knife, Frying Pan, Whisk
The Appeal of This St Patrick’s Day Cookies
1. A Festive Must-Have
When it comes to celebrating St. Patrick’s Day, you can’t go wrong with these St Patrick’s Day Cookies. They’re not just treats; they’re a festive tradition that brings everyone together. I love how they can become a part of your family’s yearly celebrations, creating memories that are passed down. The green color really stands out and gets everyone in the spirit of the holiday!
2. Simple Yet Impressive
One of the best things about these cookies is how easy they are to make. With simple ingredients and straightforward steps, you’ll be surprised at the impressive result! I often get compliments on how professional they look, but it’s all in the fun of the process. You don’t need to be a master baker to create these delicious beauties!
3. Versatile for Any Occasion
While these cookies are perfect for St. Patrick’s Day, they can easily be adapted for any celebration! Change up the food coloring or cookie shapes, and you’ve got festive cookies for birthdays, holidays, or just because. I love experimenting with different themes, and each time brings something new and exciting!
4. Great for Kids and Adults
These cookies are a hit with both kids and adults! They are fun to make, especially when kids can help with the decorating. Watching them sprinkle the rainbow nonpareils brings me so much joy. It’s a great way to spend time together and enjoy the festive spirit!
5. Perfect for Sharing
Whether you’re attending a party or hosting one, St Patrick’s Day Cookies are great for sharing. I often pack them up in colorful boxes and give them to friends and neighbors. It’s a sweet gesture that spreads joy during the holiday!
6. Deliciously Fun
The taste of these cookies is just as delightful as their appearance. The combination of butter, brown sugar, and white sugar creates a beautiful balance of sweetness, while the almond extract adds a lovely hint of flavor that makes them irresistible. Every bite is a little piece of happiness!
Ingredients You’ll Need for St Patrick’s Day Cookies
Creating St Patrick’s Day Cookies starts with some simple yet essential ingredients that work wonderfully together. The beauty of these cookies lies in the harmony of flavors and the vibrant presentation. Key players include butter, which adds richness, flour for structure, and the colorful food coloring that makes them festive!
- Butter: 3/4 cup of salted butter at room temperature is crucial for achieving that rich, creamy texture that makes cookies melt in your mouth.
- Brown Sugar: 1/3 cup of brown sugar, packed, not only adds sweetness but also a slight caramel flavor that enhances the cookie.
- Sugar: 1/3 cup of sugar balances the flavors and ensures the cookies are sweet enough to satisfy any sweet tooth.
- Egg: 1 large egg binds the ingredients together and contributes to the cookies’ soft texture.
- Vanilla Extract: 2 teaspoons of vanilla adds a warm and inviting aroma that makes the cookies irresistible.
- Almond Extract: 1/2 teaspoon of almond extract offers a delightful twist to the flavor profile.
- Flour: 2 cups of all-purpose flour give structure to the cookies, ensuring they hold their shape perfectly.
- Kosher Sea Salt: 1/4 teaspoon of kosher sea salt balances the sweetness and enhances the overall flavor.
- Green Gel Food Coloring: 1/4 teaspoon of green gel food coloring transforms the cookie dough into a festive treat.
- Egg White: 1 egg white is brushed on top of the cookies to help the sprinkles stick.
- Water: 1 tablespoon of water is combined with the egg white for a smooth brushing consistency.
- Rainbow Nonpareil Sprinkles: 1/4 cup of rainbow nonpareil sprinkles adds a colorful and fun touch to these delightful cookies.
Step by Step Guide for St Patrick’s Day Cookies
Making St Patrick’s Day Cookies is a fun and rewarding process! Let’s walk through the steps together so you can see just how easy it is to create these delightful treats. Gather your ingredients and let’s get baking!
- In the bowl of a stand mixer or a large mixing bowl with a hand mixer, beat butter and both types of sugar together for 2 to 3 minutes until the mixture is light and fluffy. Look for a pale, creamy texture that tells you the sugars are well incorporated. This is the foundation of your cookie dough.
- Add in the egg, vanilla extract, and almond extract. Mix until everything is combined smoothly. The mixture should be slightly thickened and glossy, which means it’s ready for the dry ingredients.
- Gradually add in the flour and kosher sea salt. Mix until a soft dough forms. You want to be careful not to overmix; just incorporate it until you can no longer see any dry flour in the bowl.
- Divide the dough into two equal balls. Wrap one ball in plastic wrap and set it aside. This will be your plain dough. Take the second ball, and add the green gel food coloring to it. Fold it in until it’s a vibrant, uniform color.
- Flatten the green dough into a 1-inch thick disk. Wrap this disk in plastic wrap and place both dough balls in the refrigerator. Chill for about 3 hours so they firm up nicely.
- Once chilled, remove the green dough from the fridge. Using a clover-shaped cookie cutter, cut out as many clovers as possible from the dough. You can re-roll the scraps to make more shapes!
- In a small bowl, whisk together the egg white and water. Brush this mixture over the tops of each clover cookie to help the sprinkles stick.
- Stack the clovers into a tall tower. Try to line them up as evenly as possible for a neat appearance. Lay the tower flat on a piece of plastic wrap and freeze for 30 minutes to firm them back up.
- Take the second ball of plain dough and break it into several smaller pieces. Roll these pieces into ropes. Once the clover log is ready, remove it from the freezer and encase each clover with the long ropes of dough.
- Press tightly to ensure they’re sealed well. Roll the entire log on a lightly floured surface until it’s smooth. Brush the outside with the egg wash and roll it in the rainbow nonpareil sprinkles to coat.
- Return the log to the freezer for another 30 minutes to harden before slicing.
- Preheat your oven to 375 degrees Fahrenheit. Line a baking sheet with parchment paper or a silicone mat.
- Slice the log into 1/4-inch thick slices. Place about 12 slices on the baking sheet at a time, leaving space in between for spreading.
- Bake for 10 to 12 minutes or until the edges are lightly golden. Once removed from the oven, let them cool on the sheet for 3 minutes before transferring to a wire rack to cool completely.
Things Worth Knowing
- Chilling is Essential: Chilling the dough not only helps it firm up but also prevents the cookies from spreading too much in the oven, making for a better shape.
- Use Quality Ingredients: Using high-quality butter and vanilla can elevate the flavor of your cookies significantly.
- Experiment with Shapes: Trying different cookie cutter shapes can add even more fun, especially if you’re celebrating other holidays!
- Oven Temperature Matters: Make sure your oven is fully preheated before baking for even cooking and optimal texture.
Tips and Tricks about St Patrick’s Day Cookies
Making St Patrick’s Day Cookies is a great experience, especially with a few handy tips! Here’s a collection of useful advice to ensure your cookies turn out perfect every time.
- Storage: Store leftover cookies in an airtight container at room temperature for up to a week. This helps maintain their freshness and flavor.
- Freezing: You can freeze the logs of dough for up to 3 months. Wrap them in plastic wrap, place in a Ziploc bag, and add baking instructions directly on the bag.
- Pairing: These cookies pair wonderfully with a cup of tea or a glass of milk, making them perfect for afternoon snacks or dessert.
- Decorate Creatively: Feel free to switch out the sprinkles for themed decorations, like holiday-themed candies or colored sugars for different celebrations.
- Flavor Variations: You can try different extracts, like coconut or lemon, to give the cookies a unique twist that complements the occasion.
- Watch the Baking Time: Every oven is different, so keep an eye on your cookies. They should be lightly golden on the edges but soft in the center for the best texture.
Serve This St Patrick’s Day Cookies With
When it comes to serving your St Patrick’s Day Cookies, the options are delightful and varied! Here are some great ideas to consider:
- Festive Drinks: Pair these cookies with green tea or mint-flavored beverages to match the holiday theme.
- Sweet Treat Table: Include them on a dessert table with other St. Patrick’s Day goodies for a colorful display that everyone will love!
- Kids’ Parties: These cookies are perfect for children’s parties or school celebrations, adding a fun and festive vibe.
- Spring Gatherings: Serve them during springtime gatherings in parks or at picnics, where they can be a sweet treat to share.
- Gift Wrapping: Wrap them in clear cellophane bags tied with green ribbons for thoughtful gifts for friends and family.
- Dessert Buffets: Consider including these cookies as part of a dessert buffet for larger gatherings or events.
FAQ
Conclusion
These delicious St Patrick’s Day Cookies truly stand out with their vibrant colors and delightful flavors. They bring joy not only during the festive season but also create lasting memories in our kitchens. I encourage you to try this recipe and share the fun with your loved ones. Nothing beats the happiness that comes from baking together and enjoying each sweet bite!
St Patrick's Day Cookies
Ingredients
Equipment
Method
- In the bowl of a stand mixer or a large mixing bowl with a hand mixer, beat butter and both types of sugar together for 2 to 3 minutes until light and fluffy.
- Add in the egg, vanilla extract, and almond extract. Mix until everything is combined smoothly.
- Gradually add in the flour and kosher sea salt. Mix until a soft dough forms.
- Divide the dough into two equal balls. Wrap one ball in plastic wrap and set it aside.
- Take the second ball, and add the green gel food coloring to it. Fold it in until it’s a vibrant, uniform color.
- Flatten the green dough into a 1-inch thick disk. Wrap this disk in plastic wrap and place both dough balls in the refrigerator. Chill for about 3 hours.
- Once chilled, remove the green dough from the fridge. Using a clover-shaped cookie cutter, cut out as many clovers as possible from the dough.
- In a small bowl, whisk together the egg white and water. Brush this mixture over the tops of each clover cookie to help the sprinkles stick.
- Stack the clovers into a tall tower. Try to line them up as evenly as possible.
- Lay the tower flat on a piece of plastic wrap and freeze for 30 minutes to firm them back up.
- Take the second ball of plain dough and break it into several smaller pieces. Roll these pieces into ropes.
- Once the clover log is ready, remove it from the freezer and encase each clover with the long ropes of dough.
- Press tightly to ensure they’re sealed well. Roll the entire log on a lightly floured surface until it’s smooth.
- Brush the outside with the egg wash and roll it in the rainbow nonpareil sprinkles to coat.
- Return the log to the freezer for another 30 minutes to harden before slicing.
- Preheat your oven to 375 degrees Fahrenheit. Line a baking sheet with parchment paper or a silicone mat.
- Slice the log into 1/4-inch thick slices. Place about 12 slices on the baking sheet at a time, leaving space in between for spreading.
- Bake for 10 to 12 minutes or until the edges are lightly golden. Once removed from the oven, let them cool on the sheet for 3 minutes before transferring to a wire rack to cool completely.
Notes
- Tip: You can freeze the logs of dough for up to 3 months. Wrap them in plastic wrap and then place into a ziploc bag.
- Tip: You can switch out the inside shape/food coloring to fit any holiday or special occasion.