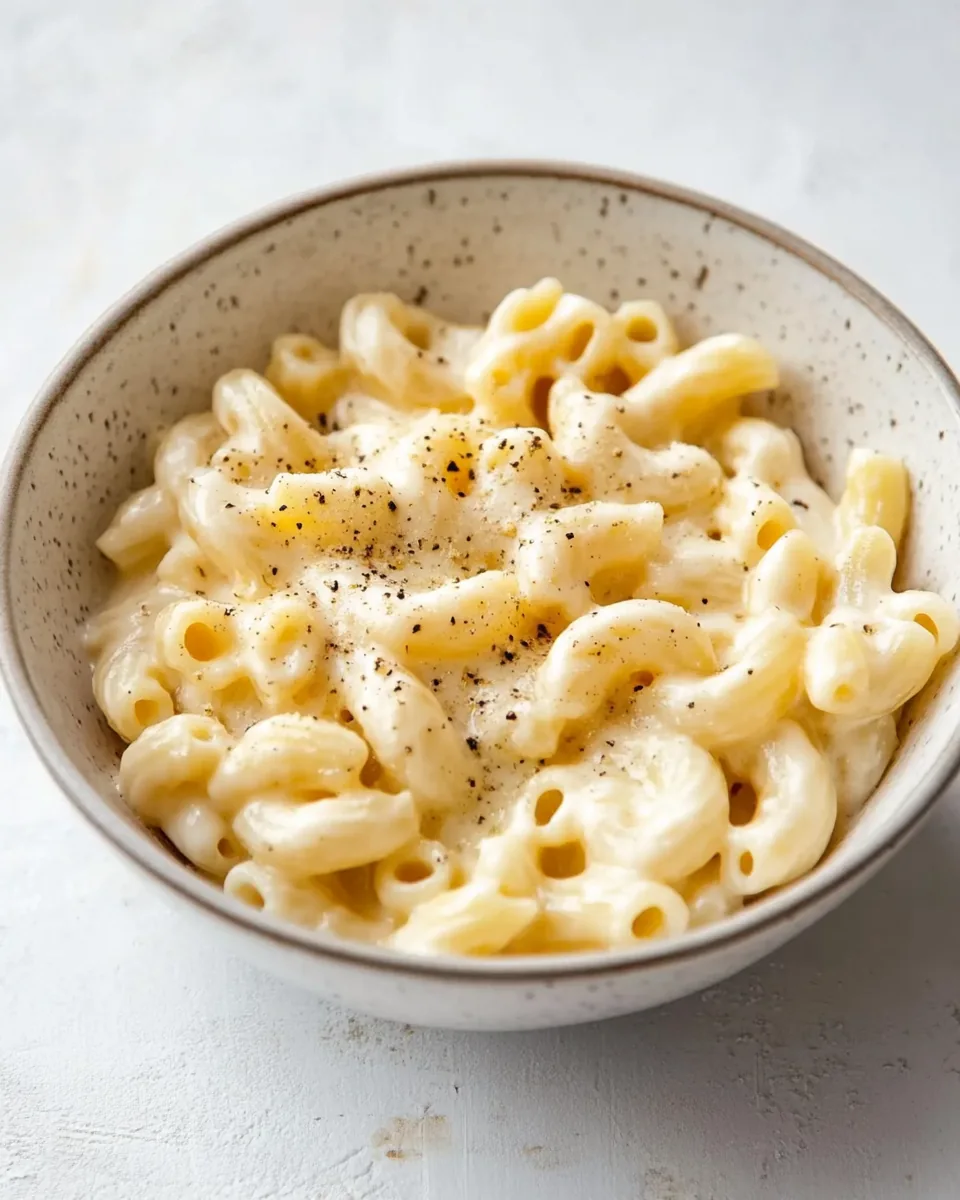
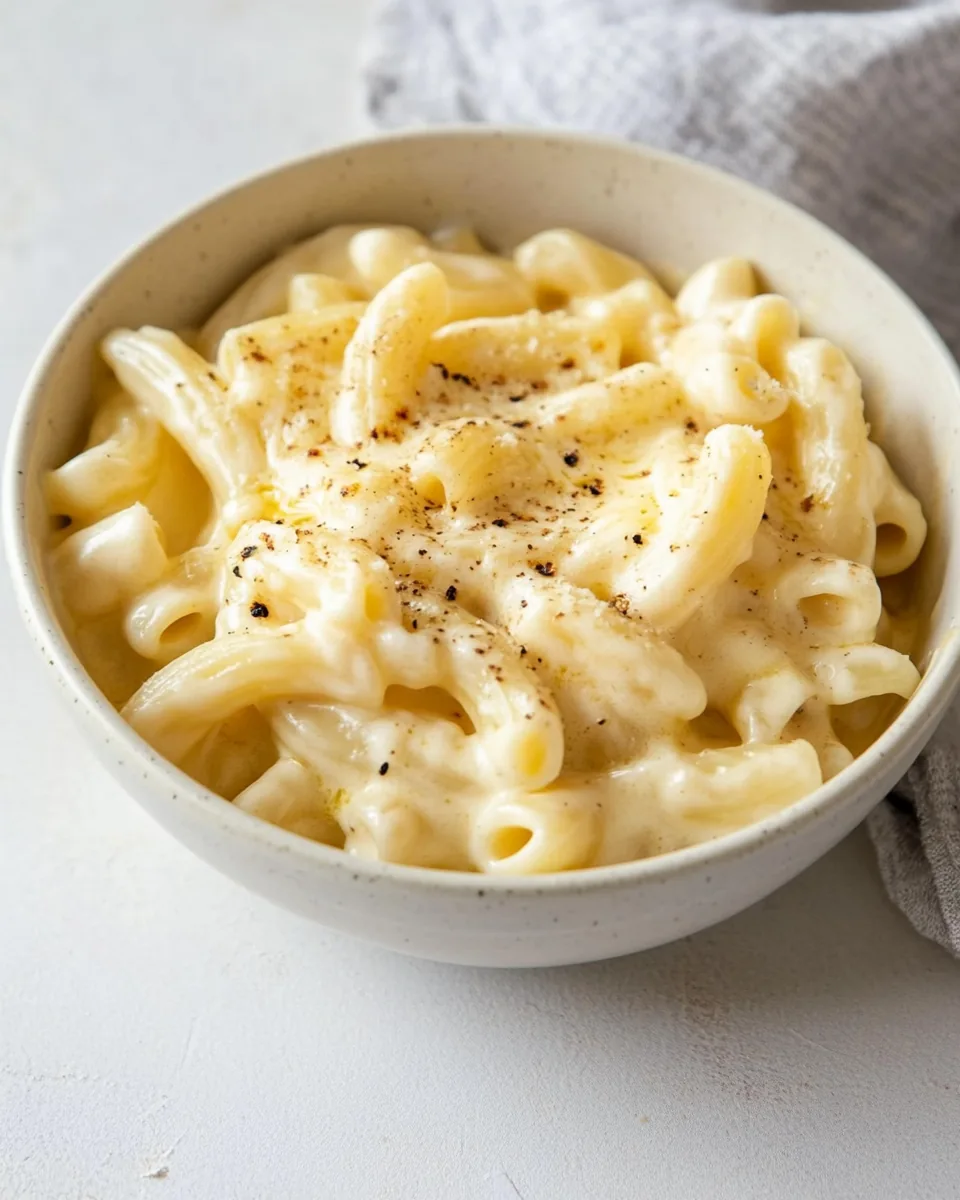
Stove Top Mac and Cheese
There’s something undeniably special about a warm bowl of Stove Top Mac and Cheese that takes me back to my childhood. I remember coming home from school, the smell of melted cheese wafting through the air, instantly lifting my spirits after a long day. This dish isn’t just comfort food; it’s a hug in a bowl. Whether it’s a rainy day or a cozy family gathering, Stove Top Mac and Cheese is always welcome on our table. It’s quick to whip up, making it perfect for busy weeknights or spontaneous gatherings with friends. I love how customizable it is; you can add your favorite veggies or even spices for a little kick. And let’s not forget the creamy, cheesy goodness that keeps us coming back for more. If you’ve never experienced the joy of homemade mac and cheese, now is the time to dive in!
Recipe Snapshot
20 mins
5 mins
15 mins
Medium
580 kcal
20 g
Gluten-Free
30 g
Saucepan, Skillet, Large Pot, Grater, Mixing Bowl, Chef’s Knife, Food Processor, Wooden Spoon, Whisk
What’s Great About This Stove Top Mac and Cheese
Comfort Food at Its Finest
One of the best things about Stove Top Mac and Cheese is the nostalgia it evokes. Growing up, it was a staple in my house, and I cherish those memories of my family gathered around the table, sharing stories and laughter over a comforting dish. The creamy texture, paired with the delightful cheese flavor, makes it an unforgettable experience.
Quick and Easy to Make
If you’re short on time but want a satisfying meal, this dish is a lifesaver. It can be prepared in under thirty minutes, making it perfect for those hectic nights. Just boil some pasta, melt the cheese, and voilà! Dinner is served. No complicated techniques or lengthy cooking times required.
Versatile for Any Occasion
What’s fantastic about Stove Top Mac and Cheese is its versatility. You can serve it as a main dish or a side, and it pairs well with everything from grilled chicken to fresh salads. Feel free to add in different vegetables or proteins to make it your own. The possibilities are endless!
Great for Gatherings
This dish is always a hit when I have friends over. It’s a crowd-pleaser that never fails to impress. You can easily scale the recipe up or down depending on your needs, which is perfect for potlucks or family gatherings.
Customizable Flavors
Don’t be afraid to get creative! You can add spices, herbs, or even different types of cheese to make the flavor pop. Try incorporating some smoked paprika or a hint of garlic for an extra depth of flavor. The base recipe is just the beginning; let your culinary imagination run wild!
Recipe Ingredients for Stove Top Mac and Cheese

The ingredients for Stove Top Mac and Cheese are simple yet essential. They come together to create a creamy, cheesy delight that warms your heart. The key players in this dish are the pasta, cheese, and milk, all of which create that iconic texture and flavor we love. Let’s dive into what you’ll need:
- 1 pound pasta of choice (ziti, elbow, rigatoni or penne work great)
- 3 tablespoons unsalted butter
- 3 tablespoons all-purpose flour
- 3 cups whole milk
- 3 cups cheddar cheese, grated
- 1 cup spring vegetable of choice: fresh or frozen peas, cauliflower florets, sautéed leeks or chopped asparagus.
Directions for Stove Top Mac and Cheese
Making Stove Top Mac and Cheese is a breeze! Follow these steps, and you’ll have a deliciously creamy dish ready in no time. Let’s get started with the directions:
- Begin by bringing a large pot of water to a boil. Once boiling, add 2 tablespoons of salt. This helps to flavor the pasta as it cooks. Add your choice of pasta and cook according to the package directions until it reaches an al dente texture. Once done, reserve 1/2 cup of the pasta water before draining.
- In a separate large pot, melt 3 tablespoons of unsalted butter over medium heat. As the butter melts, sprinkle in 3 tablespoons of all-purpose flour. Use a whisk to combine them vigorously for about 3 minutes until the mixture turns into a paste, known as a roux.
- Next, slowly add 3 cups of whole milk to the roux, whisking constantly. Bring this mixture to a gentle boil, then reduce it to a simmer. Continue whisking for an additional 3 to 4 minutes or until the mixture thickens up nicely.
- Now comes the star ingredient! Add 3 cups of grated cheddar cheese to your thickened milk mixture. Stir it in until it melts completely, creating a rich and creamy cheese sauce.
- Once your cheese sauce is ready, it’s time to combine it with the pasta. Add the drained pasta to the cheese sauce along with any spring vegetables you’ve chosen, like peas or cauliflower. Stir everything together to ensure the pasta and veggies are coated evenly with the cheese sauce.
- If the sauce seems too thick, don’t worry! Just add a splash of the reserved pasta water to loosen it up, stirring until you reach your desired consistency.
- Give your Stove Top Mac and Cheese a final taste check. You might want to adjust with a bit more salt or even some black pepper for an extra kick. Feel free to add any additional spices or herbs at this stage to personalize it.
- Once everything is perfectly seasoned and combined, serve the mac and cheese warm in bowls. For a finishing touch, sprinkle some extra cheese or herbs on top if you like. Enjoy your comforting dish!
Things Worth Knowing
- Cooking Pasta: Make sure your pasta is cooked al dente. It will continue to cook slightly when mixed with the hot cheese sauce, so you don’t want it too soft.
- Timing is Key: Prepare the cheese sauce while your pasta is cooking to save time. This will help everything come together smoothly.
- Experiment with Cheese: While cheddar is classic, feel free to mix in other types of cheese like mozzarella or Gouda for a unique twist.
- Storing Leftovers: If you have any leftovers, store them in an airtight container in the refrigerator. They should last for about three days.
Substitutions and Tips

Every cook loves a few handy tips! Here are some great ideas to elevate your Stove Top Mac and Cheese experience:
- Storage: To store leftovers, keep them in an airtight container. They can last in the fridge for up to three days.
- Freezing: You can freeze the mac and cheese after assembling it. Just make sure it’s in a freezer-safe container. It should keep well for up to three months, but the texture may change slightly.
- Pairing: Stove Top Mac and Cheese pairs wonderfully with a fresh salad or garlic bread for a complete meal.
- Veggie Boost: Add in different vegetables like broccoli or spinach to increase the nutritional value while keeping it colorful.
- Spice It Up: Add a dash of your favorite hot sauce or some crushed red pepper flakes to give your dish an extra kick!
Serving Ideas for Stove Top Mac and Cheese
When it comes to serving Stove Top Mac and Cheese, the possibilities are endless!
- Weeknight Dinner: It’s a fantastic choice for a quick weeknight meal when time is tight.
- Comfort Food: Serve it during a cozy night in while you binge-watch your favorite shows.
- Family Gatherings: This dish can easily feed a crowd, making it perfect for family reunions or potlucks.
- Kids’ Parties: Children love mac and cheese, so consider making it for birthday parties or playdates.
- Seasonal Pairing: In the fall, serve it with roasted root vegetables for a hearty meal, or during summer with a light garden salad.
FAQ
Conclusion
The Stove Top Mac and Cheese is truly a comforting classic that evokes fond memories while delivering on flavor and satisfaction. It’s easy to whip up and can be customized to suit your taste. I encourage you to try making this delightful dish for your next meal. You won’t be disappointed; it just might become a beloved staple in your home too!
Stove Top Mac and Cheese
Ingredients
Equipment
Method
- Begin by bringing a large pot of water to a boil. Once boiling, add 2 tablespoons of salt. This helps to flavor the pasta as it cooks. Add your choice of pasta and cook according to the package directions until it reaches an al dente texture. Once done, reserve 1/2 cup of the pasta water before draining.
- In a separate large pot, melt 3 tablespoons of unsalted butter over medium heat. As the butter melts, sprinkle in 3 tablespoons of all-purpose flour. Use a whisk to combine them vigorously for about 3 minutes until the mixture turns into a paste, known as a roux.
- Next, slowly add 3 cups of whole milk to the roux, whisking constantly. Bring this mixture to a gentle boil, then reduce it to a simmer. Continue whisking for an additional 3 to 4 minutes or until the mixture thickens up nicely.
- Now comes the star ingredient! Add 3 cups of grated cheddar cheese to your thickened milk mixture. Stir it in until it melts completely, creating a rich and creamy cheese sauce.
- Once your cheese sauce is ready, it's time to combine it with the pasta. Add the drained pasta to the cheese sauce along with any spring vegetables you've chosen, like peas or cauliflower. Stir everything together to ensure the pasta and veggies are coated evenly with the cheese sauce.
- If the sauce seems too thick, don’t worry! Just add a splash of the reserved pasta water to loosen it up, stirring until you reach your desired consistency.
- Give your Stove Top Mac and Cheese a final taste check. You might want to adjust with a bit more salt or even some black pepper for an extra kick. Feel free to add any additional spices or herbs at this stage to personalize it.
- Once everything is perfectly seasoned and combined, serve the mac and cheese warm in bowls. For a finishing touch, sprinkle some extra cheese or herbs on top if you like. Enjoy your comforting dish!
Notes
- Storage: To store leftovers, keep them in an airtight container. They can last in the fridge for up to three days.
- Freezing: You can freeze the mac and cheese after assembling it. Just make sure it’s in a freezer-safe container. It should keep well for up to three months, but the texture may change slightly.
- Pairing: Stove Top Mac and Cheese pairs wonderfully with a fresh salad or garlic bread for a complete meal.
- Veggie Boost: Add in different vegetables like broccoli or spinach to increase the nutritional value while keeping it colorful.
- Spice It Up: Add a dash of your favorite hot sauce or some crushed red pepper flakes to give your dish an extra kick!