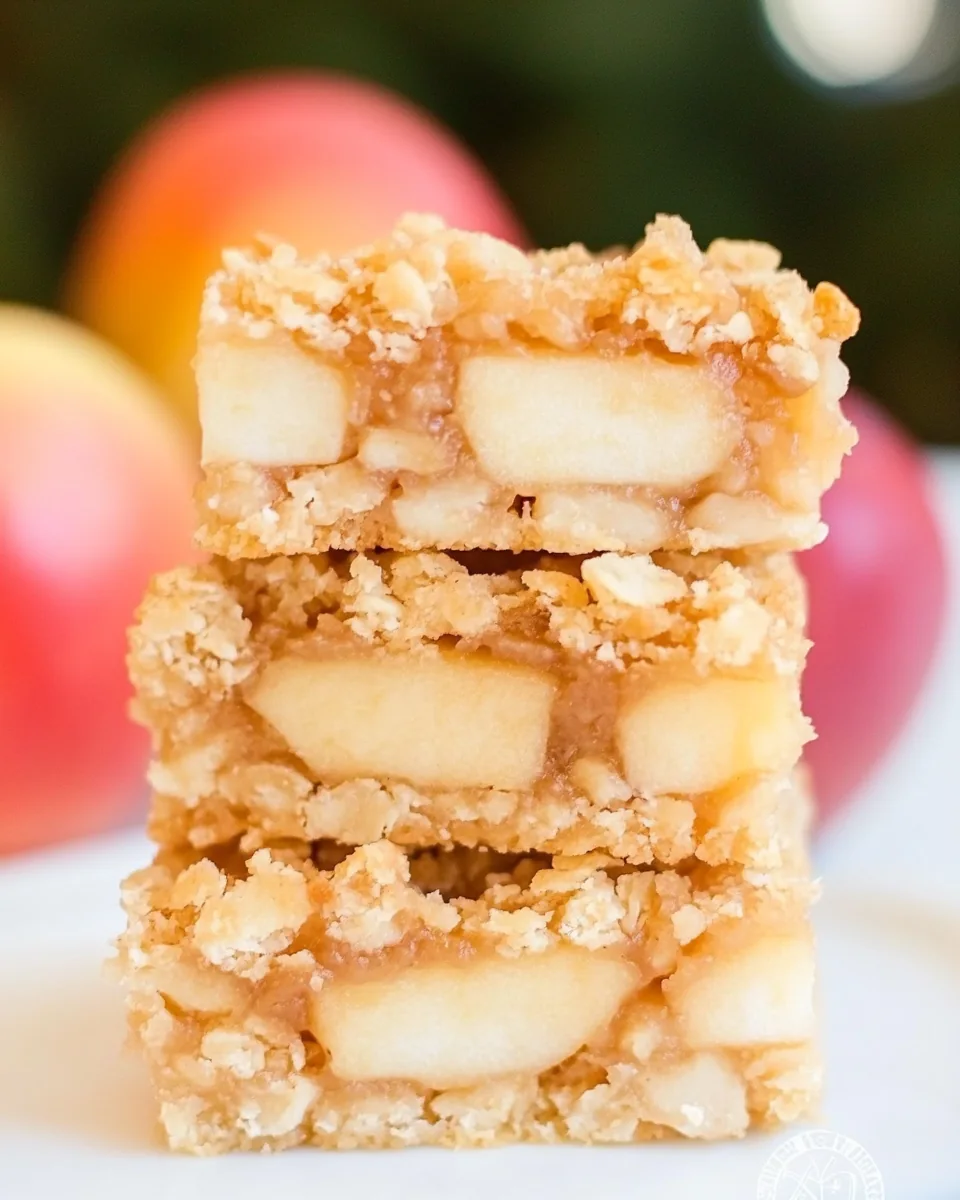
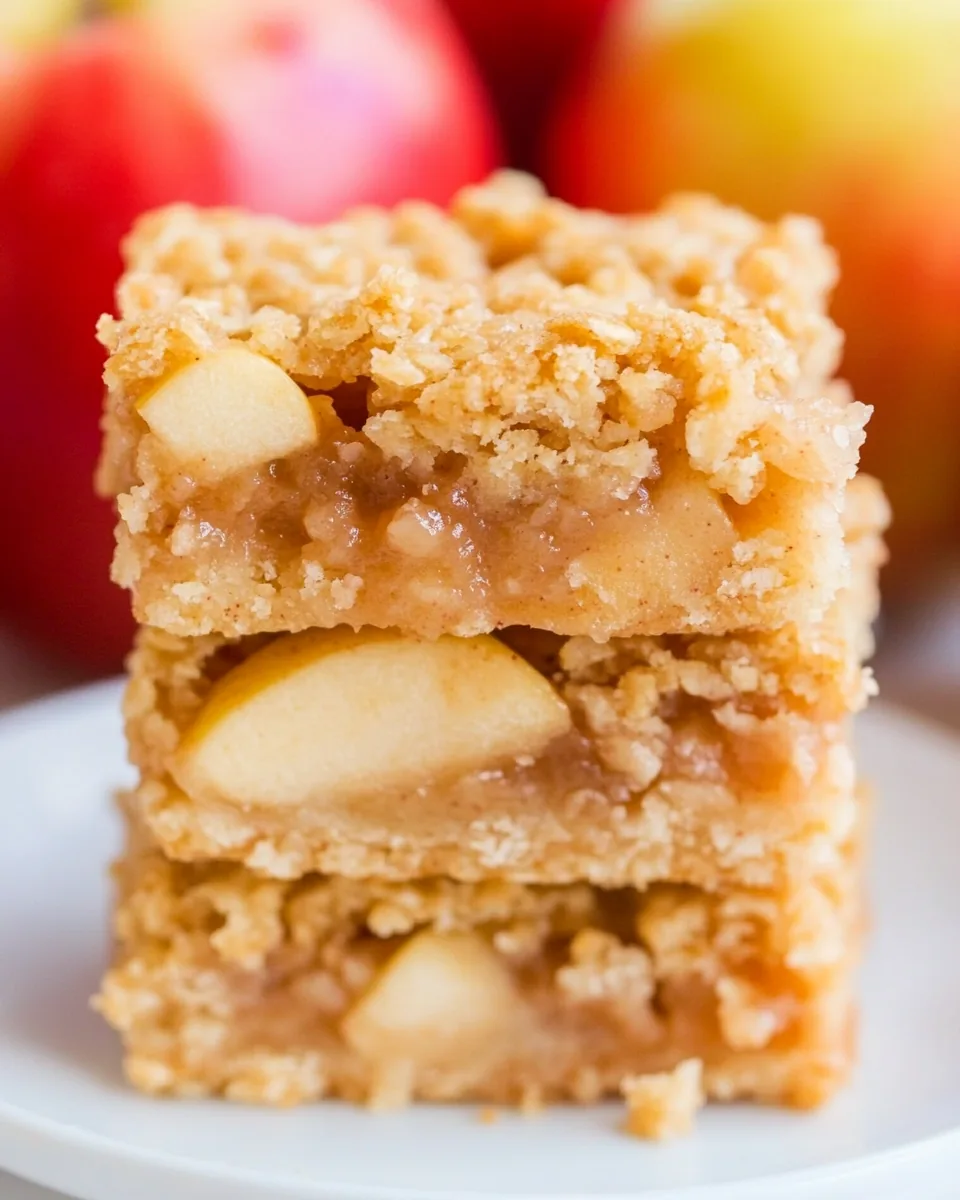
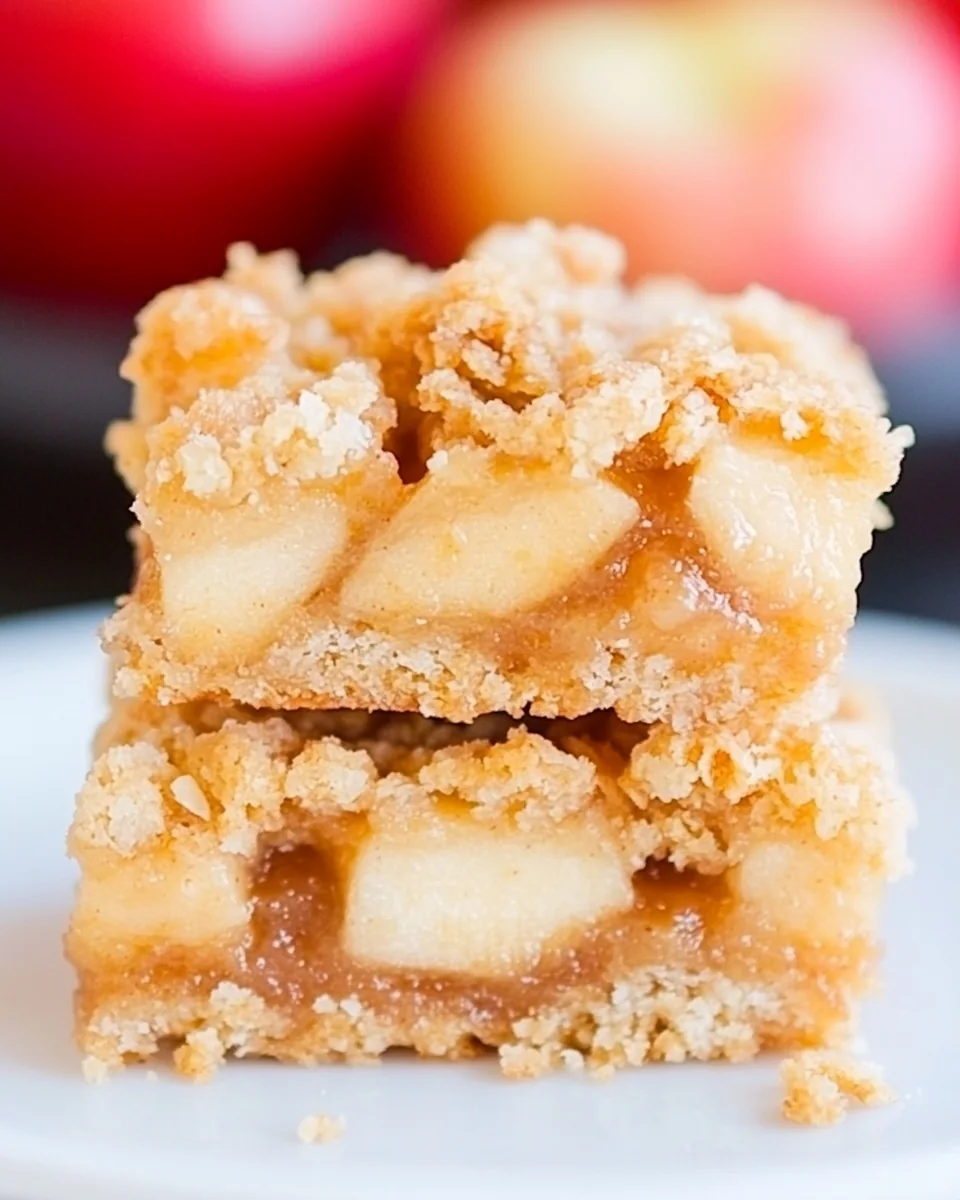
Apple Crumble Bars
As the leaves start to change and the air turns crisp, my thoughts always drift towards baking something warm and comforting. Apple Crumble Bars have a special place in my heart; they remind me of cozy afternoons spent in the kitchen with loved ones. There’s something magical about the aroma of baked apples and cinnamon wafting through the house, inviting everyone to gather around the table. These bars are perfect for sharing, offering a delightful combination of buttery crust and sweet, spiced apples that will bring smiles to face after every bite. Whether you’re enjoying them as an afternoon snack, a dessert at a family gathering, or just indulging while sipping a cup of tea, Apple Crumble Bars are a treat you won’t want to miss.
Recipe Snapshot
50 mins
0 mins
50 mins
Medium
190 kcal
2 g
Gluten-Free
7 g
Oven, Baking Sheet, Chef’s Knife, Frying Pan, Wooden Spoon, Cutting Board
The Appeal of This Apple Crumble Bars
Comfort in Every Bite
What I love most about Apple Crumble Bars is how they wrap you in warmth. Each square is like a hug from grandma, filled with the flavors of fall. It’s truly comforting to know that something homemade can taste so good and make you feel right at home.
Simple Ingredients, Profound Flavor
You’ll find that the ingredients for these bars are simple and wholesome. The combination of flour, butter, and apples creates a perfect harmony that highlights the natural sweetness of the fruit. Plus, it’s hard to resist that crunchy, crumbly topping!
Perfect for Any Occasion
Whether it’s a potluck, a simple family dinner, or a festive gathering, Apple Crumble Bars are the ideal dessert. They’re easy to transport and can be served warm or at room temperature, making them incredibly versatile.
Kid-Friendly Fun
These bars are great for kids to help with! From peeling the apples to mixing the dough, there’s plenty of opportunity for little hands to get involved. It’s a wonderful way to create lasting memories while baking together.
Healthier Twist
If you’re looking to lighten things up a bit, you can easily substitute some of the ingredients. Using coconut oil instead of butter or opting for less sugar doesn’t compromise the deliciousness—it actually enhances the natural flavors of the apples.
Apple Crumble Bars Ingredients
The ingredients for Apple Crumble Bars are both simple and essential to achieve that perfect balance of flavors and textures. Each component plays a crucial role, from the sweetness of the apples to the crumbly topping that provides a satisfying crunch.
- 2 cups flour (spelt, white, or oat) – This is the base for our bars, providing structure and a tender crumb.
- 1 1/2 tsp cinnamon – Adds warmth and spice, enhancing the apples‘ natural flavors.
- 3/4 tsp baking powder – Helps the bars rise and gives them a light texture.
- 1/4 tsp salt – Balances the sweetness and enhances overall flavor.
- 2/3 cup sugar or coconut sugar – Sweetens the bars and complements the tartness of the apples.
- 3/4 cup butter or coconut oil or almond butter – Provides richness and moisture; the fat is essential for a crumbly texture.
- 3 tbsp milk of choice or additional butter – Adds moisture and binds the ingredients together.
- 3 1/4 cups diced apples (2 large or 3 medium) – The star ingredient that brings sweetness and moisture to the bars.
- 1 tbsp cornstarch or arrowroot – Helps thicken the apple filling, preventing it from becoming too watery.
- 2 tbsp pure maple syrup or sweetener of choice – Adds additional sweetness and a hint of flavor that pairs beautifully with the apples.
Step by Step Instructions for Apple Crumble Bars

Making Apple Crumble Bars is a straightforward process that will fill your kitchen with warmth and delicious aromas. With just a few simple steps, you’ll have these bars ready to enjoy. Let’s get started!
- Preheat your oven to 350°F (175°C). This ensures that your bars bake evenly and develop a nice golden color.
- In a large mixing bowl, stir together the first five ingredients: flour, cinnamon, baking powder, salt, and sugar. Make sure everything is well combined.
- Next, cut in the butter or mix in the coconut oil. You want to achieve a crumbly texture, similar to wet sand.
- If you’re using oil or unsalted butter, you might want to add an additional 1/4 teaspoon of salt for flavor.
- Press about 2/3 of the dough firmly into the bottom of an 8×8 inch pan lined with parchment paper. Make sure it’s even and compact.
- In another bowl, toss the diced apples with cornstarch and maple syrup. This will help absorb moisture and add sweetness.
- Spread the apple mixture evenly over the crust you just prepared in the pan.
- Sprinkle the remaining dough over the top of the apples, breaking it into chunks for a nice crumble effect.
- Press down gently on the top layer to ensure it adheres to the apples beneath.
- Bake in the preheated oven for 50 minutes or until the top is golden brown and the filling is bubbly.
- Once baked, let the bars cool in the pan. This will make slicing easier. For cleaner cuts, refrigerate the bars for a bit.
Things Worth Knowing
- Crust Texture: Ensure the crust mixture is crumbly but holds together when pressed. This means using cold butter or coconut oil.
- Apple Selection: Choose a mix of sweet and tart apples for depth of flavor. Varieties like Granny Smith and Honeycrisp work wonderfully together.
- Cooling Time: Allow the bars to cool completely before slicing. This helps set the filling and makes cutting easier.
- Oven Calibration: Ovens can vary, so check for doneness a few minutes early to avoid overbaking.
Ways to Customize
If you’re looking to put your unique spin on Apple Crumble Bars, here are some fun ideas to consider. There’s always room for creativity in the kitchen!
- Spice it Up: Try adding a pinch of nutmeg or allspice to the filling for a warm, aromatic flavor.
- Nutty Crunch: Fold in some chopped nuts like pecans or walnuts into the topping for an extra crunch.
- Dried Fruit: Adding a handful of raisins or cranberries can introduce a delightful chewiness.
- Chocolate Drizzle: For a decadent twist, drizzle melted dark chocolate over the cooled bars before slicing.
- Swap Sweeteners: Feel free to use honey or agave syrup in place of sugar for a natural option.
- Serving Suggestions: These bars are delicious on their own but pair beautifully with a scoop of vanilla ice cream or a dollop of whipped cream.
- Storage: Store leftover bars in an airtight container at room temperature for up to three days.
- Freezing: To freeze, wrap individual bars in plastic wrap, then place them in a freezer bag for up to three months.
Serving Ideas for Apple Crumble Bars
Serving Apple Crumble Bars can be as delightful as making them. Here are some ideas to make your dessert experience even better:
- With Ice Cream: Serve warm bars with a scoop of vanilla ice cream melting on top for a comforting treat.
- Tea Time: These bars are perfect for afternoon tea, offering a sweet bite alongside a hot cup of your favorite brew.
- Outdoor Gatherings: Pack them for picnics or barbecues; they transport well and are sure to please a crowd.
- Holiday Dessert: Dress them up by serving with festive toppings during the holidays, like spiced whipped cream or a sprinkle of cinnamon.
- Breakfast Treat: Enjoy a small piece for breakfast with your morning coffee. They’re a delicious way to start the day!
- Storage Tips: Keep them in an airtight container to maintain freshness. They can last a few days, but they’re best enjoyed fresh!
- Seasonal Pairings: These bars are great in the fall but can also be enjoyed with seasonal fruits like pears in the spring!
FAQ
Conclusion
Apple Crumble Bars are not just a dessert; they’re an experience of comfort and warmth. Each bite encapsulates the essence of fall, making them a perfect treat for any occasion. I encourage you to try making these bars at home; they’re simple, delicious, and sure to impress your family and friends. Enjoy the process of baking them, and even more, enjoy every mouthful!
Apple Crumble Bars
Ingredients
Equipment
Method
- Preheat your oven to 350°F (175°C). This ensures that your bars bake evenly and develop a nice golden color.
- In a large mixing bowl, stir together the first five ingredients: flour, cinnamon, baking powder, salt, and sugar. Make sure everything is well combined.
- Next, cut in the butter or mix in the coconut oil. You want to achieve a crumbly texture, similar to wet sand.
- If you're using oil or unsalted butter, you might want to add an additional 1/4 teaspoon of salt for flavor.
- Press about 2/3 of the dough firmly into the bottom of an 8×8 inch pan lined with parchment paper. Make sure it’s even and compact.
- In another bowl, toss the diced apples with cornstarch and maple syrup. This will help absorb moisture and add sweetness.
- Spread the apple mixture evenly over the crust you just prepared in the pan.
- Sprinkle the remaining dough over the top of the apples, breaking it into chunks for a nice crumble effect.
- Press down gently on the top layer to ensure it adheres to the apples beneath.
- Bake in the preheated oven for 50 minutes or until the top is golden brown and the filling is bubbly.
- Once baked, let the bars cool in the pan. This will make slicing easier. For cleaner cuts, refrigerate the bars for a bit.