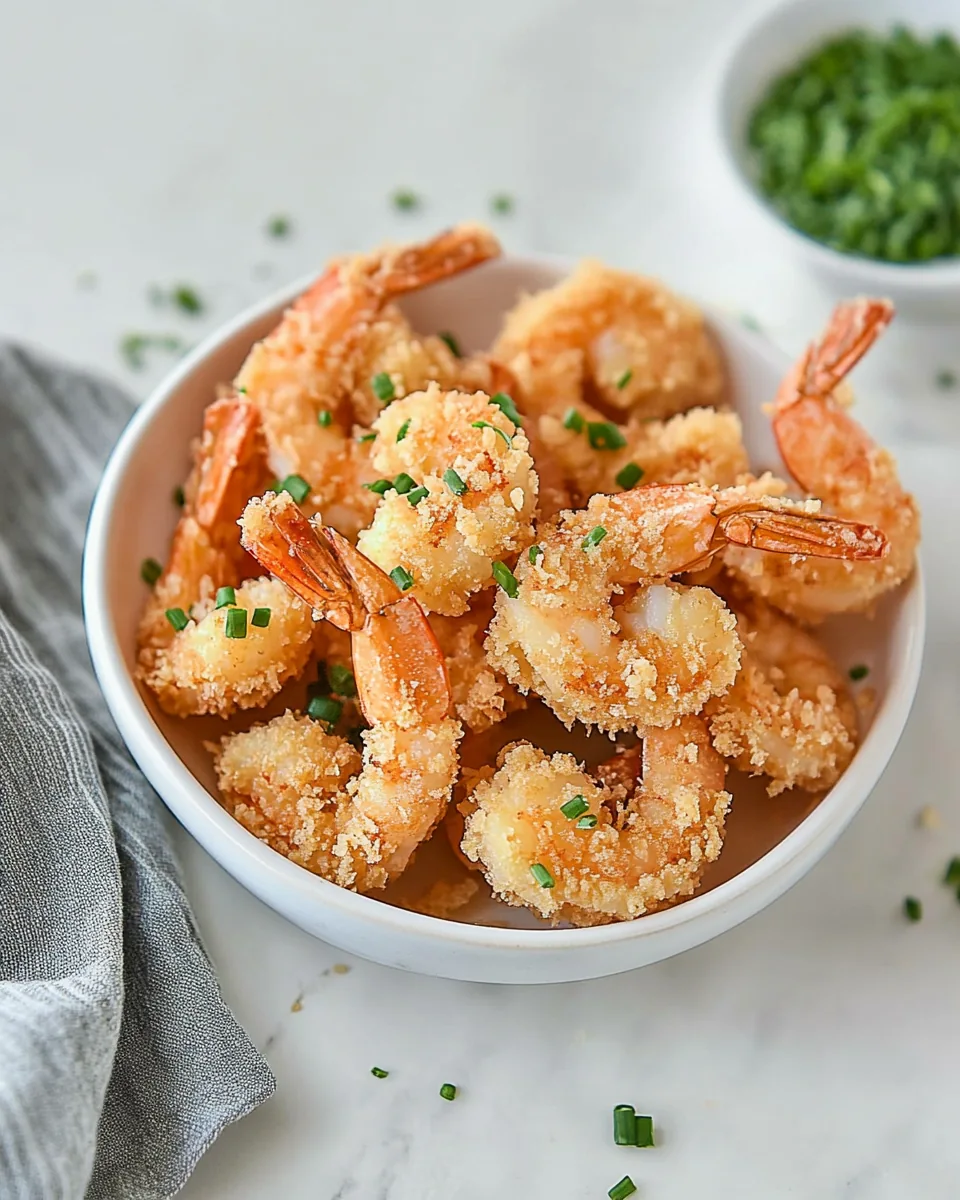
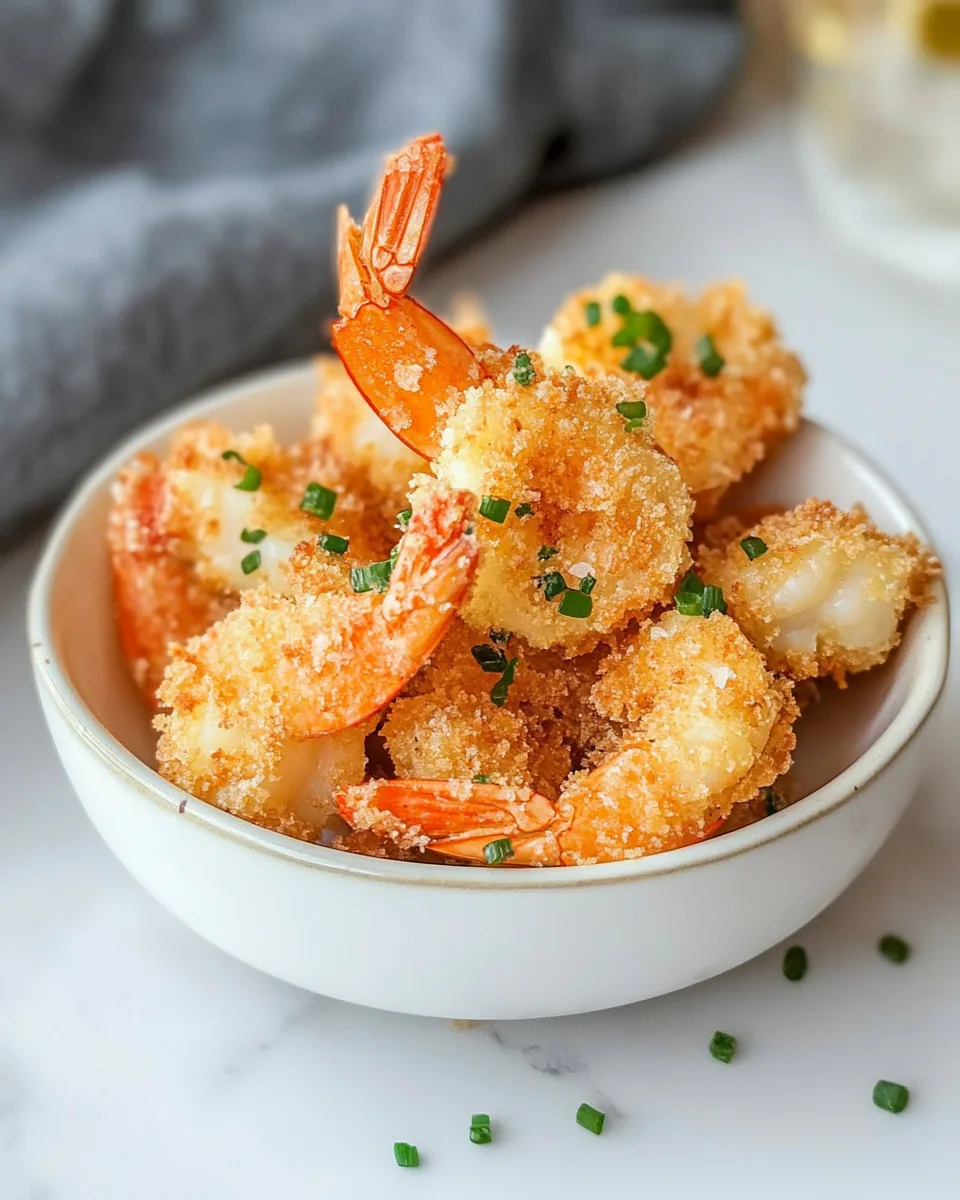
Fried Shrimp
When I think of summer evenings spent by the lake, the aroma of Fried Shrimp sizzling away in the kitchen instantly brings a smile to my face. This dish transcends just a meal; it’s a celebration of flavor, crispy textures, and the joy of sharing delicious food with loved ones. Picture yourself serving a platter of perfectly golden, crispy shrimp, paired with a tangy dipping sauce that elevates every bite. It’s the kind of dish that begs for a casual gathering, laughter echoing through the room as friends and family dig in. The crunch of the panko breadcrumbs combined with the succulent shrimp is simply irresistible. Whether it’s a weekend BBQ or a cozy family dinner, Fried Shrimp is guaranteed to please. Join me as we dive into this easy-to-follow recipe that brings the essence of summer right to your table.
Recipe Snapshot
20 mins
15 mins
5 mins
Medium
350 kcal
25 g
Paleo, Whole30, Vegan
15 g
Skillet, Mixing Bowl, Chef’s Knife, Peeler, Frying Pan
Why This Fried Shrimp Stands Out
Quick and Easy Preparation
One of the reasons I absolutely adore Fried Shrimp is how quickly it comes together. With just a handful of ingredients and minimal prep time, you can have a scrumptious dish ready in no time. Whether you’re an experienced cook or a beginner, this recipe is straightforward and approachable. No fancy techniques are required; just a bit of love and attention to detail is all it takes.
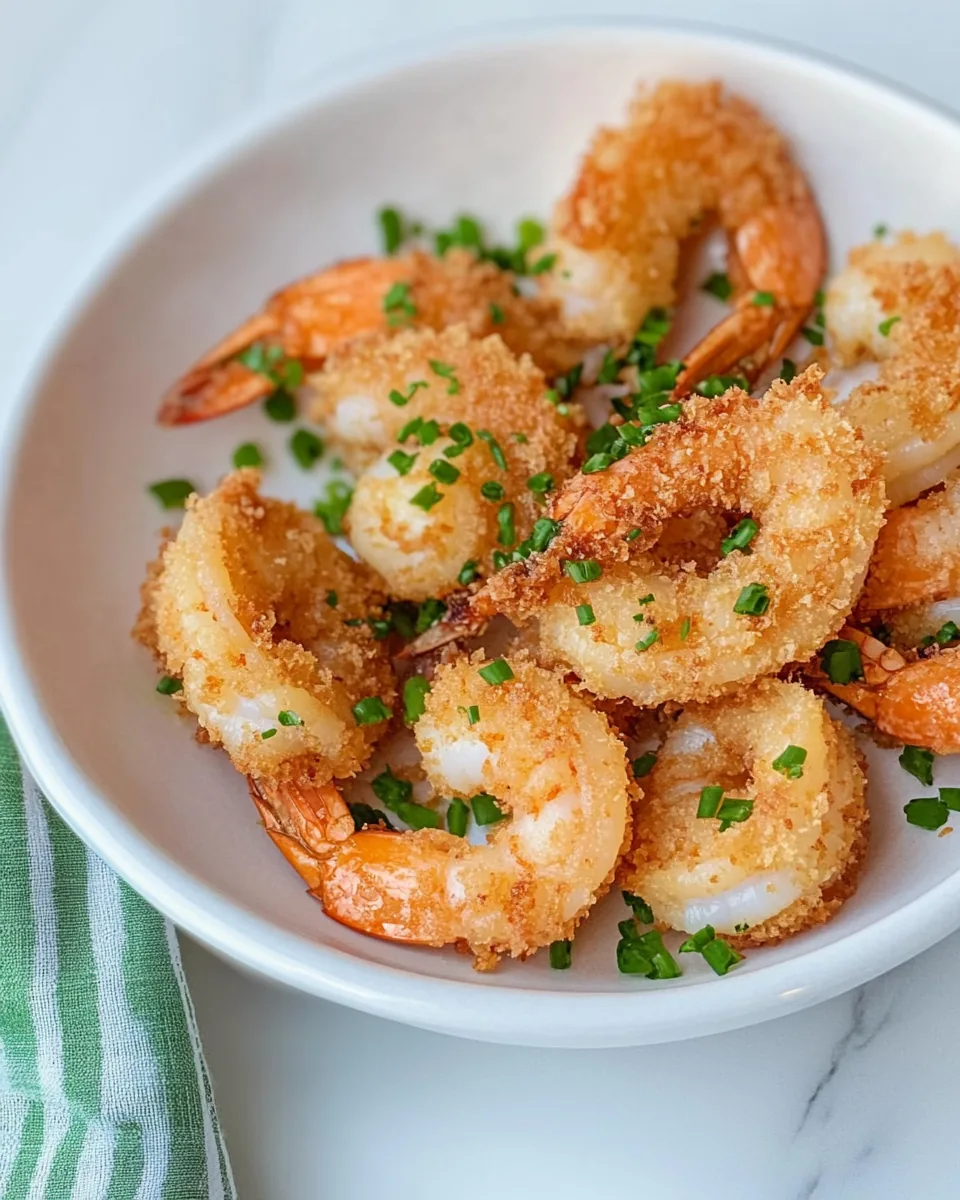
Perfectly Crispy Texture
There’s something magical about the crunch that comes from the panko breadcrumbs. Unlike regular breadcrumbs, panko gives the shrimp an extra layer of crispiness that is hard to resist. When you’re frying them up, you’ll hear that satisfying crunch as they cook, which adds to the overall experience of indulging in this dish. It’s the type of texture that keeps you coming back for more.
Versatile Serving Options
Fried Shrimp is incredibly versatile. You can serve it as a main dish alongside your favorite sides or as an appetizer at your next get-together. Imagine pairing it with a zesty cocktail sauce or a refreshing tartar sauce, making it the perfect finger food for parties. The possibilities are endless, allowing you to customize it based on your preferences and the occasion.
Flavorful Seasonings
The blend of garlic powder, onion powder, and a hint of cayenne pepper provides a flavor profile that complements the shrimp perfectly without overpowering it. Each bite bursts with flavor, enhancing the natural sweetness of the shrimp. It’s a simple yet effective way to elevate a classic dish.
Family-Friendly Fun
Cooking Fried Shrimp can also be a fun family activity. Gather the kids around to help bread the shrimp, allowing them to get involved in the kitchen. It’s a wonderful way to bond while teaching them valuable cooking skills. Plus, they’ll be excited to taste their handiwork once the dish is ready!
Fresh and Flavorful
Finally, using fresh and high-quality ingredients makes all the difference. Opting for fresh shrimp that is peeled and deveined ensures that you’re getting the best flavor and texture possible. The freshness shines through in the final dish, making every bite a delightful experience.
Ingredients to Make Fried Shrimp
The ingredients for Fried Shrimp come together to create a delicious harmony of flavors and textures. Each element plays a crucial role in achieving the crispy exterior and tender interior that we all love. The combination of fresh shrimp, flavorful seasonings, and crunchy panko breadcrumbs is what makes this dish truly special.
- 1/3 cup all-purpose flour: This is the base for your breading, providing a light coating that helps the other ingredients stick.
- 1/2 teaspoon garlic powder: Enhances the flavor profile, giving it a warm, savory essence.
- 1/2 teaspoon onion powder: Adds depth and sweetness, complementing the garlic.
- 1 pinch cayenne pepper: Just a touch gives a subtle kick without overwhelming the dish.
- 1/4 teaspoon salt: Balances the flavors and enhances the overall taste.
- 1/4 teaspoon black pepper: Adds a little heat and complexity to the seasoning mix.
- 2 large eggs: Beaten, these serve as a binding agent for the breadcrumbs.
- 3/4 cup panko breadcrumbs: This is what gives Fried Shrimp its crunchy texture.
- Vegetable oil as needed for frying: Essential for achieving that golden, crispy finish.
- 1 pound large shrimp: Peeled, deveined, and patted dry for the best results.
- Freshly chopped parsley for garnish: Adds a pop of color and freshness.
- Tartar sauce or cocktail sauce for serving: These are perfect accompaniments for your fried shrimp.
Making Fried Shrimp
Getting started with Fried Shrimp is an exciting culinary adventure! The aroma of frying shrimp fills the kitchen, making it hard to resist snacking along the way. Let’s dive into the detailed steps to create this mouthwatering dish.
- In a shallow bowl, combine flour, garlic powder, onion powder, cayenne pepper, salt, and black pepper. Mix these dry ingredients well to create an even coating for your shrimp. The aroma of the spices will come together beautifully, hinting at the flavors to come.
- In another shallow bowl, place the beaten eggs. Beating them well will ensure a smooth coating on your shrimp. This step is crucial because the eggs will help the breadcrumbs adhere to the shrimp.
- In a third bowl, add the panko breadcrumbs. These will give your shrimp that extra crunch. It’s worth noting that panko is lighter and airier compared to regular breadcrumbs, leading to a crisper finish.
- Next, carefully dip each shrimp into the flour mixture, ensuring it’s well coated. The flour will help the egg stick better to the shrimp, forming a solid base for the breadcrumbs.
- Then, dip the floured shrimp into the eggs, allowing any excess to drip off before proceeding to the next step.
- Finally, coat each shrimp with the panko breadcrumbs, pressing gently to ensure they adhere well. This step is essential for achieving that golden, crispy texture. Set the breaded shrimp aside on a plate.
- In a large skillet or deep fryer, heat vegetable oil to 375°F. You can test the temperature by dropping a small piece of bread into the oil; if it sizzles and browns quickly, it’s ready for frying.
- Fry the shrimp in batches for about 2 to 3 minutes, or until they turn golden brown and crispy. Be careful not to overcrowd the pan to maintain the oil temperature.
- Once cooked, drain the fried shrimp on paper towels to absorb any excess oil. This keeps the shrimp crispy longer and reduces greasiness.
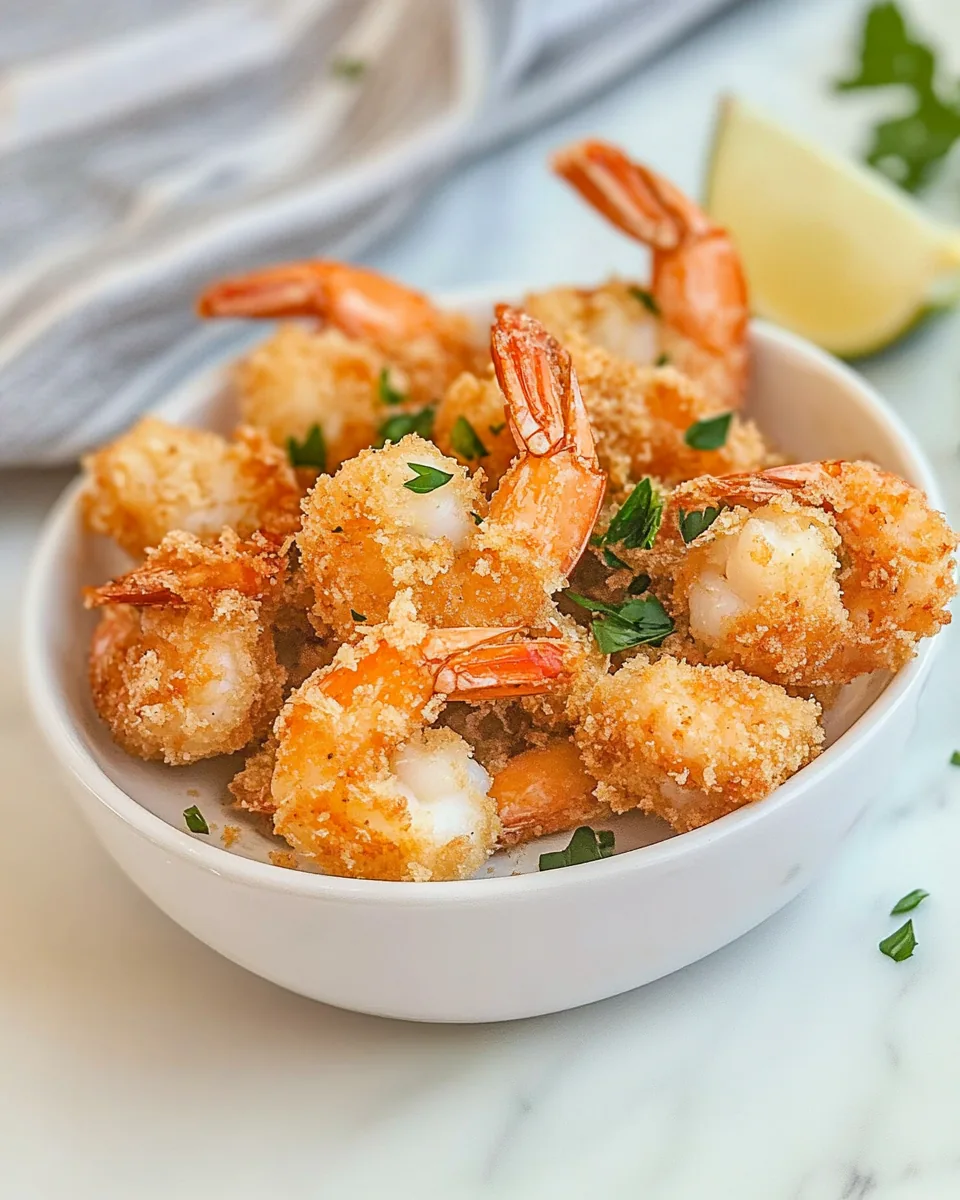
- Serve your Fried Shrimp hot, garnished with freshly chopped parsley and your choice of tartar sauce or cocktail sauce. Enjoy the delightful crunch and flavors with every bite!
Things Worth Knowing
- Choose the right shrimp: Look for large, fresh shrimp that are peeled and deveined. They cook evenly and provide a better texture.
- Maintain oil temperature: Keeping the oil at the right temperature is key for achieving crispy shrimp. If the oil is too cool, the shrimp will absorb too much oil, making them greasy.
- Do not rush the frying: Fry the shrimp in small batches to avoid overcrowding and ensure each piece gets the crispy treatment it deserves.
- Experiment with seasonings: While the basic recipe is fantastic, don’t hesitate to add your favorite spices or herbs to customize the flavor profile.
Recipe Tips about Fried Shrimp
Here are some helpful tips to ensure your Fried Shrimp turns out perfectly every time. These tips will guide you through the process and enhance your cooking experience.
- Storage: Leftover Fried Shrimp can be stored in an airtight container in the fridge for up to 2 days. To reheat, place them in an oven to restore the crispiness.
- Freezing: If you want to make ahead, you can freeze the breaded shrimp before frying. Just coat them and place them on a baking sheet lined with parchment paper, then freeze until solid. Transfer to a freezer bag for up to 3 months.
- Pairing: Serve Fried Shrimp with a refreshing salad or coleslaw for a complete meal. A squeeze of lemon juice over the top adds a bright finish.
- Spice it up: Customize the spice blend by adding more cayenne or incorporating other spices like paprika or Old Bay seasoning for a unique flavor twist.
- Healthier option: For a lighter version, consider baking instead of frying. Brush the shrimp with a little oil and bake at 400°F until golden and cooked through.
- Keep an eye on cooking time: Overcooked shrimp can become rubbery, so watch them closely while frying. They should be just opaque and golden brown when done.
- Garnish creatively: Elevate your presentation with unique garnishes like lemon wedges, microgreens, or even edible flowers for a stunning finish.
What Goes Well With This Fried Shrimp
- Fresh Salad: Pairing Fried Shrimp with a crisp, refreshing salad is a great way to balance the flavors. Consider a light vinaigrette to complement the fried goodness.
- Coleslaw: A tangy coleslaw with a creamy dressing is the perfect side for Fried Shrimp. The crunchiness of the slaw adds a delightful contrast.
- French Fries: For a classic combination, serve Fried Shrimp with crispy French fries. A side of tartar sauce for dipping is a must.
- Rice or Quinoa: For a lighter meal, serve Fried Shrimp on a bed of fluffy rice or quinoa. This adds a nutritious element to your plate.
- Occasions: These shrimp are perfect for casual gatherings, summer barbecues, or family dinners. They make a fantastic appetizer or main course.
- Storage Tips: If you have leftovers, store them in the refrigerator, and consume them within two days to enjoy the best flavor and texture.
- Seasonal Pairings: In summer, serve Fried Shrimp with fresh corn on the cob or a seasonal fruit salad for a delightful meal.
FAQ
Conclusion
Fried Shrimp is a delightful dish that brings the joy of summer straight to your kitchen. With its crispy golden coating and succulent shrimp, it’s the perfect meal for any occasion. I encourage you to try making this dish yourself; it’s easier than you might think and incredibly satisfying. Gather your loved ones, and enjoy the magic of sharing a delicious meal together!
Fried Shrimp
Ingredients
Equipment
Method
- In a shallow bowl, combine flour, garlic powder, onion powder, cayenne pepper, salt, and black pepper. Mix these dry ingredients well to create an even coating for your shrimp.
- In another shallow bowl, place the beaten eggs. Beating them well will ensure a smooth coating on your shrimp.
- In a third bowl, add the panko breadcrumbs. This will give your shrimp that extra crunch.
- Carefully dip each shrimp into the flour mixture, ensuring it is well coated. The flour will help the egg stick better to the shrimp.
- Then, dip the floured shrimp into the eggs, allowing any excess to drip off before proceeding to the next step.
- Finally, coat each shrimp with the panko breadcrumbs, pressing gently to ensure they adhere well. Set the breaded shrimp aside on a plate.
- In a large skillet or deep fryer, heat vegetable oil to 375°F. Test the temperature by dropping a small piece of bread into the oil; if it sizzles and browns quickly, it is ready.
- Fry the shrimp in batches for about 2 to 3 minutes, or until they turn golden brown and crispy.
- Once cooked, drain the fried shrimp on paper towels to absorb any excess oil.
- Serve your Fried Shrimp hot, garnished with freshly chopped parsley and your choice of tartar sauce or cocktail sauce. Enjoy!