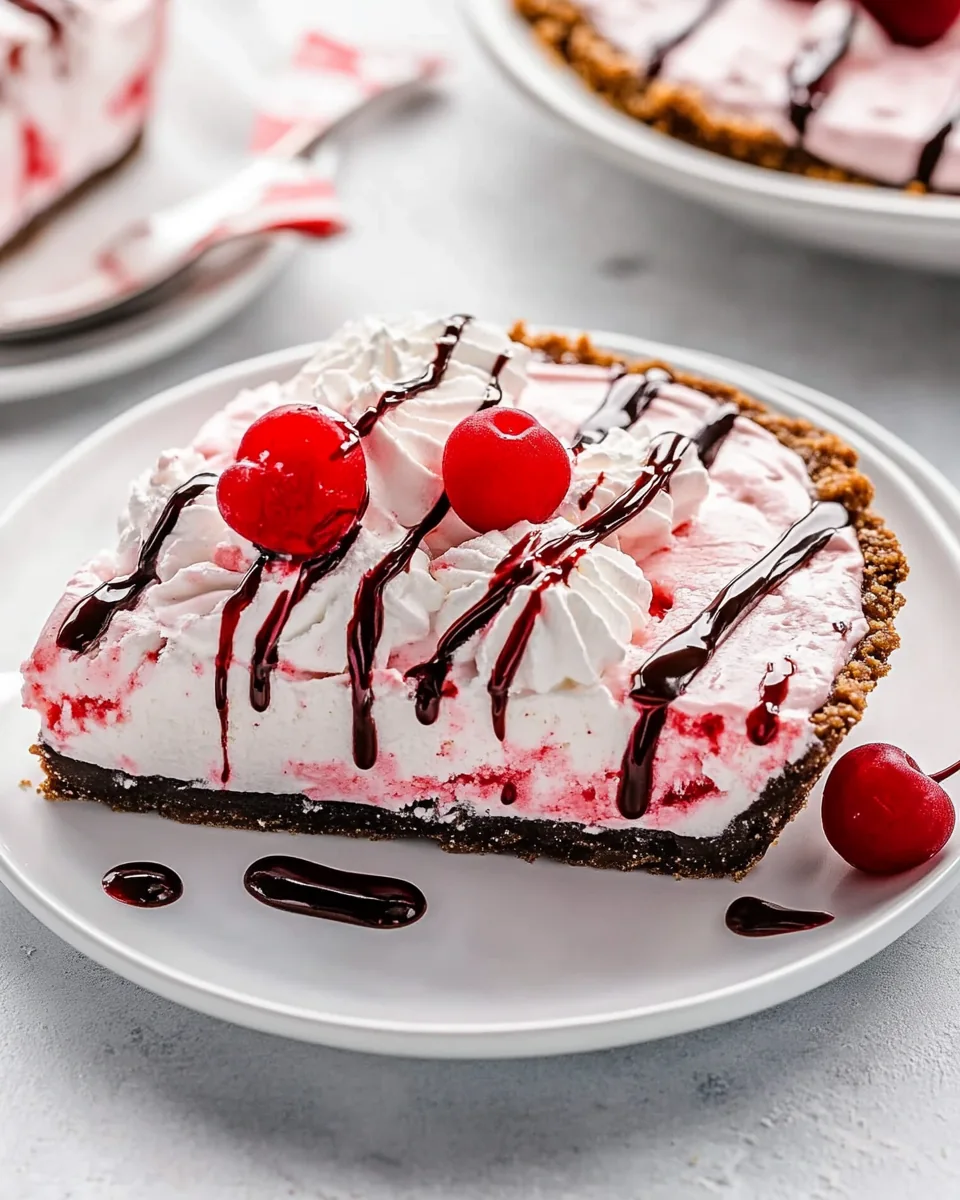
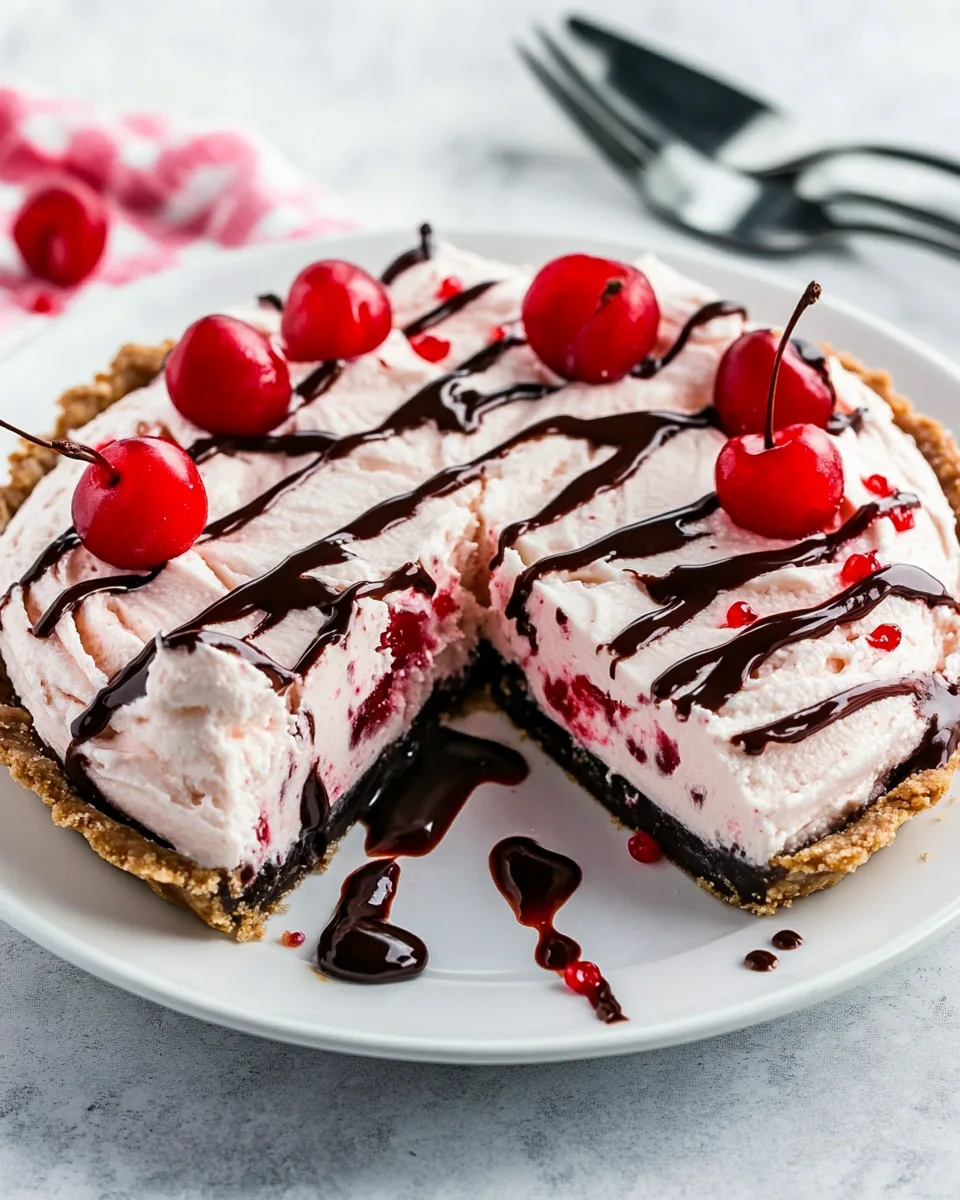
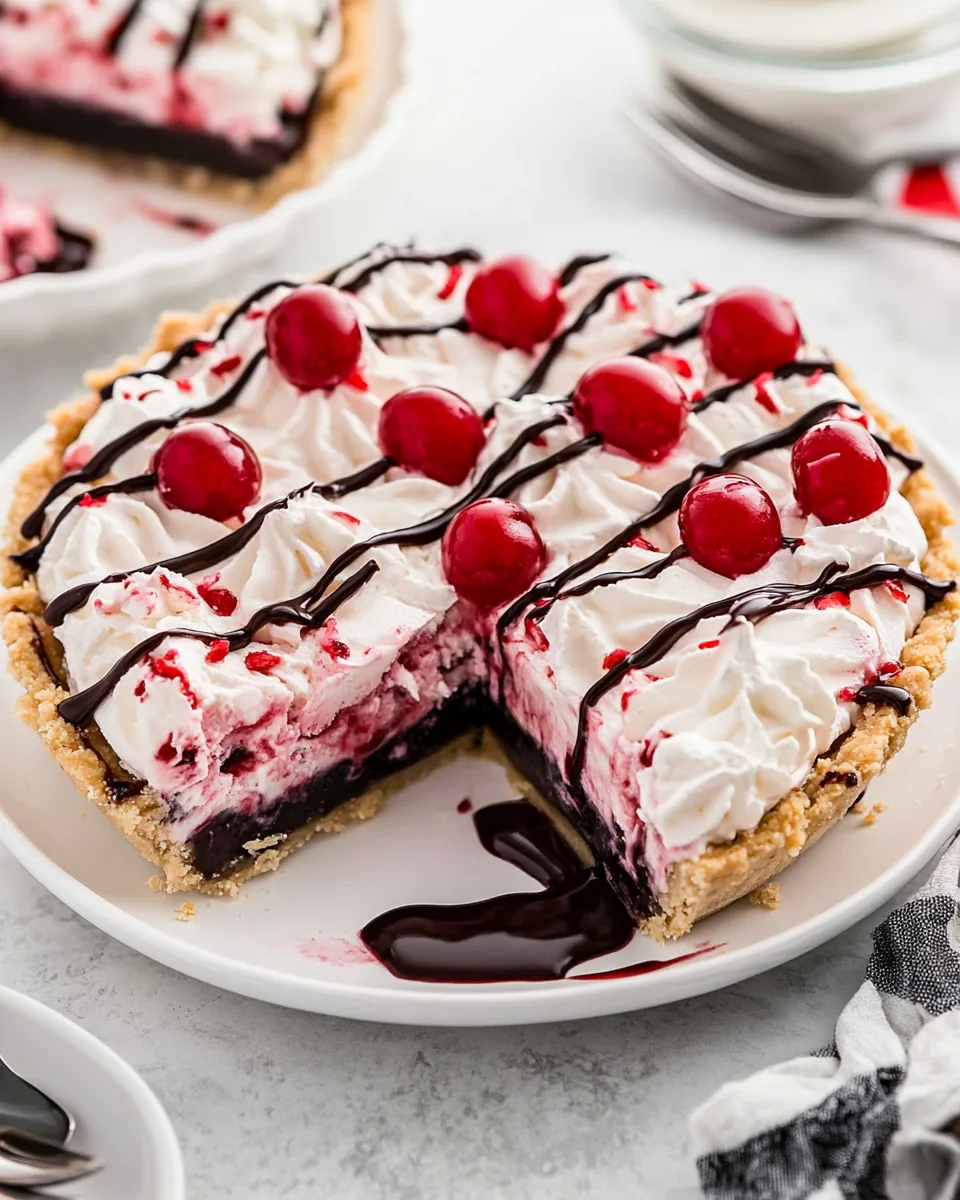
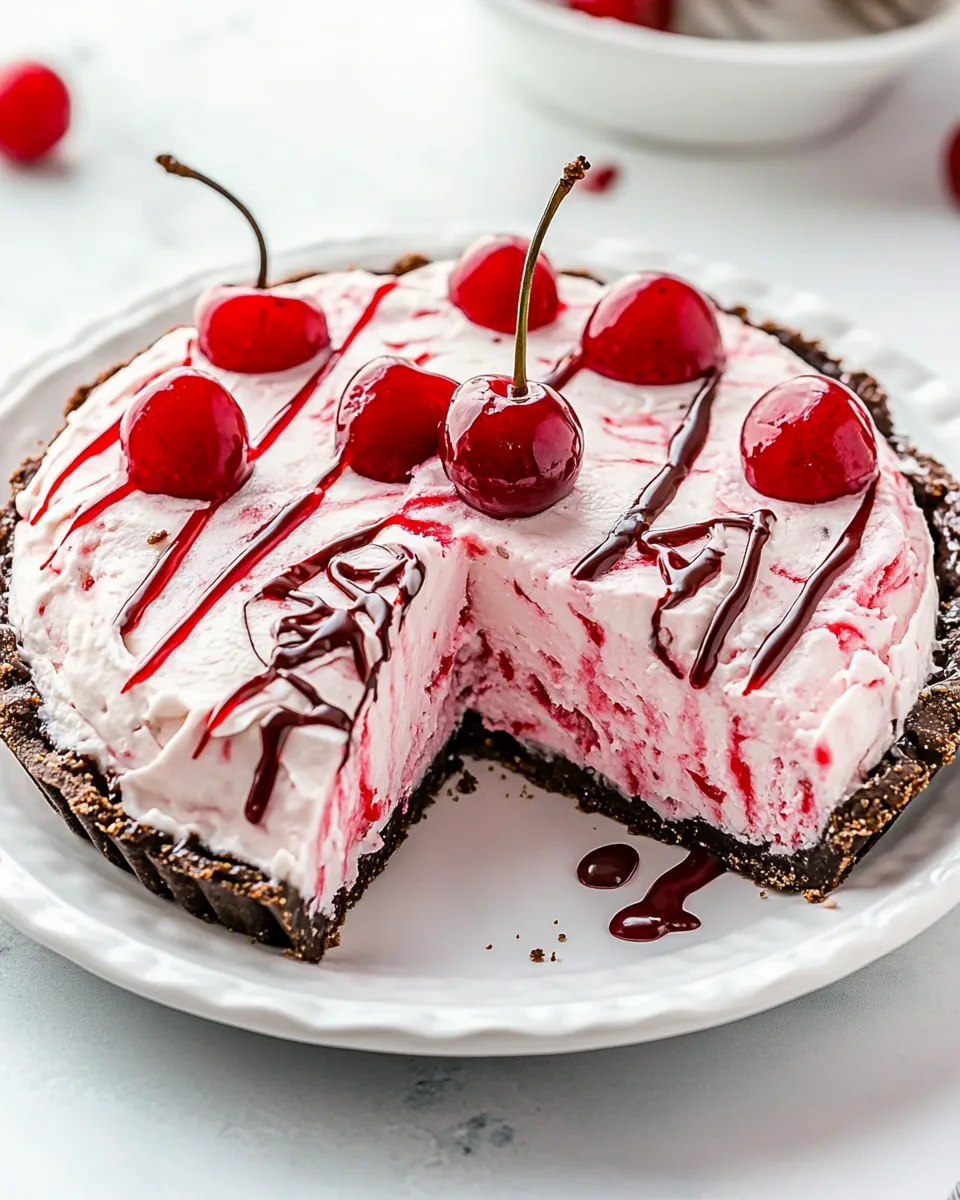
Cherry Ice Cream Pie
There’s nothing quite like a hot summer day that calls for a refreshing dessert, and that’s exactly when I find myself craving Cherry Ice Cream Pie. Growing up, my family would gather for summer picnics, and this delightful pie was always a highlight. The combination of creamy, luscious filling and the sweet-tartness of cherry pie filling creates a flavor explosion that’s just unbeatable. I remember sitting on the porch, the sun shining down, and indulging in this frozen treat, each bite bringing joy and satisfaction. It’s not just a dessert; it’s a way to create memories and enjoy life’s simple pleasures.
Recipe Snapshot
15 mins
15 mins
0 mins
Easy
250 kcal
2 g
Keto, Gluten-Free, Low FODMAP
14 g
Mixing Bowl, Wooden Spoon, Whisk
The Appeal of This Cherry Ice Cream Pie
1. Perfect for Hot Days
When summer heat hits, there’s nothing better than a cold dessert. Cherry Ice Cream Pie offers that creamy chill that refreshes you instantly. The coolness of the pie combined with the vibrant cherry flavor makes each slice a perfect way to beat the heat. It’s like summer on a plate!
2. Easy to Make
Making Cherry Ice Cream Pie is surprisingly simple. With just a few ingredients, you can whip up a dessert that looks and tastes like it came from a gourmet kitchen. The process is straightforward and allows for creativity, making it a fantastic option for both novice and seasoned bakers.
3. Versatile Ingredients
This pie is not just about cherries! You can easily switch up the flavors by using different pie fillings. Whether you prefer blueberry, strawberry, or even a mix of fruits, the base recipe remains the same. This versatility means you can enjoy a different pie for every occasion!
4. Great for Gatherings
Whether it’s a backyard barbecue or a family reunion, Cherry Ice Cream Pie is a crowd-pleaser. It’s easy to serve, and its stunning appearance makes it a centerpiece on any dessert table. Plus, it can be made ahead of time, allowing you to spend more time with your guests and less time in the kitchen.
5. Family Tradition
This pie has become a cherished family tradition for us. Every summer, I make it a point to prepare a couple of these delightful pies as a way of celebrating the season with my loved ones. Each bite brings back memories and creates new ones, making it a dessert that’s more than just a treat.
6. No Baking Required
For those who dread turning on the oven in hot weather, Cherry Ice Cream Pie is your best friend. There’s no baking involved; simply mix, layer, and freeze. It’s a great solution for spontaneous summer gatherings when you need something tasty without the heat!
Cherry Ice Cream Pie Shopping List
When it comes to making Cherry Ice Cream Pie, the ingredients are as important as the recipe itself. The key players in this delightful dessert come together to create a harmonious balance of flavors and textures. The heavy whipping cream lends a rich creaminess, while the cherry pie filling provides a burst of fruity sweetness. Paired with a crunchy Oreo pie crust, these ingredients create a treat that’s indulgent and satisfying.
- 2 cups cold heavy whipping cream: Essential for achieving that light, airy texture in your pie.
- 1 (20 oz) can cherry pie filling: The star ingredient that brings sweetness and a vibrant color.
- 1 (14 oz) can sweetened condensed milk: Adds richness and a touch of sweetness to the filling.
- 1 teaspoon vanilla extract: A hint of vanilla enhances all the flavors beautifully.
- Hot fudge topping, whipped cream, cherries for garnish: These toppings take your pie to the next level!
- 2 recipes Oreo pie crust (or store-bought): A deliciously crunchy base that complements the creamy filling.
Cherry Ice Cream Pie Instructions
Now that you have your ingredients ready, let’s dive into the steps to create this delicious Cherry Ice Cream Pie. It’s a delightful process that’s just as enjoyable as the final product!
- Begin by beating the heavy whipping cream in a stand mixer fitted with the whisk attachment. Beat until stiff peaks form. This can take a few minutes, so keep an eye on it! You want to achieve a fluffy texture that will hold the pie together.
- While your whipped cream is setting, grab a medium bowl and add the cherry pie filling. Using a potato masher, crush the cherries slightly. This helps to combine the flavors with the other ingredients.
- Next, pour in the sweetened condensed milk and vanilla extract. Stir the mixture gently until combined. You’ll notice a beautiful color and aroma developing!
- Now, it’s time to fold the whipped cream into this cherry mixture. Carefully add the whipped cream to the filling and gently fold it in. You want to maintain the airy texture of the whipped cream, so be gentle!
- Once combined, take your prepared Oreo pie crust and divide the filling equally between the two crusts. Smooth the tops with a spatula, ensuring an even surface.
- Cover both pies tightly with plastic wrap. This helps to lock in the flavors and prevents freezer burn.
- Freeze the pies for at least four hours or until completely set. If you can, make them a day ahead for even better results!
- When you’re ready to serve, remove the pies from the freezer. Drizzle with hot fudge topping and top with whipped cream and cherries for a final touch. This not only adds flavor but makes the pies look decadent!
- Slice carefully and serve immediately. Watch as everyone enjoys this delightful treat, each bite a perfect balance of creamy and fruity goodness.
Things Worth Knowing
- Texture matters: Ensure your heavy whipping cream is cold. This helps achieve those perfect stiff peaks.
- Chill your tools: Chill your mixing bowl and beaters before whipping the cream. It helps the cream whip faster and hold its shape longer.
- Don’t rush the freezing: Allow the pies enough time to freeze completely. This step is crucial for the right texture.
- Garnish creatively: Feel free to get creative with toppings! Fresh berries or chocolate shavings can make it even more delightful.
Substitutions and Tips
Making Cherry Ice Cream Pie is a joy, but there are some tips and tricks to enhance your experience and results. Here are a few helpful pointers to keep in mind:
- Storage: Store leftovers in the freezer, tightly covered. They can last for up to two weeks!
- Freezing: If you have any filling left, consider freezing it in an airtight container to enjoy later.
- Pairing: This pie goes wonderfully with a scoop of vanilla ice cream for an extra indulgent treat.
- Variations: Feel free to swap the cherry pie filling for other flavors like blueberry or peach to create unique versions!
- Presentation: For an elegant touch, serve individual slices with a sprig of mint or a dusting of powdered sugar.
What to Serve With Cherry Ice Cream Pie
When enjoying Cherry Ice Cream Pie, consider these delightful pairings to enhance your dessert experience:
- Grilled Peaches: The warm, caramelized flavor of grilled peaches contrasts beautifully with the cold pie.
- Fresh Berries: A side of mixed fresh berries adds a refreshing tartness that complements the sweetness.
- Iced Tea or Lemonade: Serve with a cool glass of iced tea or lemonade for a classic summer combo.
- BBQ Dishes: This pie makes an excellent finish to a summer barbecue feast, especially after grilled meats.
- Picnic Treats: Bring it along for picnics, as its portability and no-melt nature make it an ideal outdoor dessert.
- Coffee: A cup of coffee pairs nicely for those who enjoy a contrasting flavor with their desserts.
FAQ
Conclusion
The Cherry Ice Cream Pie is a delightful balance of creamy and fruity flavors, making it a must-try for any summer gathering. With its easy preparation and no-bake nature, you can enjoy this delicious dessert without spending hours in the kitchen. I encourage you to whip one up today and experience a taste of nostalgia that brings joy to every bite.
Cherry Ice Cream Pie
Ingredients
Equipment
Method
- Beat the whipping cream in a stand mixer fitted with the whisk attachment. Beat until stiff peaks form. Set aside.
- Add cherry pie filling to a medium bowl. Crush slightly with a potato masher. Add sweetened condensed milk and vanilla and stir. Pour into whipped cream and gently fold to combine.
- Divide filling between two pie crusts. Cover tightly with plastic wrap and freeze for at least 4 hours before serving.
- Drizzle with chocolate sauce or hot fudge and top with whipped cream and cherries before serving.
Notes
- This recipe makes 2 pies: Alternatively, fill one pie crust and place the rest of the filling in an airtight container and freeze to make cherry ice cream.
- You can also use: 2 containers (8-ounces each) of cool whip in place of the heavy whipping cream.
- Use any kind of pie crust you like: This flexibility allows for different flavor experiences!
- Swap out any flavor pie filling for cherry: Use other fruit fillings to create new flavors!