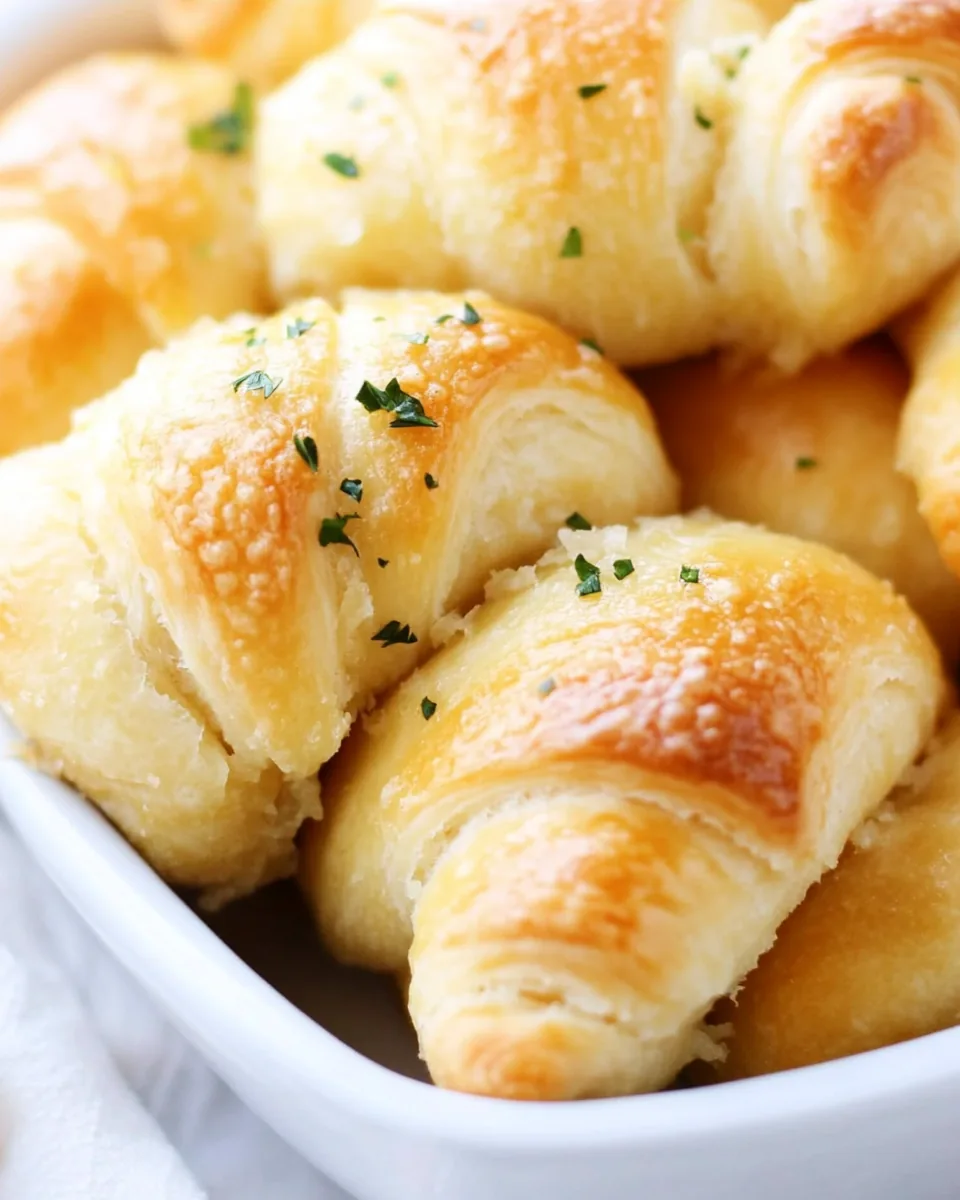
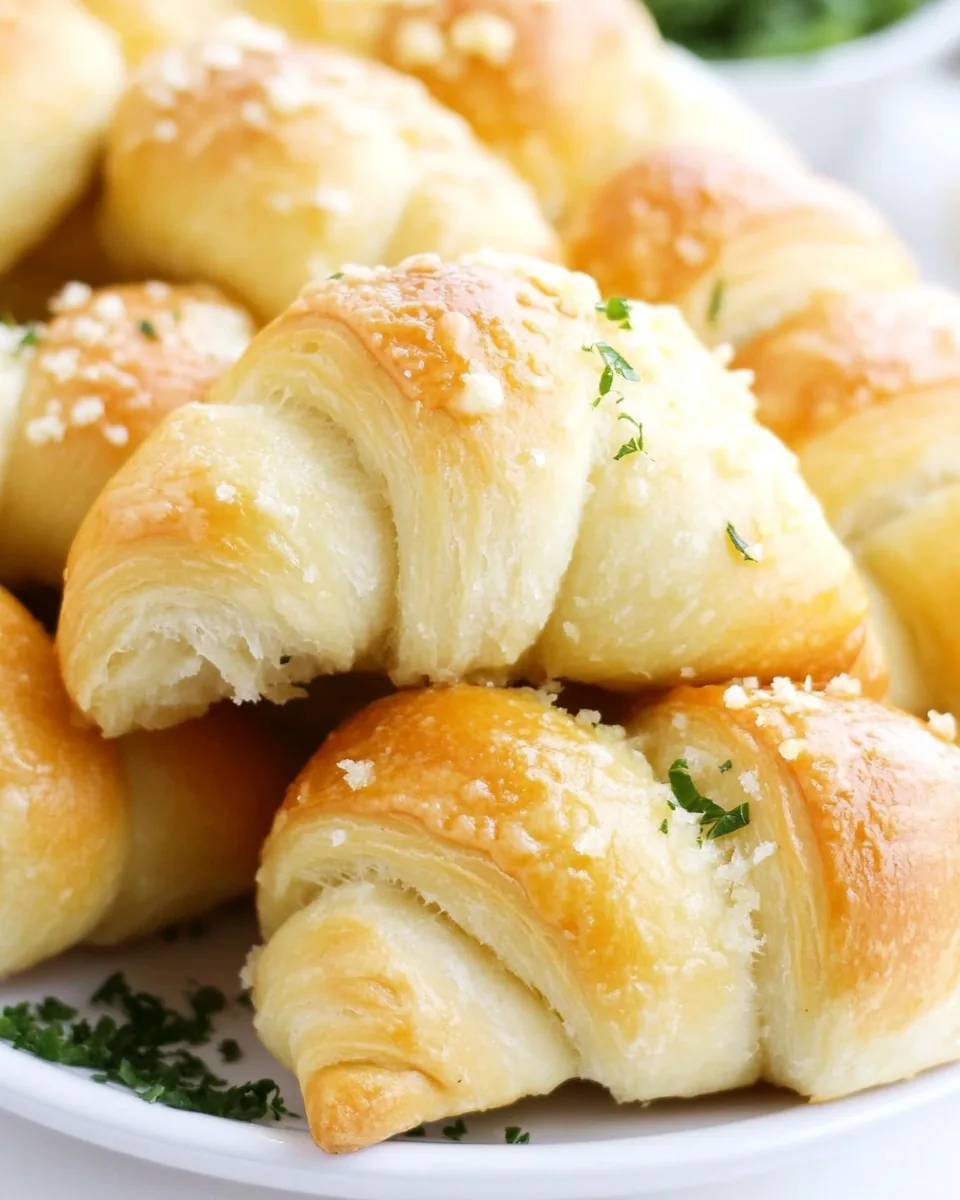
Garlic Butter Cheesy Crescent Rolls
There’s something magical about the simplicity of Garlic Butter Cheesy Crescent Rolls. Picture this: you’re hosting a gathering, and the aroma of warm, buttery rolls fills the air, teasing your guests’ appetites. These delightful bites are not just rolls; they are little parcels of joy that meld the rich flavors of garlic and butter with the gooey goodness of mozzarella cheese. I remember the first time I made them—my friends devoured them in minutes, asking for seconds and thirds! It was a fun-filled evening, laughter echoing, all while these crispy, cheesy rolls stole the show.
Whenever I feel the need to impress or simply indulge in something comforting, I know that whipping up some Garlic Butter Cheesy Crescent Rolls will do the trick. They’re perfect for game nights, casual dinners, or just because it’s Tuesday! The best part? They’re incredibly easy to make, requiring pantry staples that I usually have on hand. So, if you’re looking for a quick appetizer that will leave everyone raving, you’ve come to the right place. Let’s dive into the deliciousness!
Recipe Snapshot
20 mins
10 mins
10 mins
Medium
220 kcal
8 g
Keto, Gluten-Free, Low FODMAP
10 g
Oven, Mixing Bowl, Baking Sheet, Chef’s Knife, Wooden Spoon
Why You Need This Garlic Butter Cheesy Crescent Rolls
Unforgettable Flavors
Garlic Butter Cheesy Crescent Rolls encapsulate the essence of comfort food. From the moment you pop open that tube of crescent dough, the excitement begins. The warm, buttery garlic flavor combined with melted mozzarella cheese creates a harmony that’s simply irresistible.
Quick and Easy
In our busy lives, who doesn’t love a recipe that comes together in minutes? These rolls are ready in just around twenty minutes. You can have them on the table in no time, making them perfect for unexpected guests or a last-minute snack.
Kid-Friendly
If you have little ones at home, they’ll adore these rolls! The cheesy surprise inside makes them exciting and fun to eat. Plus, it’s a great way to involve kids in the kitchen; they can help roll them up and brush the tops with butter.
Versatile Serving Options
Whether you’re serving Garlic Butter Cheesy Crescent Rolls as an appetizer, side dish, or snack, they fit every occasion. Pair them with soups, salads, or serve them alongside your main dish for an enhanced dining experience.
Perfect for Any Gathering
These rolls are a hit at parties, picnics, and family dinners. Their alluring aroma and golden-brown crust will have everyone flocking to the table, ensuring they’re the star of any meal.
Easy Cleanup
Who wants to spend hours washing up after cooking? Thankfully, this recipe is mess-free. With just a few ingredients and a baking sheet, you’ll be enjoying your Garlic Butter Cheesy Crescent Rolls without worrying about the cleanup.
Ingredients for Garlic Butter Cheesy Crescent Rolls
When it comes to cooking, I believe that the right ingredients make all the difference. In Garlic Butter Cheesy Crescent Rolls, each ingredient plays a crucial role in creating that irresistible flavor. The buttery crescent rolls serve as a warm, flaky shell, while the mozzarella cheese adds that gooey, melty texture we all crave. Freshly minced garlic and parsley elevate the taste, giving it an aromatic touch that’s hard to resist.
- 8 oz refrigerated crescent rolls: This is the foundation of our rolls, providing a flaky and buttery texture.
- 4 strings mozzarella cheese: Cut into halves, these cheesy strings create a gooey surprise inside the rolls.
- 2 tablespoons butter: Melted, this adds richness and helps in achieving a golden-brown top.
- 1 clove garlic: Finely minced, it brings a robust flavor that complements the buttery rolls.
- 1 teaspoon parsley leaves: Chopped, this adds a fresh, herbaceous note to the rolls.
The Method for Garlic Butter Cheesy Crescent Rolls
Making Garlic Butter Cheesy Crescent Rolls is a delightful experience! The process is straightforward and almost therapeutic. Let’s walk through the steps together!
- Preheat your oven to 375°F (190°C). I love the smell of the oven warming up—it signals the start of something delicious! Line a baking sheet with parchment paper to prevent sticking and make cleanup easier.
- In a small bowl, combine the melted butter with the garlic and parsley. Stir it well to mix all the flavors together. As you mix, your kitchen will fill with an irresistible aroma!
- Now, it’s time to unroll the crescent rolls. Carefully separate them into triangles, taking care not to tear them. Lay them out on your lined baking sheet.
- Take a string of mozzarella cheese and place it horizontally at the bottom of each triangle. This is where the magic happens; the cheese will melt beautifully inside the rolls.
- Next, fold in the sides of the triangle and roll it up. With each roll, imagine that gooey cheese waiting to be discovered! Shape them into croissant-like forms.
- Using a brush, coat the tops of the rolls with the garlic herb butter mixture. This will give your rolls a gorgeous golden color and enhance their flavor as they bake.
- Place the baking sheet in your preheated oven and bake for about 10 minutes. You’ll know they’re done when they’re light golden brown, and the aroma fills the entire room.
- Once baked, remove them from the oven and let them cool slightly. Serve them warm, and watch as your friends and family dive in for more!
Expert Tips about Garlic Butter Cheesy Crescent Rolls

These tips will elevate your experience while making or enjoying Garlic Butter Cheesy Crescent Rolls. Let’s dive in!
- Storage: Store any leftover rolls in an airtight container in the refrigerator. They will keep well for about 2 to 3 days.
- Freezing: You can freeze these rolls before baking. Just assemble them, wrap tightly, and store in the freezer. Bake from frozen; just add a couple of minutes to the baking time.
- Pairing: These rolls pair wonderfully with soups or salads. Consider serving them alongside a creamy tomato soup for a comforting meal.
- Variations: Feel free to experiment with different cheeses! Cheddar or pepper jack can add a fun twist.
- Make them ahead: Prepare the rolls in advance and refrigerate until you’re ready to bake. Just remember to let them sit at room temperature for about 10 minutes before baking.
Pairing Suggestions for Garlic Butter Cheesy Crescent Rolls
These delightful rolls are perfect for a variety of occasions. Here are some great pairing suggestions:
- Comforting Soups: Serve Garlic Butter Cheesy Crescent Rolls with creamy tomato soup or chicken noodle soup for a heartwarming meal.
- Light Salads: Pair them with a fresh garden salad to balance out the richness of the cheese.
- Game Day Snacking: These rolls are great finger foods for game day parties. Serve them alongside dips like marinara or ranch.
- Casual Gatherings: Perfect for casual BBQs or picnics in the park. They’re easy to transport and always a hit!
- Seasonal Events: Whether it’s a summer barbecue or a holiday gathering, these rolls fit right in! They’re versatile enough to complement any meal.
FAQ
Conclusion
Garlic Butter Cheesy Crescent Rolls are not just a recipe; they’re a celebration of flavors that brings people together. The buttery, cheesy goodness wrapped in flaky dough is a surefire way to impress your friends and family. I encourage you to try making these rolls tonight, and watch as they disappear right off the plate. They’re a simple yet delightful treat that everyone will love!

Garlic Butter Cheesy Crescent Rolls
Ingredients
Equipment
Method
- Preheat your oven to 375°F (190°C). Line a baking sheet with parchment paper.
- In a small bowl, combine the melted butter with the garlic and parsley. Stir well.
- Unroll the crescent rolls and separate them into triangles. Place them on the baking sheet.
- Take a string of mozzarella cheese and place it horizontally at the bottom of each triangle.
- Fold in the sides of the triangle and roll it up to form croissant shapes.
- Brush the tops with the garlic herb butter mixture.
- Bake for 10 minutes or until golden brown.
- Serve warm and enjoy!
Notes
- Storage: Store any leftover rolls in an airtight container in the refrigerator for 2 to 3 days.
- Freezing: You can freeze these rolls before baking. Just assemble them, wrap tightly, and freeze.
- Pairing: These rolls pair wonderfully with soups or salads.
- Variations: Experiment with different cheeses for a fun twist.
- Make them ahead: Prepare the rolls in advance and refrigerate until you’re ready to bake.