Baked Chicken Tenders
There’s nothing quite like enjoying a plate of crunchy, golden brown tenders that bring back memories of family dinners and cozy gatherings. Baked Chicken Tenders have a special place in my heart, and I believe they can become a favorite in your home as well. I remember the first time I tried cooking these at home; the aroma that filled the kitchen was simply irresistible. It was one of those days when comfort food was a must, and I knew I had to create the perfect tender that would please everyone around the dinner table.
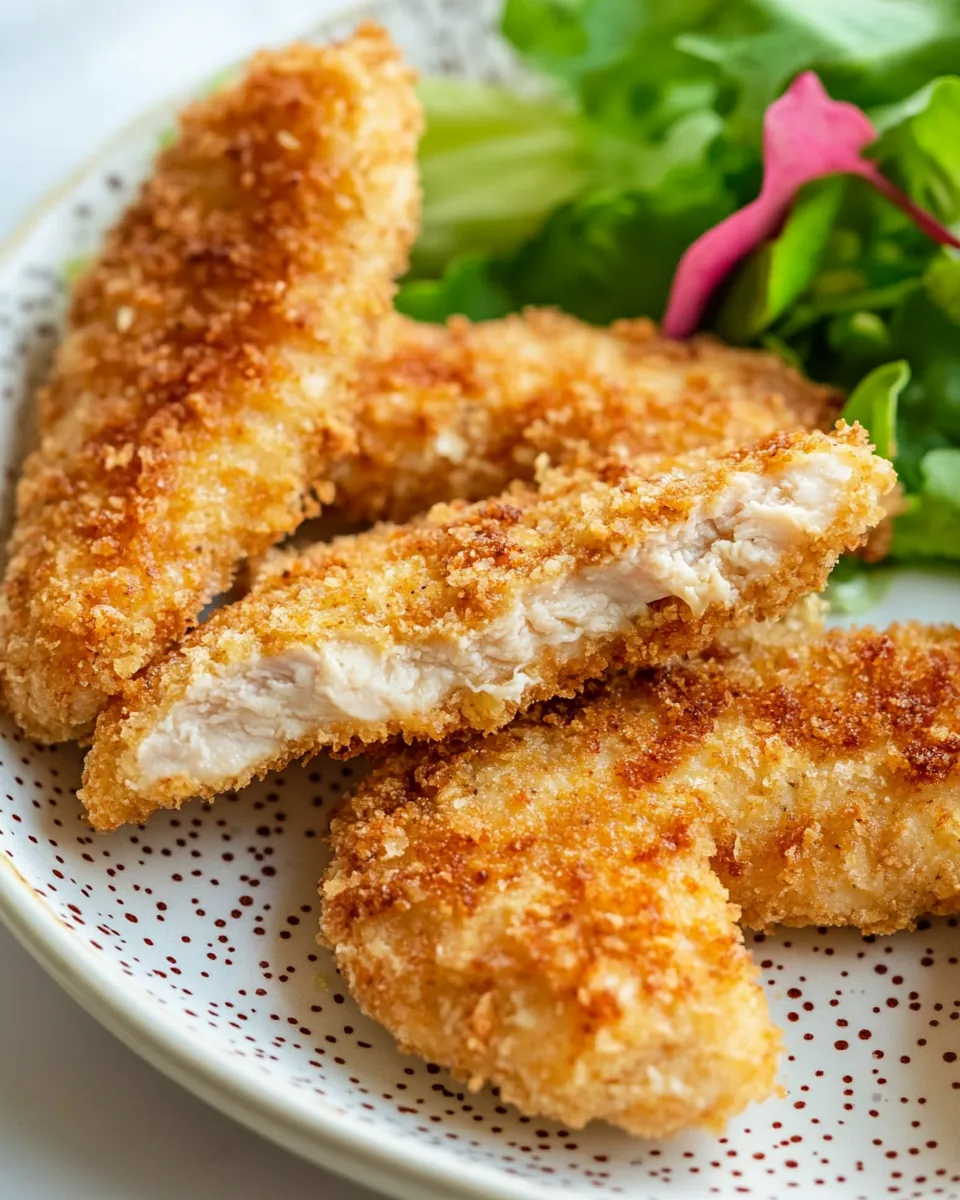
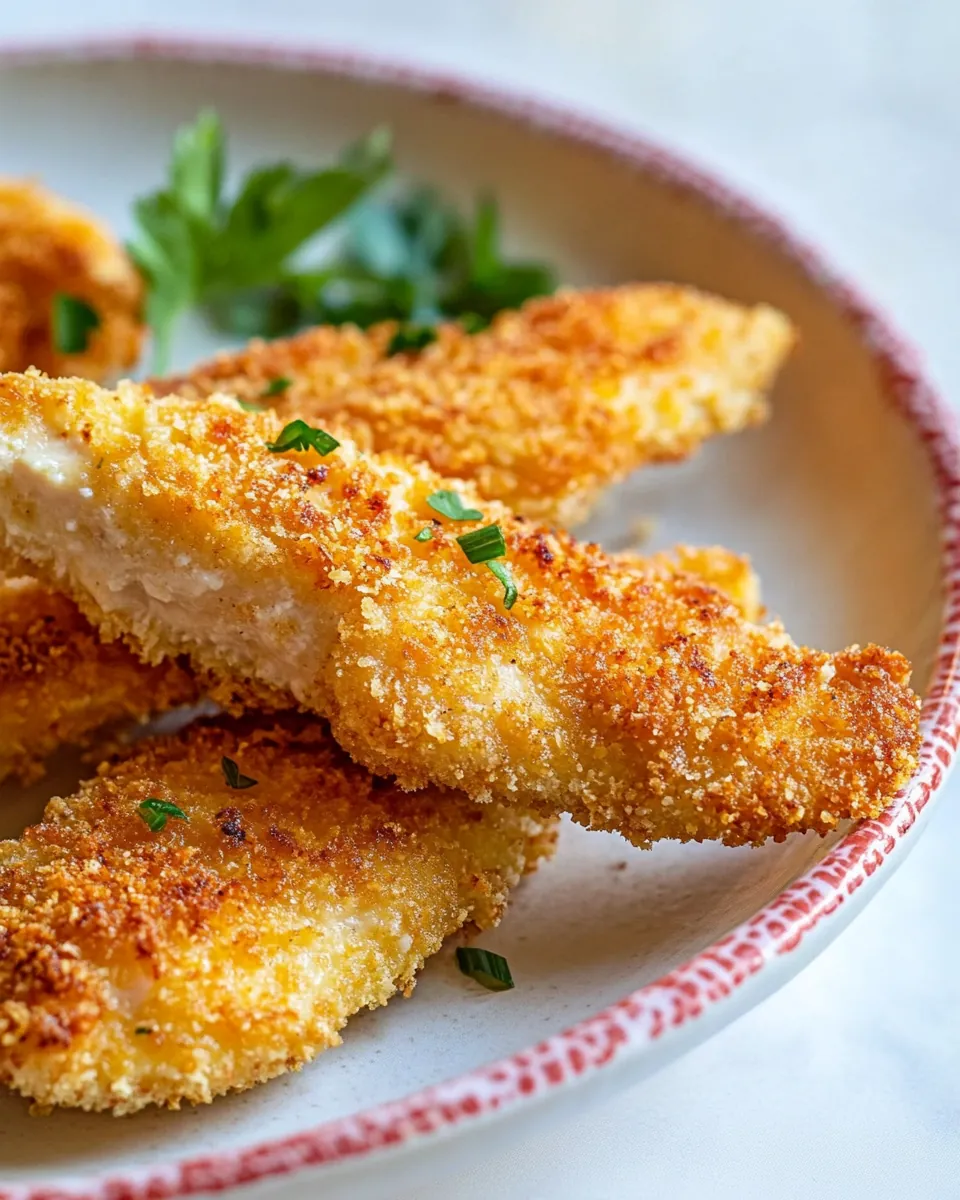
As we gathered around to enjoy our meal, I watched as each person took their first bite, their eyes lighting up with delight. The crunch from the panko breadcrumbs combined with the juicy chicken created a symphony of flavors that made everyone smile. I was thrilled to share the recipe with them, knowing that this dish could easily be the star of any weeknight dinner or a casual get-together with friends.
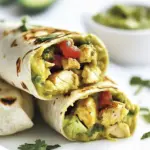
What I love most about Baked Chicken Tenders is their versatility. You can serve them with a variety of dipping sauces, and they pair beautifully with salads, veggies, or even in sandwiches. So, whether you’re looking for a quick meal after a busy day or planning a fun dinner party, these tenders will keep everyone happy and satisfied. Let’s dive deeper into why this recipe is so special and how you can make your own batch of crispy, flavorful tenders!
Recipe Snapshot
25 mins
10 mins
15 mins
Medium
300 kcal
25 g
Keto, Paleo, Whole30
10 g
Oven, Mixing Bowl, Baking Sheet, Frying Pan
Why This Baked Chicken Tenders Is So Good
They Are Perfectly Crispy
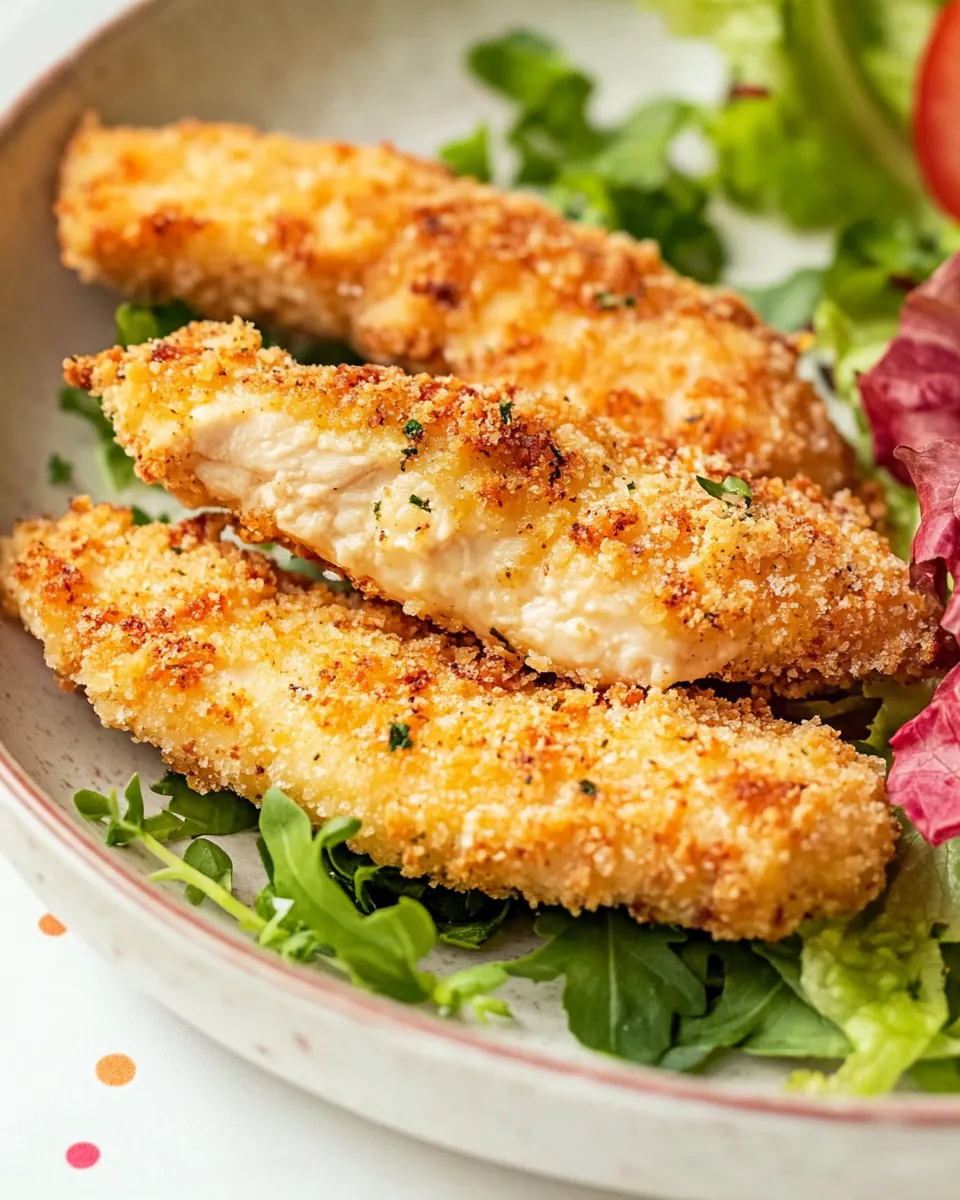
One of the best things about Baked Chicken Tenders is their incredible crunch. Using panko breadcrumbs gives these tenders that satisfying texture without the need for frying. You won’t believe how crispy they can get when baked to perfection!
Quick and Easy to Make
This recipe simplifies the cooking process without compromising on flavor. It’s simple enough for a weeknight dinner yet impressive enough for entertaining guests. You can have your tenders ready in no time, making it perfect for those busy evenings.
Kid-Friendly Delight
If you’re cooking for kids, you’re in luck! These tenders are a hit with little ones. Their familiar taste and fun shape make it easy to get children excited about dinner time. Plus, you can let them help in the kitchen by coating the chicken in breadcrumbs!
Great for Meal Prep
Planning ahead? These tenders are fantastic for meal prep! Make a batch over the weekend, and you can enjoy them throughout the week. They reheat beautifully, keeping that crunchy texture intact, so you can enjoy a quick meal without any fuss.
Customizable for Everyone
You can easily put your spin on the recipe. Want it spicier? Add some cayenne pepper to the breadcrumb mix. Prefer a different flavor? Try adding herbs like dried oregano or thyme. The possibilities are endless, making it a fun recipe to play around with!
Perfect for Any Occasion
Whether it’s a casual family dinner, a game day snack, or a party appetizer, Baked Chicken Tenders fit right in. Their appealing presentation and delicious taste will make them a favorite at any gathering.
Ingredients Required for Baked Chicken Tenders
When it comes to making Baked Chicken Tenders, the ingredients are simple yet effective. Each component plays a significant role in delivering that perfect flavor and texture. Here’s what you’ll need to bring your tenders to life.
- 1 1/4 cups panko breadcrumbs: These Japanese breadcrumbs provide a delightful crunch that regular breadcrumbs can’t match.
- 2 teaspoons garlic powder: Infuses the tenders with a savory flavor that pairs perfectly with chicken.
- 1 teaspoon onion powder: Adds depth to the flavor profile and enhances the overall taste.
- 1 teaspoon smoked paprika: This gives the tenders a hint of smokiness and a beautiful color.
- 1 teaspoon sea salt: A crucial seasoning that enhances all the other flavors.
- 1 teaspoon freshly ground black pepper: Adds a touch of heat and balances the flavors.
- 1 pound skinless, boneless chicken breast tenders: The star of the dish—tender and juicy!
- Nonstick cooking spray: Necessary for preventing the tenders from sticking to the baking sheet.
- 1 large egg: Helps bind the breadcrumb coating to the chicken for that perfect golden crust.
Making Baked Chicken Tenders
Creating Baked Chicken Tenders is a delightful process that anyone can master! Follow these simple steps, and soon you’ll be enjoying a plate of delicious tenders that everyone will love.
- Preheat your oven to 450°F. This high temperature will help achieve that amazing crunch we all love. While your oven warms up, line a baking sheet with foil and coat it with nonstick cooking spray. This prevents the tenders from sticking, making cleanup a breeze.
- In a large resealable bag, combine panko breadcrumbs, garlic powder, onion powder, smoked paprika, sea salt, and black pepper. Seal the bag tightly and shake it well to mix the ingredients. This is the coat that will make your tenders crispy!
- Next, crack the egg into a shallow dish and beat it lightly. This will be the adhesive that holds the breadcrumbs to the chicken. Dip each chicken tender into the beaten egg, ensuring it’s fully coated.
- Once coated in egg, place the tender into the bag with the breadcrumb mixture. Seal the bag again and give it a gentle shake to coat the tender evenly with the crunchy mixture. Repeat this process with all the chicken pieces.
- Arrange the coated tenders on the prepared baking sheet in a single layer. It’s important not to crowd them, as this allows for even baking. For an extra crunchy finish, spray the tops lightly with more cooking spray.
- Now it’s time to bake! Place the baking sheet in the preheated oven and bake for 7 minutes. This initial bake helps set the coating.
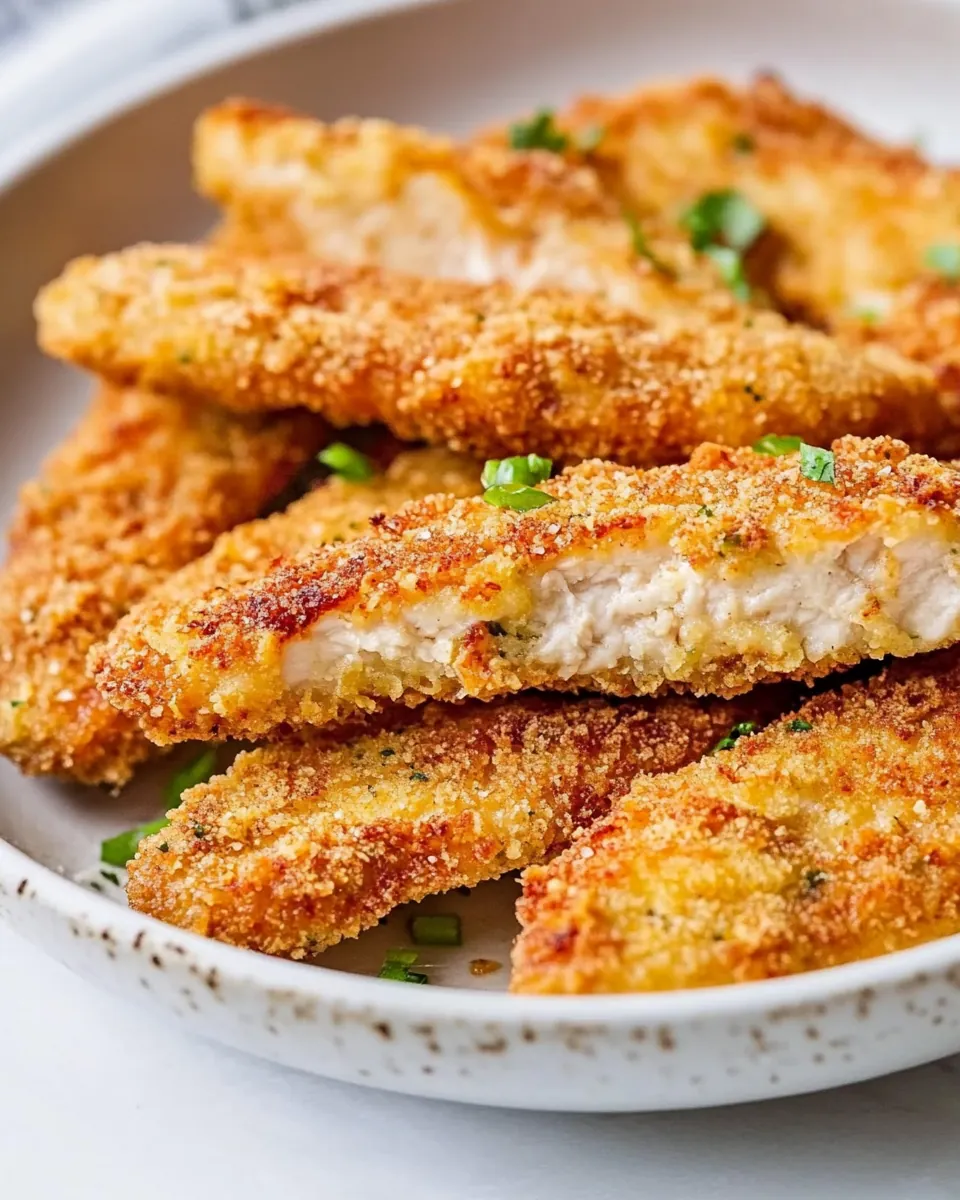
- After 7 minutes, carefully flip each tender using tongs to ensure even cooking. Continue to bake for another 7 minutes or until the tenders are cooked through and golden brown.
- If you want an extra crunch, move the oven rack closer to the broiler setting. Broil the tenders for 1 to 2 minutes, keeping a close eye on them as they can burn quickly. This step enhances the crispiness and gives them a beautiful color.
- Once done, remove the tenders from the oven and let them rest for a couple of minutes. This allows the juices to redistribute, ensuring tender and juicy bites.
- Serve the Baked Chicken Tenders warm with your favorite dipping sauces and sides. Enjoy!
Things Worth Knowing
- Use Fresh Ingredients: Selecting fresh chicken can make a significant difference in taste and texture.
- Don’t Rush the Cooking: Allow the tenders to cook thoroughly. Undercooked chicken can be unsafe to eat.
- Experiment with Flavors: Feel free to add different spices or herbs to the breadcrumb coating for a unique twist.
- Monitor the Broiling: When broiling, never leave the oven unattended. Keep a close watch to avoid burning your tenders.
Tips and Variations
Here are some helpful tips and variations to make your Baked Chicken Tenders even more enjoyable!
- Storage: Store any leftover tenders in an airtight container in the refrigerator for up to three days.
- Freezing: You can freeze uncooked coated tenders for up to two months. Just bake straight from frozen, adding a few extra minutes to the cooking time.
- Pairing: Serve with a side of coleslaw or sweet potato fries for a complete meal.
- Spicy Variation: For spice lovers, add cayenne pepper or hot sauce to the egg mixture.
- Herb Infusion: Mix in fresh or dried herbs like thyme or Italian seasoning to the breadcrumb mixture for added flavor.
Serve This Baked Chicken Tenders With
Looking for some great ideas on how to serve your Baked Chicken Tenders? Here are a few suggestions:
- With Dipping Sauces: Serve with a variety of sauces such as ranch, honey mustard, or barbecue for an extra flavor kick.
- In a Sandwich: Place the tenders in a bun with lettuce, tomatoes, and your favorite sauce for a delicious chicken sandwich.
- Alongside Salads: Pair tenders with a fresh garden salad for a lighter meal.
- For Game Day: These make fantastic appetizers during game day parties. Serve them with a selection of sauces for dipping.
- As Leftovers: Enjoy them cold or reheated the next day for lunch.
- Seasonal Pairings: In the summertime, serve with a side of corn on the cob and watermelon for a refreshing meal.
FAQ
Conclusion
Baked Chicken Tenders are more than just a meal; they are a memory-making dish that brings joy to the table. Their crunchy exterior and juicy interior make them irresistible, and the ease of making them means you can enjoy them any night of the week. I encourage you to try making these tenders for your next meal. You won’t be disappointed! Gather your loved ones, serve them up, and watch as smiles light up the room.
Baked Chicken Tenders
Ingredients
Equipment
Method
- Preheat your oven to 450°F. Line a baking sheet with foil and coat with nonstick cooking spray.
- In a large resealable bag, combine panko breadcrumbs, garlic powder, onion powder, smoked paprika, sea salt, and black pepper. Seal and shake to mix.
- Crack the egg into a shallow dish and beat lightly. Dip each chicken tender into the egg, then place into the bag with the panko mixture. Seal and shake to coat the chicken evenly.
- Place the coated chicken tenders on the prepared baking sheet in a single layer. Spray the top of each tender lightly with cooking spray.
- Bake in the preheated oven for 7 minutes. Flip each tender and continue to bake for another 7 minutes, or until the chicken is cooked through.
- For an extra crunch, move the oven rack closer to the broiler and broil the tenders for 1-2 minutes. Watch them closely as they can burn easily.
- Remove from the oven and let rest for a couple of minutes before serving.
Notes
- Storage: Store any leftover tenders in an airtight container in the refrigerator for up to three days.
- Freezing: You can freeze uncooked coated tenders for up to two months. Just bake straight from frozen, adding a few extra minutes to the cooking time.
- Pairing: Serve with a side of coleslaw or sweet potato fries for a complete meal.
- Spicy Variation: For spice lovers, add cayenne pepper or hot sauce to the egg mixture.
- Herb Infusion: Mix in fresh or dried herbs like thyme or Italian seasoning to the breadcrumb mixture for added flavor.