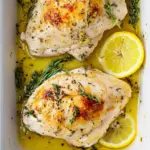
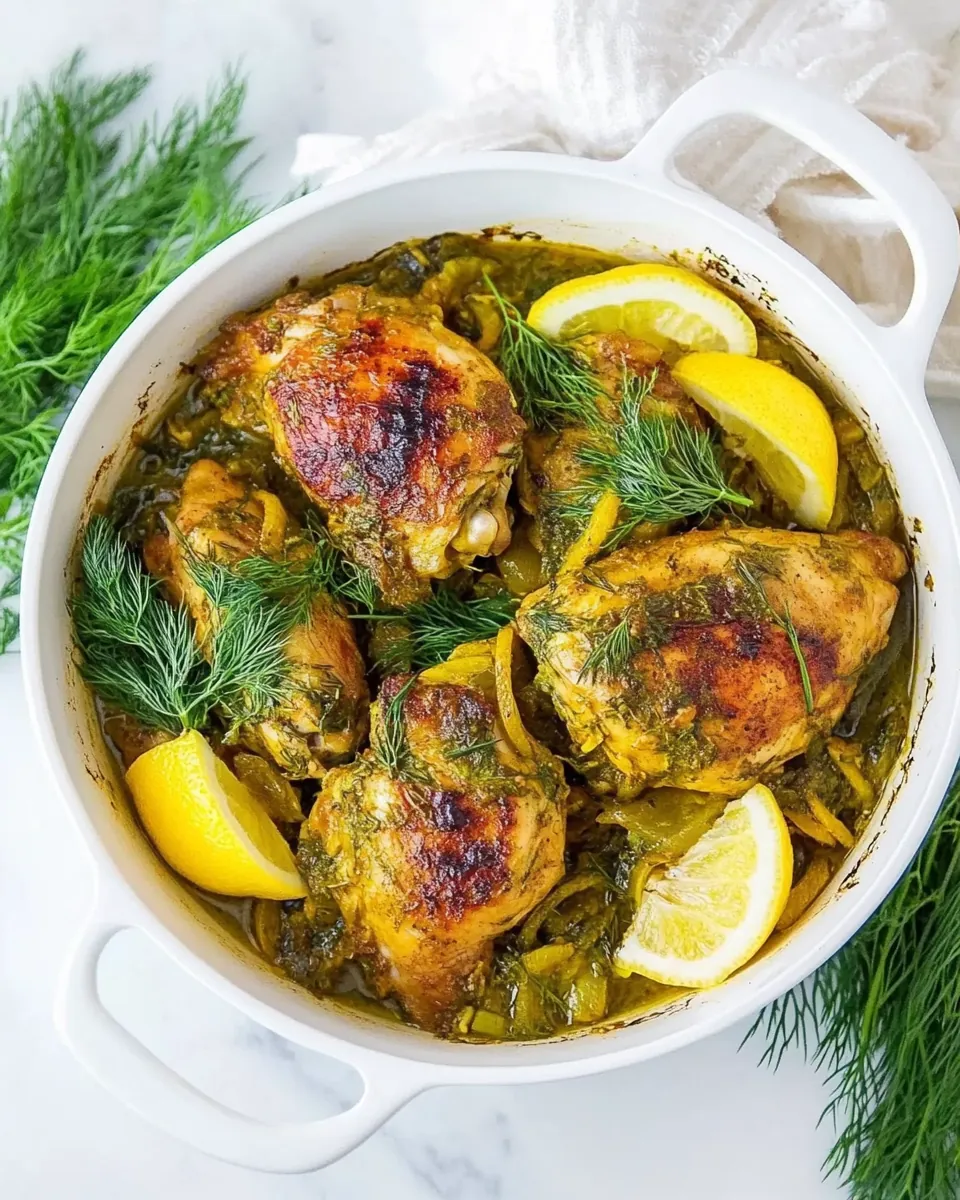
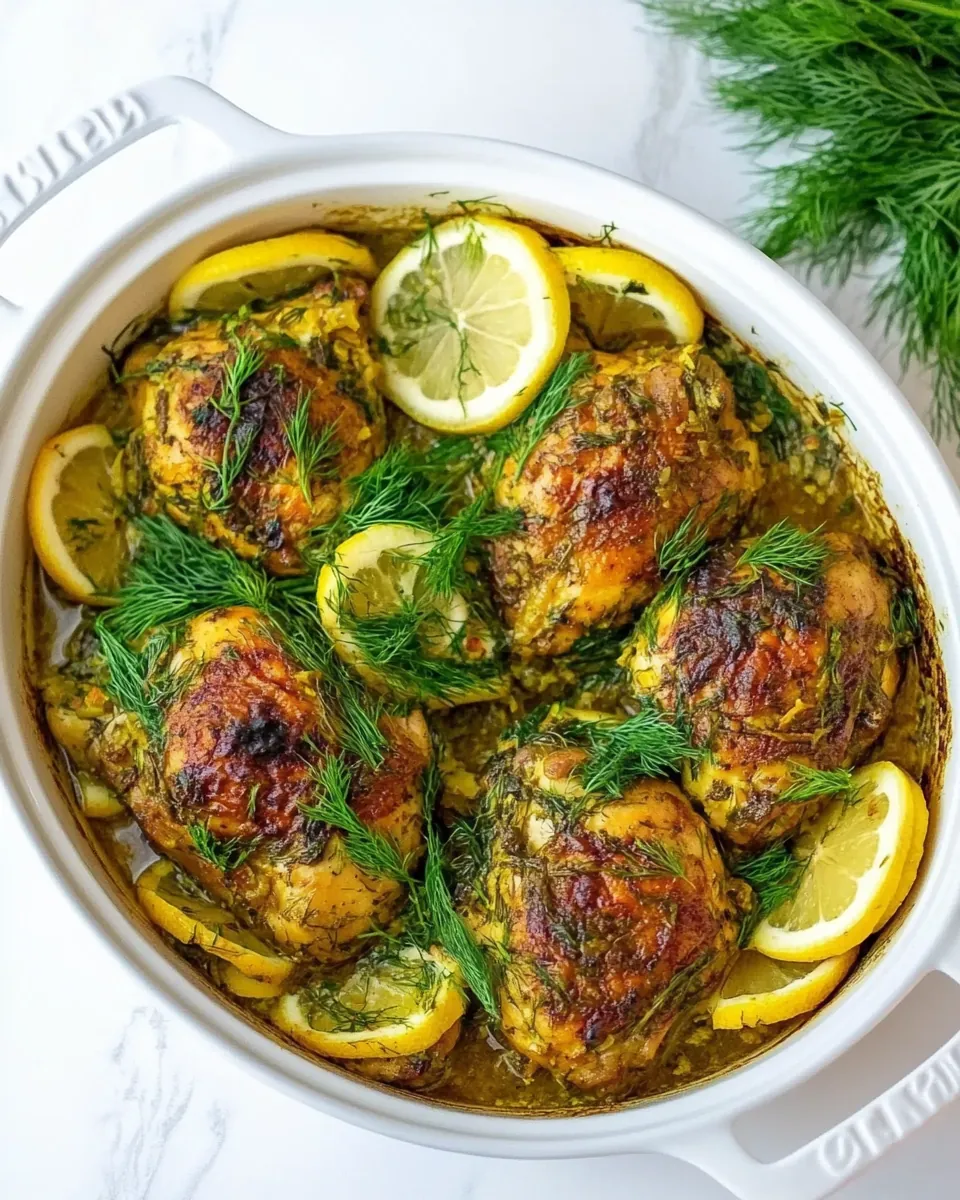
Braised Lemon Chicken
There’s something special about a cozy evening spent in the kitchen, especially when it involves a dish like Braised Lemon Chicken. This recipe is one I stumbled upon during a particularly busy week when I was craving something comforting yet simple to prepare. The aroma of the chicken cooking with lemon, dill, and a hint of turmeric fills the air, making it feel like a warm hug as it simmers away. Every time I make this dish, I reminisce about those moments when my family gathered around the table, sharing stories and laughter, while indulging in this flavorful meal. Pairing the Braised Lemon Chicken with a side of fluffy rice or quinoa makes it a complete dining experience, perfect for any day of the week.
Recipe Snapshot
50 mins
5 mins
45 mins
Medium
360 kcal
32 g
Keto, Paleo, Whole30
24 g
Wooden Spoon, Saucepan, Chef’s Knife, Frying Pan
The Appeal of This Braised Lemon Chicken
Family Favorite
This recipe quickly became a family favorite. Each bite is bursting with flavor, and I love how the tender chicken is infused with the zesty tang of lemon. It’s a dish that brings everyone together, making it perfect for gatherings or simply a weeknight dinner.
Fresh Ingredients
The freshness of the ingredients plays a crucial role in the vibrant taste of Braised Lemon Chicken. Using fresh dill and lemons elevates the dish, providing a delightful contrast to the savory elements. I always make sure to choose quality ingredients, as they truly make a difference.
Easy to Prepare
One of the best aspects of this recipe is its simplicity. With just a few straightforward steps, you can have a delicious meal on the table in no time. It’s perfect for busy weeknights or when you want to impress guests without spending hours in the kitchen.
Versatile Pairing
Braised Lemon Chicken pairs beautifully with various sides, whether it’s a light salad, roasted vegetables, or a hearty grain. This versatility allows you to adapt the dish to any occasion, making it a go-to recipe for any meal.
Comforting and Satisfying
There’s something undeniably comforting about a warm, succulent chicken dish. When I serve Braised Lemon Chicken, it not only satisfies hunger but also nourishes the soul, making it ideal for family meals.
Perfect for Leftovers
This dish is perfect for leftovers, as the flavors deepen even more the next day. Whether enjoyed cold or reheated, Braised Lemon Chicken remains delightful, making it a fantastic meal prep option for those busy weeks.
Ingredient List for Braised Lemon Chicken
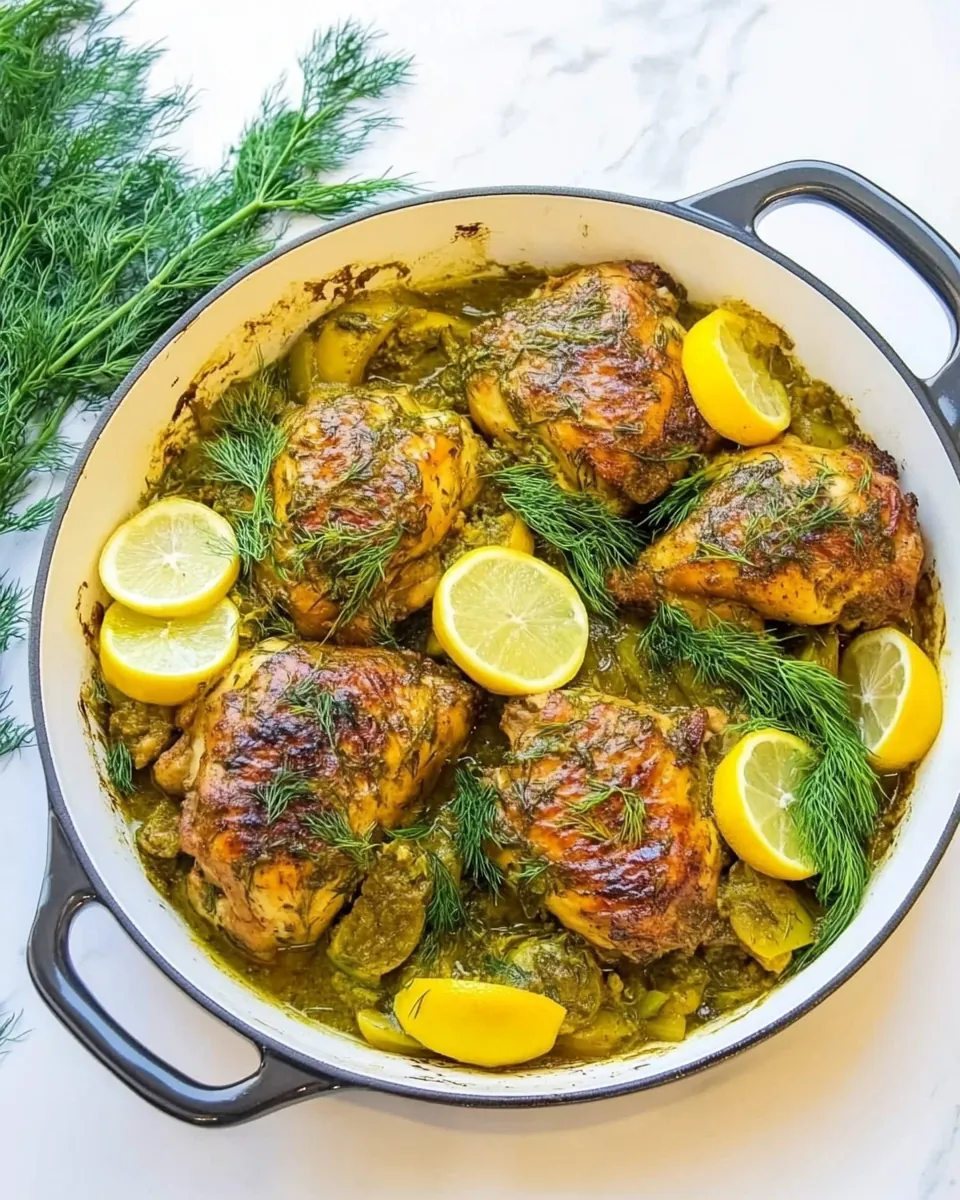
The ingredients used in Braised Lemon Chicken are simple yet impactful. Each one plays a critical role in creating a dish that’s not only delicious but also vibrant and full of character. The key players include juicy chicken thighs, fresh dill, zesty lemon, and aromatic spices that work harmoniously to bring this recipe to life.
- 6 chicken thighs, bone in skin on – The star of this dish, these thighs remain juicy and flavorful during the cooking process.
- Salt and black pepper – Essential for seasoning, ensuring the chicken is well-flavored.
- 2 tablespoons olive oil – Used for searing the chicken and adding richness.
- 1/2 onion sliced – Adds sweetness and depth to the dish as it caramelizes.
- 1 quart low sodium chicken broth – Forms the base of the cooking liquid, providing moisture and flavor.
- 8 sprigs fresh dill + 1/2 tablespoon chopped dill, divided – Brings a fresh, herbaceous note that complements the lemon beautifully.
- 1/2 teaspoon turmeric – Adds a warm color and subtle earthiness.
- Pinch cayenne pepper – Provides a hint of heat that balances the flavors.
- 1/4 teaspoon salt or more to taste – Enhances the overall flavor of the dish.
- 2 tablespoons freshly squeezed lemon juice or more to taste – The zesty component that brightens the dish and adds a refreshing touch.
Step by Step Instructions for Braised Lemon Chicken
Cooking Braised Lemon Chicken is a straightforward process that lets you enjoy the delightful aroma wafting through your kitchen. Follow these steps to create a dish that’s full of flavor and sure to impress. Each step is designed to guide you through the cooking process, ensuring you achieve perfect results every time.
- Begin by heating olive oil in a large sauté pan over high heat until it just starts to smoke. This high temperature is crucial for achieving a beautiful sear on the chicken thighs. While the oil heats, generously season the chicken thighs with salt and black pepper.
- Once the oil is hot, carefully place the chicken thighs skin side down in the pan. Allow them to sear for a few minutes until the skin turns golden brown and crispy. This step adds texture and flavor to the chicken. After a few minutes, reduce the heat to medium and remove the thighs from the pan, setting them aside on a plate.
- Next, add the sliced onion to the same pan, stirring occasionally. Cook until the onions are translucent and soft, with a hint of golden color. This process should take about five minutes, and you may want to drain any excess fat that accumulates during cooking.
- With the onions cooked, return the chicken thighs to the pan, ensuring they are skin side up this time. Carefully pour in the chicken broth until it reaches halfway up the sides of the thighs, enhancing the flavor as it cooks.
- Now it’s time to add the fresh dill sprigs over and around the thighs. This herb infuses the dish with its distinct flavor. Next, sprinkle turmeric, cayenne, and salt over the chicken. Remember, if you’re sensitive to salt, you can hold off and adjust the seasoning later.
- Bring the broth to a gentle simmer, then cover the pan, slightly vented, and reduce the heat to medium-low. Let the thighs simmer for about 40 to 45 minutes, basting with the cooking liquid every ten minutes. This slow cooking process is key for making the chicken tender and juicy.
- Once the chicken has cooked through, carefully remove the thighs from the pan. Discard the dill sprigs and add lemon juice to the broth. Adjust the seasoning with additional salt and pepper according to your taste.
- If the sauce seems too thin, you can thicken it by mixing water and cornstarch in a small bowl, then adding it slowly to the pan. Stir over low heat until you reach your desired thickness.
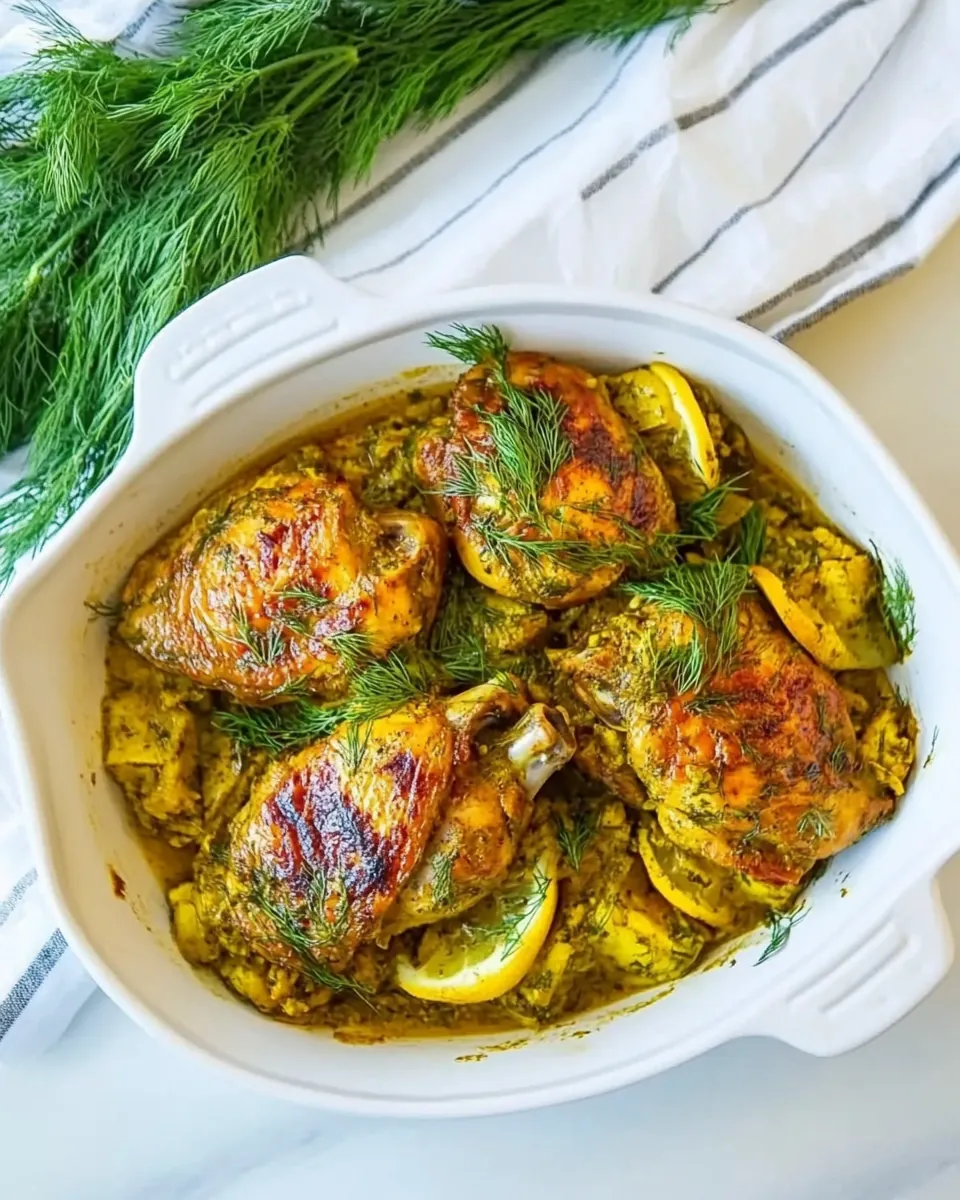
- Finally, serve the Braised Lemon Chicken with the sauce poured over, topped with additional freshly chopped dill. This dish pairs beautifully with a side of rice, quinoa, or mashed potatoes, making it a comforting and satisfying meal.
Things Worth Knowing
- Use a meat thermometer: To ensure your chicken is perfectly cooked, aim for an internal temperature of 165°F (74°C).
- Let it rest: Allow the chicken to rest for a few minutes after removing it from the heat. This helps retain its juices, making it more tender.
- Customize the broth: Feel free to add other herbs or spices to the broth for a personal touch, such as thyme or bay leaves.
- Extract more flavor: If you want an even richer sauce, consider deglazing the pan with a splash of broth or adding fresh herbs during the last few minutes of cooking.
Ways to Adapt This Recipe
Looking to switch things up with your Braised Lemon Chicken? Here are some fantastic ideas to make this dish your own.
- Add vegetables: Feel free to include vegetables like carrots, bell peppers, or zucchini during the cooking process for added nutrition and flavor.
- Change the herbs: While dill is a classic choice, experimenting with fresh thyme or rosemary can create a different flavor profile.
- Spice it up: If you enjoy a little heat, consider increasing the amount of cayenne pepper or adding some crushed red pepper flakes to the sauce.
- Try different cuts: While chicken thighs work wonderfully, you can also use drumsticks or chicken breasts if you prefer.
- Make it Creamy: To add richness, stir in a splash of cream or a dollop of yogurt at the end for a creamy sauce.
What Complements This Braised Lemon Chicken
- Rice: A fluffy rice dish serves as a great base to soak up the delicious braising liquid.
- Quinoa: This grain adds a nutty flavor and makes the meal even more nutritious.
- Mashed potatoes: Creamy mashed potatoes pair perfectly, adding comfort and a hearty feel to the dish.
- Salads: A fresh cucumber or green salad adds brightness and balances the richness of the chicken.
- Occasions: This dish is perfect for family dinners, special gatherings, or even meal prep for busy weeknights.
- Storage: Leftovers can be stored in an airtight container in the fridge for up to three days.
FAQ
Conclusion
The Braised Lemon Chicken is a dish that brings warmth and flavor into your home. It’s simple enough for a weeknight yet impressive enough for guests. I encourage you to give this recipe a try; it might just become your new favorite meal. Enjoy the delightful combination of lemon and dill as you serve this comforting dish to your loved ones.
Braised Lemon Chicken
Ingredients
Equipment
Method
- Begin by heating olive oil in a large sauté pan over high heat until it just starts to smoke. This high temperature is crucial for achieving a beautiful sear on the chicken thighs. While the oil heats, generously season the chicken thighs with salt and black pepper.
- Once the oil is hot, carefully place the chicken thighs skin side down in the pan. Allow them to sear for a few minutes until the skin turns golden brown and crispy. This step adds texture and flavor to the chicken. After a few minutes, reduce the heat to medium and remove the thighs from the pan, setting them aside on a plate.
- Next, add the sliced onion to the same pan, stirring occasionally. Cook until the onions are translucent and soft, with a hint of golden color. This process should take about five minutes, and you may want to drain any excess fat that accumulates during cooking.
- With the onions cooked, return the chicken thighs to the pan, ensuring they are skin side up this time. Carefully pour in the chicken broth until it reaches halfway up the sides of the thighs, enhancing the flavor as it cooks.
- Now it's time to add the fresh dill sprigs over and around the thighs. This herb infuses the dish with its distinct flavor. Next, sprinkle turmeric, cayenne, and salt over the chicken. Remember, if you're sensitive to salt, you can hold off and adjust the seasoning later.
- Bring the broth to a gentle simmer, then cover the pan, slightly vented, and reduce the heat to medium-low. Let the thighs simmer for about 40 to 45 minutes, basting with the cooking liquid every ten minutes. This slow cooking process is key for making the chicken tender and juicy.
- Once the chicken has cooked through, carefully remove the thighs from the pan. Discard the dill sprigs and add lemon juice to the broth. Adjust the seasoning with additional salt and pepper according to your taste.
- If the sauce seems too thin, you can thicken it by mixing water and cornstarch in a small bowl, then adding it slowly to the pan. Stir over low heat until you reach your desired thickness.
- Finally, serve the Braised Lemon Chicken with the sauce poured over, topped with additional freshly chopped dill. This dish pairs beautifully with a side of rice, quinoa, or mashed potatoes, making it a comforting and satisfying meal.