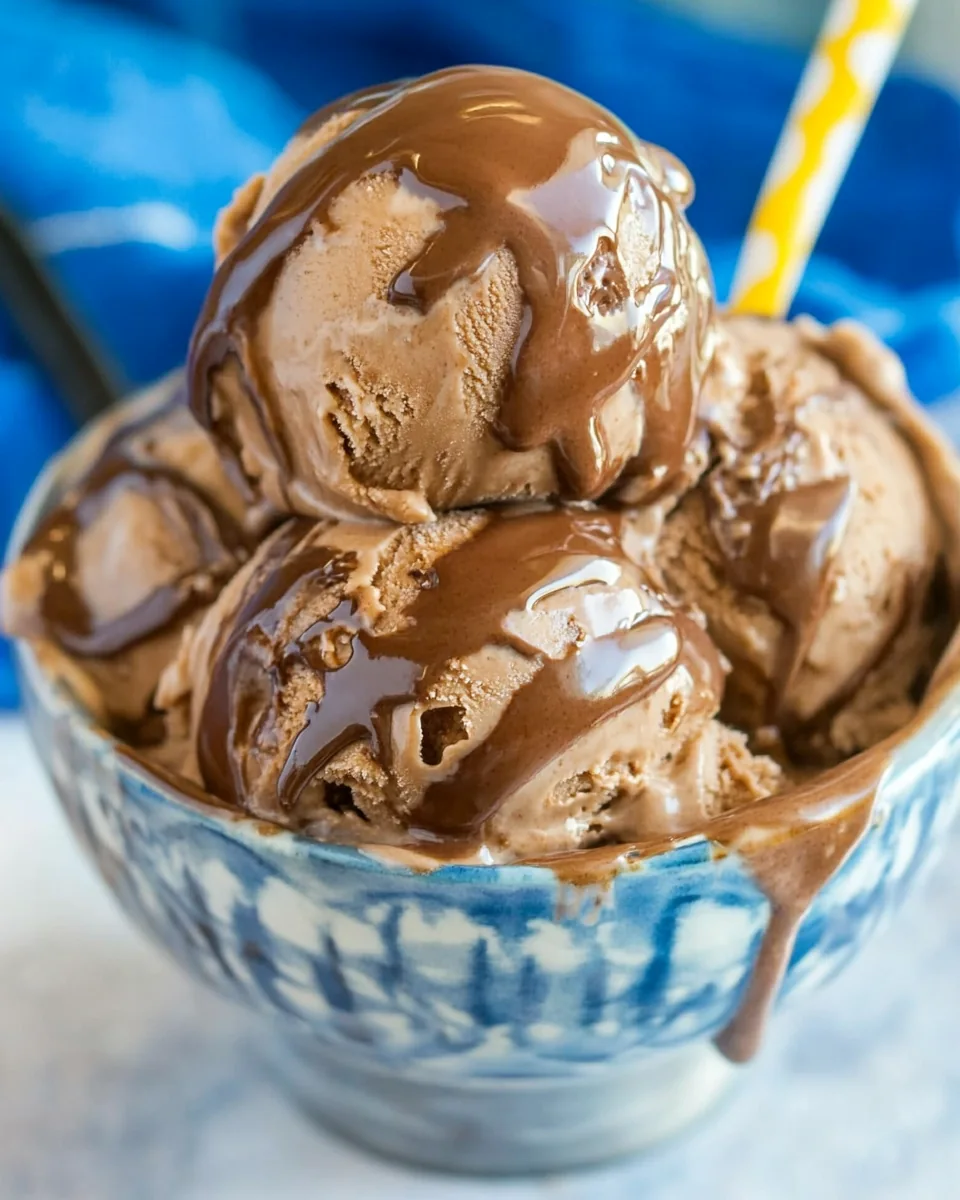
No Churn Chocolate Ice Cream
There’s something incredibly satisfying about making your own ice cream, and with this No Churn Chocolate Ice Cream, you’ll discover just how easy and rewarding it can be. I vividly remember the first time I decided to whip up a batch of this decadent treat. It was a hot summer afternoon, and I could think of nothing better than indulging in something creamy and chocolatey. The beauty of this recipe is that you don’t need an ice cream maker, and the results are nothing short of divine. Imagine scooping out velvety waves of chocolate ice cream, each bite melting in your mouth and cooling you down. This recipe truly is a lifesaver for hot days or if you just need a sweet pick-me-up.
What I love most about making No Churn Chocolate Ice Cream is the sheer simplicity of it all. With just a handful of ingredients, you can create an indulgent dessert that feels like a treat from an upscale ice cream shop. Plus, it’s a great way to get the kids involved in the kitchen! They can help measure, mix, and of course, taste test along the way. And let’s be honest, who doesn’t love the rich flavor of chocolate accented with a hint of sweetness? You can customize it with your favorite toppings or mix-ins, making it a versatile dessert for any occasion.
This is not just any chocolate ice cream; it’s a dessert that brings back cherished memories, be it a family gathering, a backyard barbecue, or simply a quiet evening at home. No matter the occasion, this No Churn Chocolate Ice Cream will surely impress and satisfy everyone’s sweet tooth. Ready to dive into this delightful creamy goodness? Let’s get started!
Recipe Snapshot
10 mins
10 mins
0 mins
Medium
215 kcal
2 g
Keto, Gluten-Free, Low FODMAP
13 g
Mixing Bowl, Frying Pan
The Magic of This No Churn Chocolate Ice Cream
1. No Ice Cream Maker Needed
One of the best parts about this No Churn Chocolate Ice Cream is that it requires no fancy equipment. You don’t need to invest in an ice cream maker, which means anyone can whip this up at home with ease. All you need is a mixing bowl and a whisk or mixer. This makes it accessible to everyone, even those who may not be pros in the kitchen.
2. Simple Ingredients
This recipe calls for just a few simple ingredients: heavy whipping cream, chocolate coffee creamer, semi-sweet baking chocolate, and sweetened condensed milk. These ingredients come together effortlessly, resulting in a creamy and flavorful ice cream that is far superior to store-bought options. You’ll be amazed at how something so simple can yield such fantastic results!
3. Versatile Flavor Options
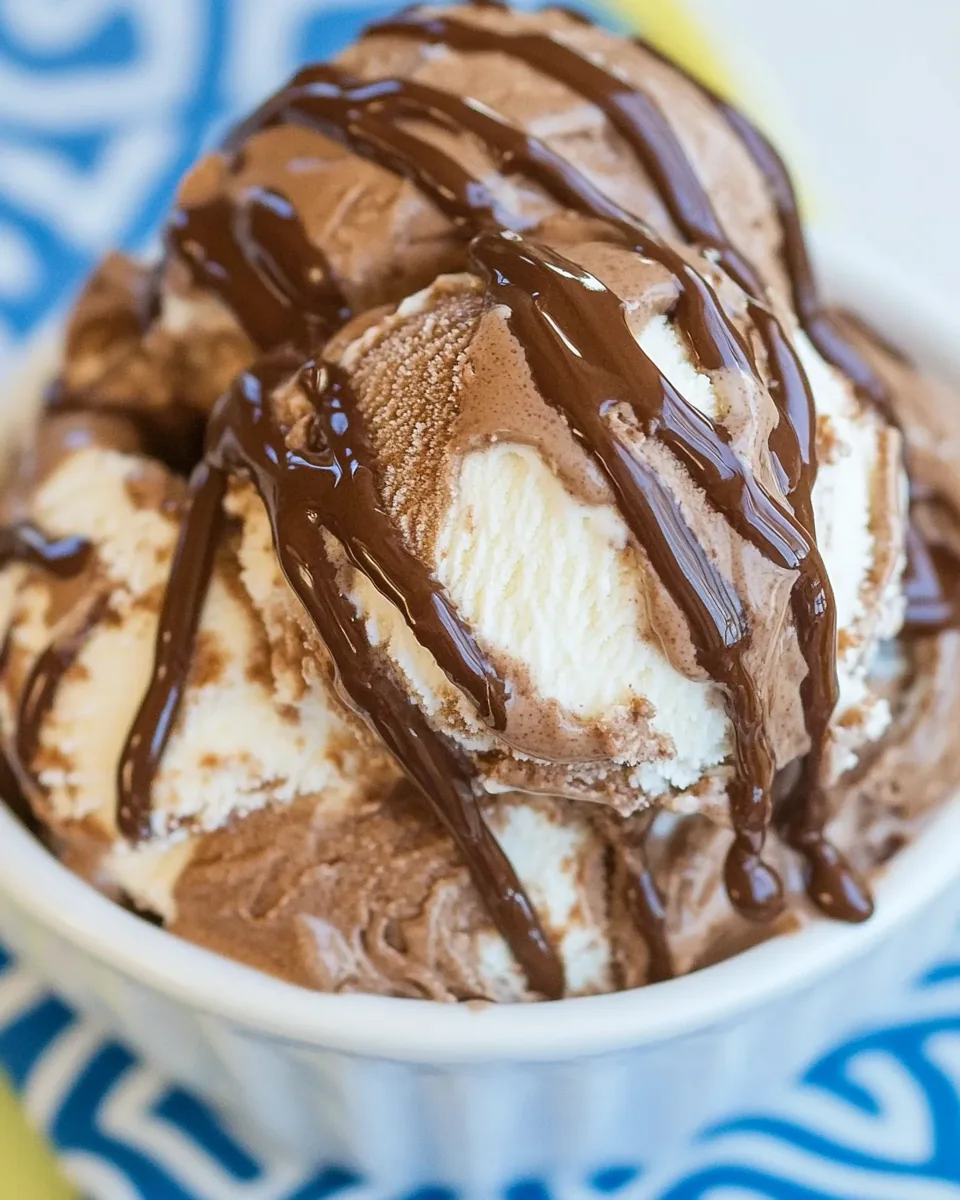
While the classic version is already a treat, the No Churn Chocolate Ice Cream can be customized endlessly. Want to add some crunch? Toss in some crushed cookies or chopped nuts. Feeling fruity? Swirl in some raspberry puree or even banana slices. The possibilities are endless, allowing you to create a flavor that suits your mood or occasion perfectly!
4. A Crowd-Pleaser
This ice cream doesn’t just satisfy your sweet tooth; it’s a guaranteed hit at gatherings. Whether it’s a birthday party, a summer cookout, or a cozy movie night, everyone loves a scoop of this rich chocolate goodness. It’s a dessert that brings people together, and you’ll find yourself sharing the recipe as the compliments roll in.
5. Perfect for Hot Days
Summer heat calls for refreshing treats, and what could be better than digging into a bowl of homemade ice cream? The No Churn Chocolate Ice Cream is a perfect way to cool down on a hot day. Its rich, creamy texture and delightful chocolate flavor make it a refreshing choice that you’ll want to enjoy again and again.
6. Easy Storage Options
Once you’ve made your No Churn Chocolate Ice Cream, it can be easily stored in the freezer for a delicious dessert anytime. Just make sure to transfer it to an airtight container to keep it fresh. You’ll love knowing that whenever the mood strikes, a scoop of homemade ice cream is just a few minutes away!
Everything You Need for No Churn Chocolate Ice Cream
When it comes to making No Churn Chocolate Ice Cream, the quality of your ingredients matters. Each component plays a crucial role in bringing out the rich chocolate flavor and creamy texture that we all crave. Here’s a breakdown of the key players:
- 1 ¾ cups heavy whipping cream: This is the heart of your ice cream, providing the essential creaminess and rich mouthfeel.
- ½ cup chocolate coffee creamer or chocolate milk: Adds sweetness and depth to the chocolate flavor.
- 2 ounces semi-sweet baking chocolate: Melted and cooled, this will enhance the chocolate flavor significantly.
- 1 14-ounce can sweetened condensed milk: This ingredient adds sweetness and helps create that perfect creamy consistency.
- Chocolate fudge ice cream topping: For drizzling, adding an extra layer of chocolatey goodness.
- Caramel ice cream topping: Optional, but it offers a delightful contrast to the chocolate.
How to Make No Churn Chocolate Ice Cream
Making No Churn Chocolate Ice Cream is as easy as it gets, and you’ll find that the process is quite enjoyable! Follow these simple steps to create your own homemade delight. Get ready to savor a rich and creamy treat that your friends and family will love!
- Begin by placing heavy whipping cream and chocolate coffee creamer in a large mixing bowl. Use a hand mixer or a stand mixer to beat the mixture. You want to whip it until soft peaks form. This step is crucial for achieving that fluffy texture that makes ice cream so delightful.
- Next, carefully melt your semi-sweet baking chocolate until it’s smooth, then let it cool for around five minutes. Once cooled, pour the chocolate into your whipped cream mixture. This is where the magic happens as the chocolate adds an incredible depth of flavor.
- Now, pour in the sweetened condensed milk and gently fold the mixture together. Use a spatula to incorporate all the ingredients while being careful not to deflate the whipped cream. You want everything to be well combined yet still light and airy.
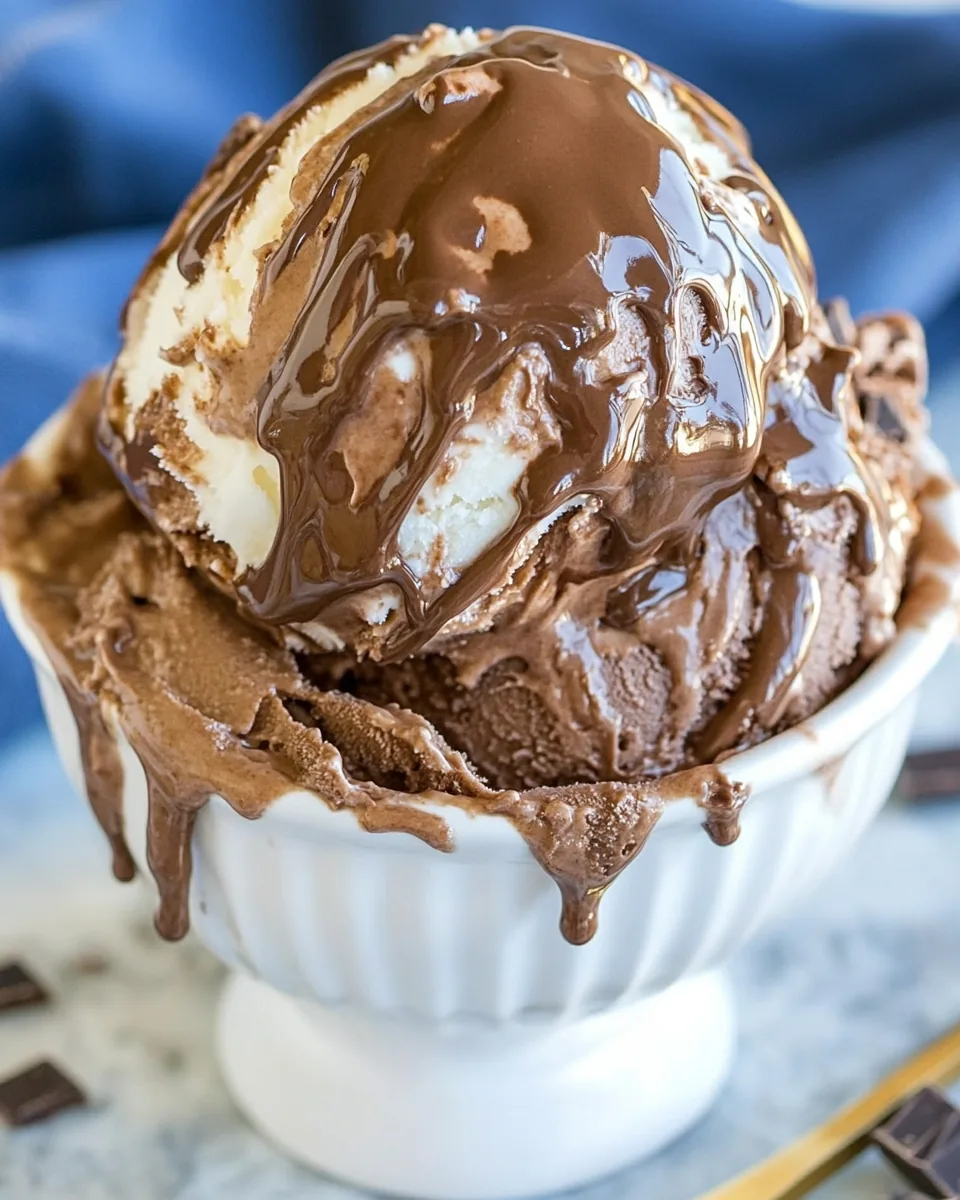
- Add your desired amount of chocolate fudge ice cream topping and caramel ice cream topping into the mixture. With a gentle folding motion, mix just enough to create beautiful swirls of fudge and caramel throughout the ice cream base. Don’t worry if it’s not perfectly mixed; the swirls will add a lovely presentation.
- Once everything is combined, transfer the mixture into a sealable container or a large loaf pan. Spread it evenly and ensure there are no air pockets. This will help avoid ice crystals forming in your ice cream.
- Drizzle more of the chocolate fudge and caramel sauce over the top, creating an inviting appearance. Cover the container securely and place it in the freezer.
- Let your No Churn Chocolate Ice Cream freeze for at least four hours, or until it is fully set. Patience is key here, but the reward will be well worth it!
- When ready to serve, take the ice cream out of the freezer and let it sit at room temperature for about five to ten minutes to soften slightly. This makes it easier to scoop.
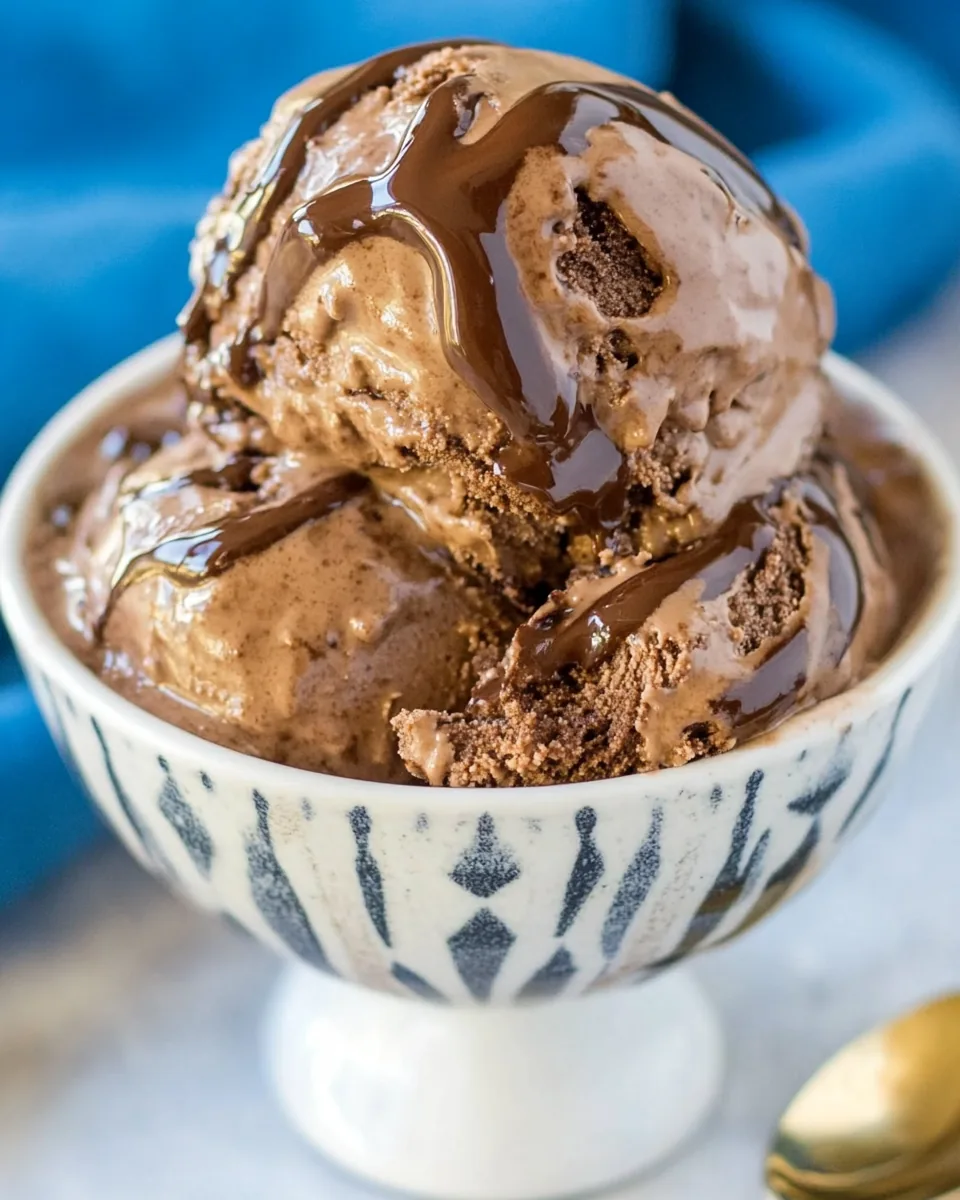
- Use an ice cream scoop to serve the ice cream into bowls or cones. You can add additional toppings like whipped cream or chocolate shavings for a special touch.
- Lastly, enjoy every creamy, chocolatey bite of your homemade No Churn Chocolate Ice Cream. And don’t forget to share with family and friends—if you can bear to!
Things Worth Knowing
- Quality Ingredients Matter: Using high-quality heavy whipping cream and premium chocolate will significantly elevate your ice cream’s flavor.
- Be Mindful of Temperature: Letting the ice cream sit out for a few minutes before serving makes it easier to scoop without compromising the texture.
- Experiment with Flavors: Don’t hesitate to try different creamers or mix-ins to discover your favorite flavor combinations.
- Cover Properly: Always ensure your ice cream is covered well to prevent freezer burn and maintain its creamy texture.
Variations to Try
If you want to get creative with your No Churn Chocolate Ice Cream, there are tons of exciting variations to explore. Here are some tasty ideas to try!
- Swap the Creamer: Experiment with different flavors of chocolate coffee creamer or even use regular milk for a lighter version.
- Add Mix-Ins: Stir in your favorite candies such as chopped cookies, chocolate chips, or nuts for added texture.
- Skip the Fudge: For a simple chocolate ice cream, omit the fudge and caramel toppings for a more classic taste.
- Layered Ice Cream: Create layers in your container by alternating between the ice cream mixture and your favorite toppings.
- Chocolate Mint: Add a few drops of mint extract for a refreshing twist.
- Fruit Swirls: Add fresh fruit purees, like raspberry or strawberry, to create fruity swirls in your ice cream.
- Nutty Variations: Fold in some toasted almonds or pecans for a delightful crunch and nutty flavor.
Perfect Pairings for No Churn Chocolate Ice Cream
Serving No Churn Chocolate Ice Cream can be just as fun as making it! Here are some delightful ways to enjoy this treat:
- Chocolate Brownies: A scoop of this ice cream perfectly complements warm, fudgy brownies for a decadent dessert.
- Fresh Berries: Pairing with fresh strawberries or raspberries adds a refreshing contrast to the rich chocolate.
- Coffee: Enjoy this ice cream alongside a cup of strong coffee for a delightful after-dinner treat.
- Birthday Parties: This ice cream is a fantastic addition to any birthday celebration, making it a crowd-pleaser for guests of all ages.
- Summer BBQs: Serve it at summer gatherings as a cool treat that everyone will enjoy on hot days.
- Ice Cream Sundaes: Create an ice cream sundae by adding whipped cream, chopped nuts, and a cherry on top.
- Storage Tips: Store in an airtight container in the freezer for up to two weeks for the best quality.
FAQ
Conclusion
The No Churn Chocolate Ice Cream is a deliciously creamy treat that allows you to enjoy the taste of homemade ice cream without any special equipment. Whether you’re looking for a refreshing dessert on a hot summer day or a sweet indulgence after dinner, this recipe is sure to satisfy. So why not give it a try? I promise you’ll love the rich chocolate flavor and the joy of sharing it with friends and family. Your taste buds will thank you!
No Churn Chocolate Ice Cream
Ingredients
Equipment
Method
- Begin by placing heavy whipping cream and chocolate coffee creamer in a large mixing bowl. Use a hand mixer or a stand mixer to beat the mixture. You want to whip it until soft peaks form. This step is crucial for achieving that fluffy texture that makes ice cream so delightful.
- Next, carefully melt your semi-sweet baking chocolate until it’s smooth, then let it cool for around five minutes. Once cooled, pour the chocolate into your whipped cream mixture. This is where the magic happens as the chocolate adds an incredible depth of flavor.
- Now, pour in the sweetened condensed milk and gently fold the mixture together. Use a spatula to incorporate all the ingredients while being careful not to deflate the whipped cream. You want everything to be well combined yet still light and airy.
- Add your desired amount of chocolate fudge ice cream topping and caramel ice cream topping into the mixture. With a gentle folding motion, mix just enough to create beautiful swirls of fudge and caramel throughout the ice cream base. Don’t worry if it’s not perfectly mixed; the swirls will add a lovely presentation.
- Once everything is combined, transfer the mixture into a sealable container or a large loaf pan. Spread it evenly and ensure there are no air pockets. This will help avoid ice crystals forming in your ice cream.
- Drizzle more of the chocolate fudge and caramel sauce over the top, creating an inviting appearance. Cover the container securely and place it in the freezer.
- Let your No Churn Chocolate Ice Cream freeze for at least four hours, or until it is fully set. Patience is key here, but the reward will be well worth it!
- When ready to serve, take the ice cream out of the freezer and let it sit at room temperature for about five to ten minutes to soften slightly. This makes it easier to scoop.
- Use an ice cream scoop to serve the ice cream into bowls or cones. You can add additional toppings like whipped cream or chocolate shavings for a special touch.
- Lastly, enjoy every creamy, chocolatey bite of your homemade No Churn Chocolate Ice Cream. And don’t forget to share with family and friends—if you can bear to!
Notes
- Tip 1: Using high-quality heavy whipping cream and premium chocolate will significantly elevate your ice cream's flavor.
- Tip 2: Letting the ice cream sit out for a few minutes before serving makes it easier to scoop without compromising the texture.
- Tip 3: Don’t hesitate to try different creamers or mix-ins to discover your favorite flavor combinations.
- Tip 4: Always ensure your ice cream is covered well to prevent freezer burn and maintain its creamy texture.