Begin by placing heavy whipping cream and chocolate coffee creamer in a large mixing bowl. Use a hand mixer or a stand mixer to beat the mixture. You want to whip it until soft peaks form. This step is crucial for achieving that fluffy texture that makes ice cream so delightful.
Next, carefully melt your semi-sweet baking chocolate until it’s smooth, then let it cool for around five minutes. Once cooled, pour the chocolate into your whipped cream mixture. This is where the magic happens as the chocolate adds an incredible depth of flavor.
Now, pour in the sweetened condensed milk and gently fold the mixture together. Use a spatula to incorporate all the ingredients while being careful not to deflate the whipped cream. You want everything to be well combined yet still light and airy.
Add your desired amount of chocolate fudge ice cream topping and caramel ice cream topping into the mixture. With a gentle folding motion, mix just enough to create beautiful swirls of fudge and caramel throughout the ice cream base. Don’t worry if it’s not perfectly mixed; the swirls will add a lovely presentation.
Once everything is combined, transfer the mixture into a sealable container or a large loaf pan. Spread it evenly and ensure there are no air pockets. This will help avoid ice crystals forming in your ice cream.
Drizzle more of the chocolate fudge and caramel sauce over the top, creating an inviting appearance. Cover the container securely and place it in the freezer.
Let your No Churn Chocolate Ice Cream freeze for at least four hours, or until it is fully set. Patience is key here, but the reward will be well worth it!
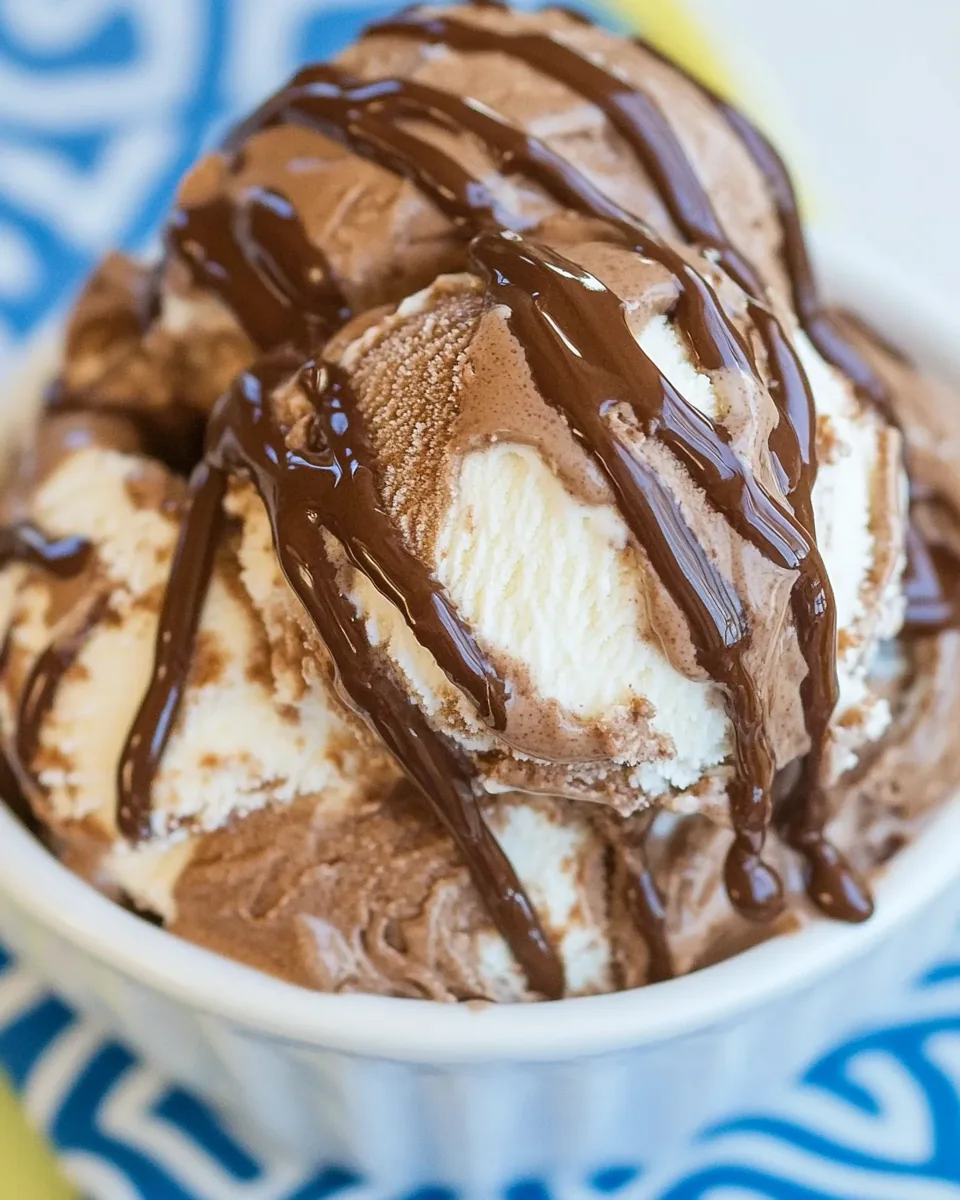
When ready to serve, take the ice cream out of the freezer and let it sit at room temperature for about five to ten minutes to soften slightly. This makes it easier to scoop.
Use an ice cream scoop to serve the ice cream into bowls or cones. You can add additional toppings like whipped cream or chocolate shavings for a special touch.
Lastly, enjoy every creamy, chocolatey bite of your homemade No Churn Chocolate Ice Cream. And don’t forget to share with family and friends—if you can bear to!