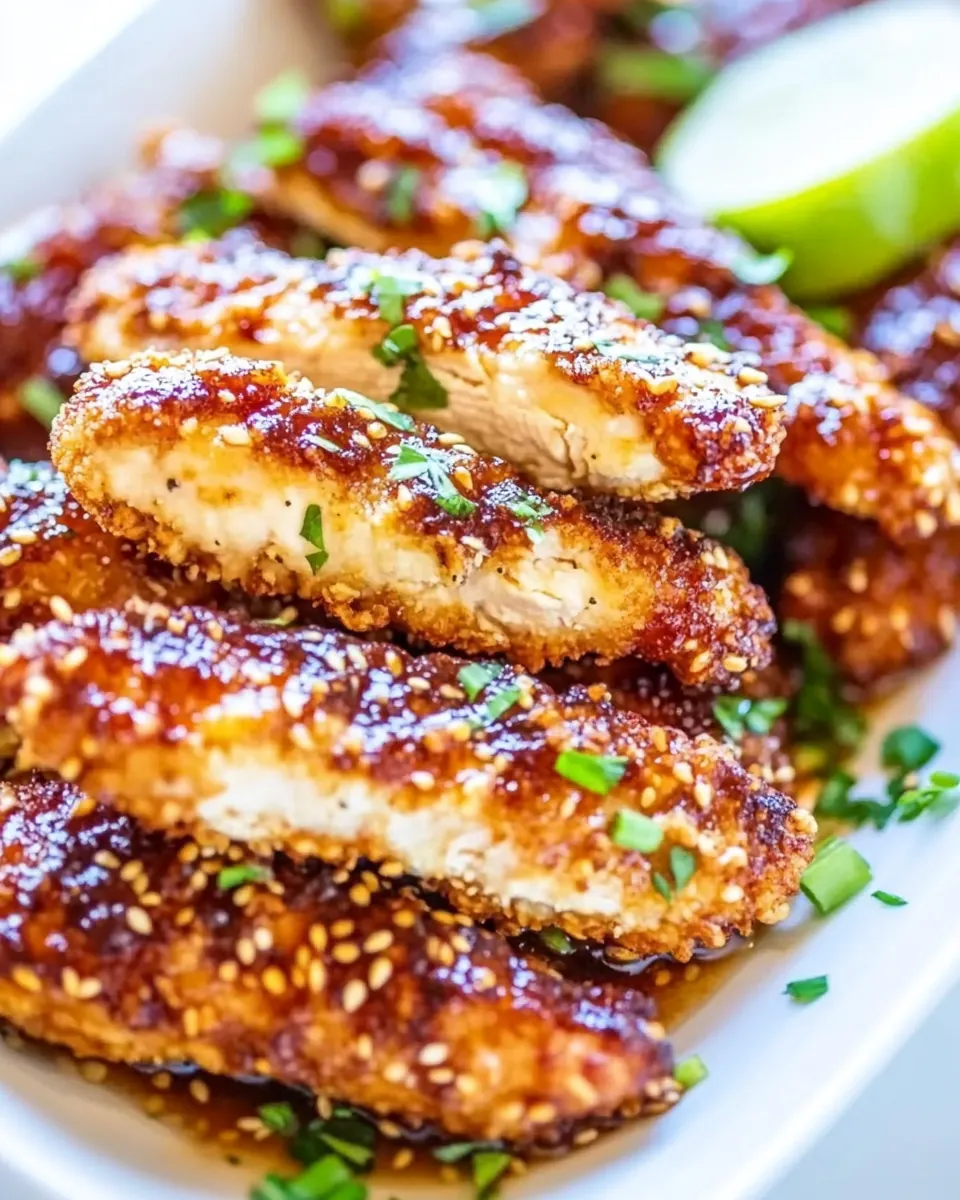
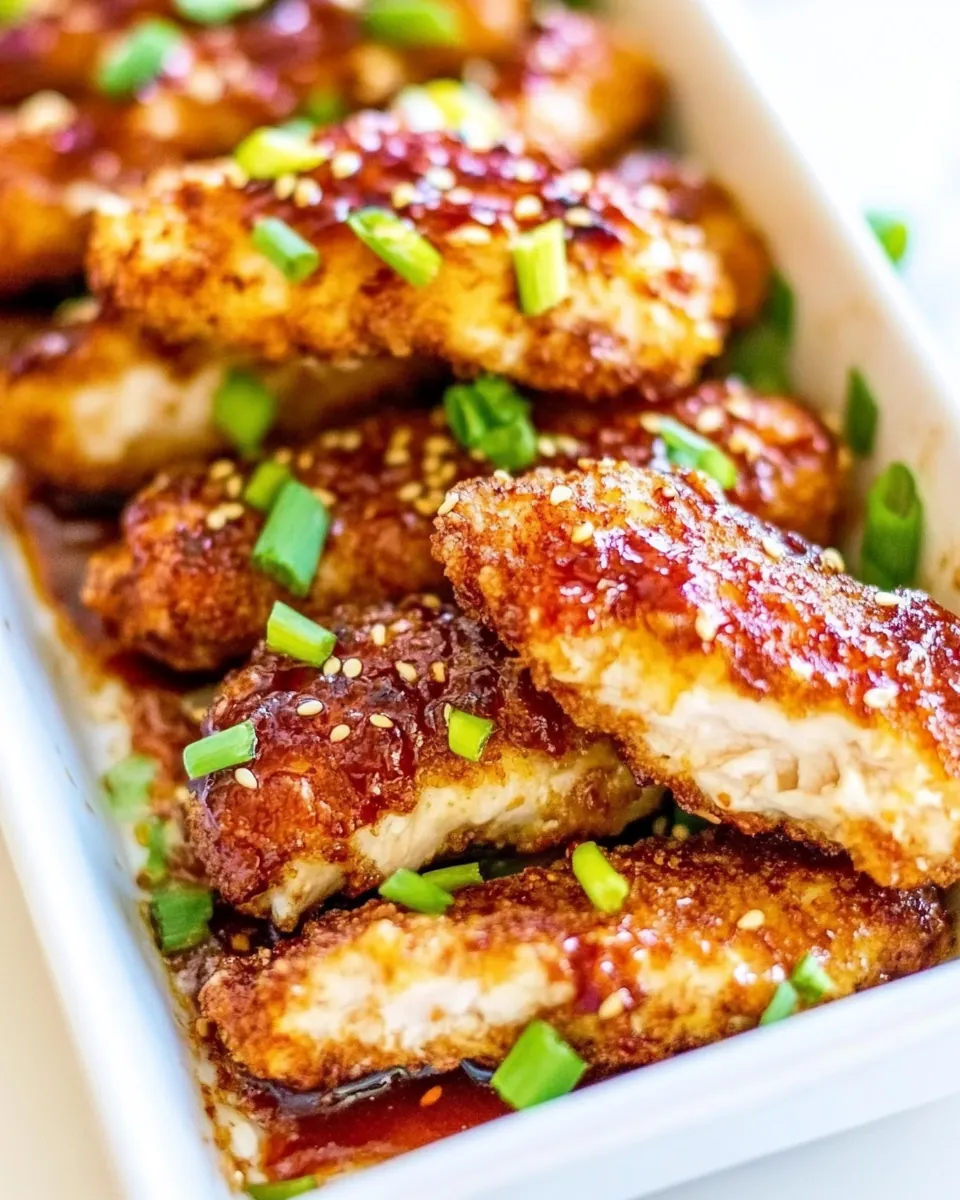
Asian Glazed Chicken Fingers
When I think of quick and delicious meals that can make a weeknight feel special, Asian Glazed Chicken Fingers always comes to mind. I remember the first time I made them; it was a busy evening, and I was looking for something that would satisfy my family’s cravings without taking hours in the kitchen. The aroma filled the house as the chicken baked, and I couldn’t wait to see their reactions. The first bite is a delightful surprise of sweet and savory flavors, making it an instant hit. Each crunchy piece is coated in a luscious glaze that’s simply irresistible.
Recipe Snapshot
1 hr 15 mins
30 mins
45 mins
Medium
350 kcal
28 g
Paleo, Whole30, Low FODMAP
15 g
Whisk, Frying Pan, Large Pot, Skillet, Oven, Chef’s Knife, Baking Sheet
Why You’ll Love This Asian Glazed Chicken Fingers
Flavors that Dance
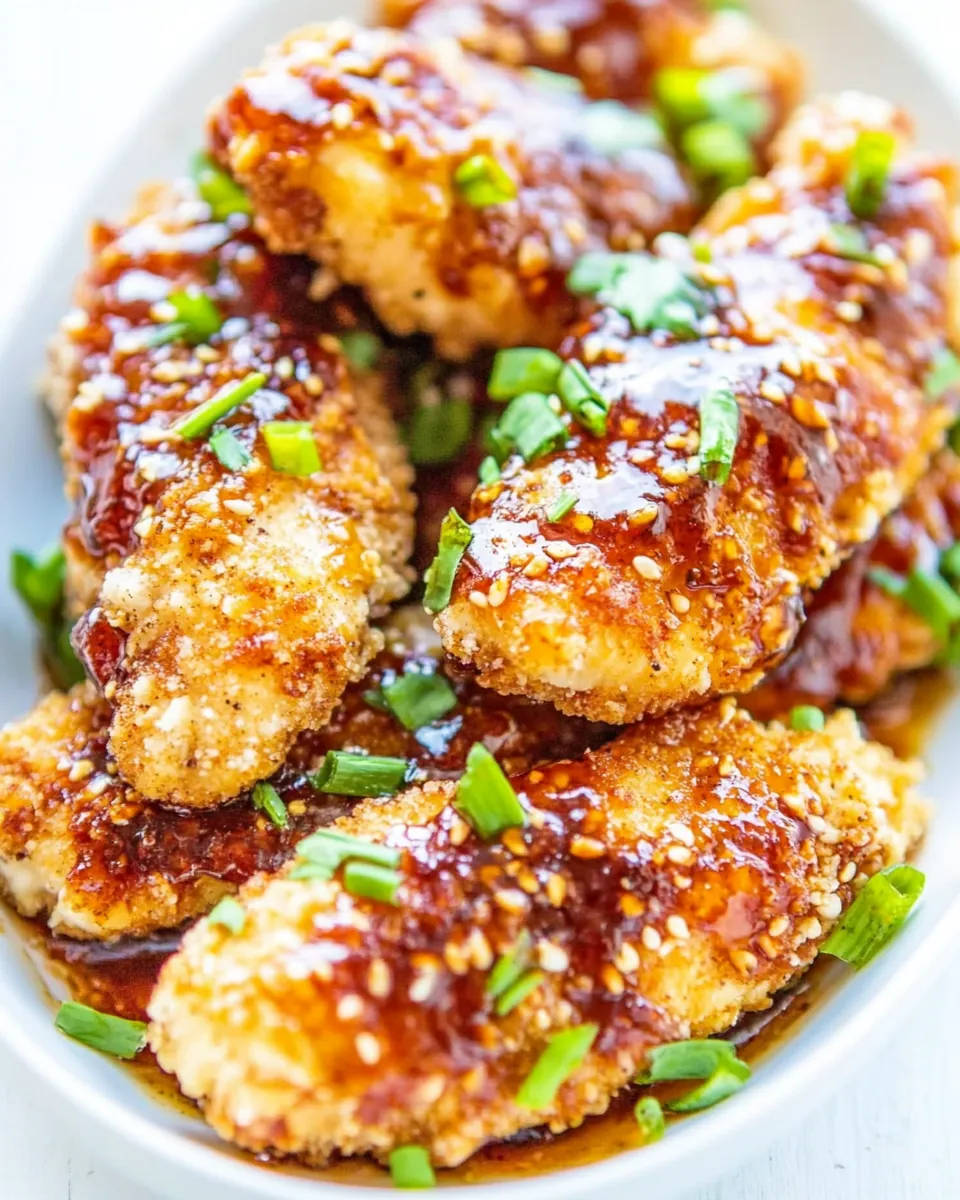
The combination of sweet honey and savory soy sauce in the glaze for Asian Glazed Chicken Fingers creates a flavor profile that is both comforting and exciting. Every bite is a perfect balance, making these chicken fingers more than just an ordinary dinner.
Perfect for Any Occasion
Whether it’s a casual family dinner or a gathering with friends, these chicken fingers are a crowd-pleaser. They’re fun to eat, and who doesn’t love finger food? Pair them with some dipping sauces, and you have an appetizer that can steal the show!
Healthier Option
By making your own chicken fingers rather than buying pre-packaged ones, you control the ingredients. You can use boneless, skinless chicken breasts and bake them instead of frying, making this a healthier alternative that still satisfies the craving for something crispy and savory.
Great Leftovers
One of my absolute favorite aspects of Asian Glazed Chicken Fingers is how well they store. After a meal, there are often leftovers that can be stored in the fridge, ready to be enjoyed again. Reheating them in the oven brings back their crispiness, making them just as delicious the next day.
Customizable to Your Taste
You can easily modify the glaze to suit your preferences. Want it spicier? Add more sriracha! Prefer a tangier flavor? A splash more vinegar will do the trick. This recipe invites creativity, allowing you to tailor it to your family’s taste.
What Goes Into Asian Glazed Chicken Fingers
When crafting Asian Glazed Chicken Fingers, each ingredient plays an important role in creating that signature flavor and texture. The harmony of sweet, savory, and spicy notes makes this dish truly special. Let’s look at the key players that come together to create this easy, satisfying meal.
- Honey – Adds sweetness and helps create that glossy finish.
- Soy Sauce – Provides a rich umami flavor that deepens the overall taste.
- Sriracha Sauce – Infuses a spicy kick that complements the sweetness.
- Chicken Breasts – The main protein that becomes tender and juicy when cooked.
- Buttermilk – Helps tenderize the chicken, resulting in a moist texture.
- Breadcrumbs – Creates a delightful crunch on the outside.
- All-Purpose Flour – Assists in achieving a nice coating for the chicken.
Putting Together Asian Glazed Chicken Fingers
Bringing the Asian Glazed Chicken Fingers to life is easier than you might think. You’ll find that the steps are straightforward, allowing you to create a delicious meal without stress. Follow these detailed instructions to ensure that your chicken fingers turn out perfectly!
- Preheat your oven to 400°F (200°C). This step ensures that your chicken fingers cook evenly and achieve that crispy texture we all love. While the oven heats up, line a baking sheet with parchment paper to prevent sticking.
- In a small saucepan, whisk together the glaze ingredients: honey, soy sauce, sriracha sauce, chili flakes, Chinese five spice, and garlic powder. Set aside for now. The aroma of the glaze will have you excited for the final product!
- Take the boneless, skinless chicken breasts and cut them into long, thin strips. This allows for even cooking and a fun finger-food shape that’s easy to dip.
- In a bowl, pour about a cup of buttermilk over the chicken strips. This not only adds flavor but also helps keep the chicken moist as it cooks. Let it sit for a few minutes to soak in.
- Prepare three shallow plates: one with all-purpose flour (seasoned with salt and pepper), the second with the remaining buttermilk, and the third with breadcrumbs (also seasoned). Think of this as your assembly line.
- To bread the chicken, first dredge each strip in the seasoned flour. Make sure to shake off any excess; you want a light coating to stick without being too thick.
- Next, dip the floured chicken into the buttermilk, ensuring it’s completely coated.
- Finally, roll the chicken in the seasoned breadcrumbs, pressing gently to ensure they stick well. This layering technique is what will give you that perfect crunch!
- Place the coated chicken fingers on the prepared baking sheet. Make sure they’re not overcrowded so they can crisp up nicely.
- Bake in the oven for about 30 to 45 minutes, or until golden brown and cooked through. You can cut one in half to check for doneness; it should be juicy and no longer pink inside.
- If you prefer frying, heat vegetable oil in a large skillet. Fry the chicken fingers for about 3 to 5 minutes on each side until they reach that golden-brown perfection.
- While the chicken is baking or frying, bring your prepared glaze to a boil over medium-high heat. Once it starts bubbling, reduce the heat to medium and let it simmer until it reduces by half and thickens slightly.
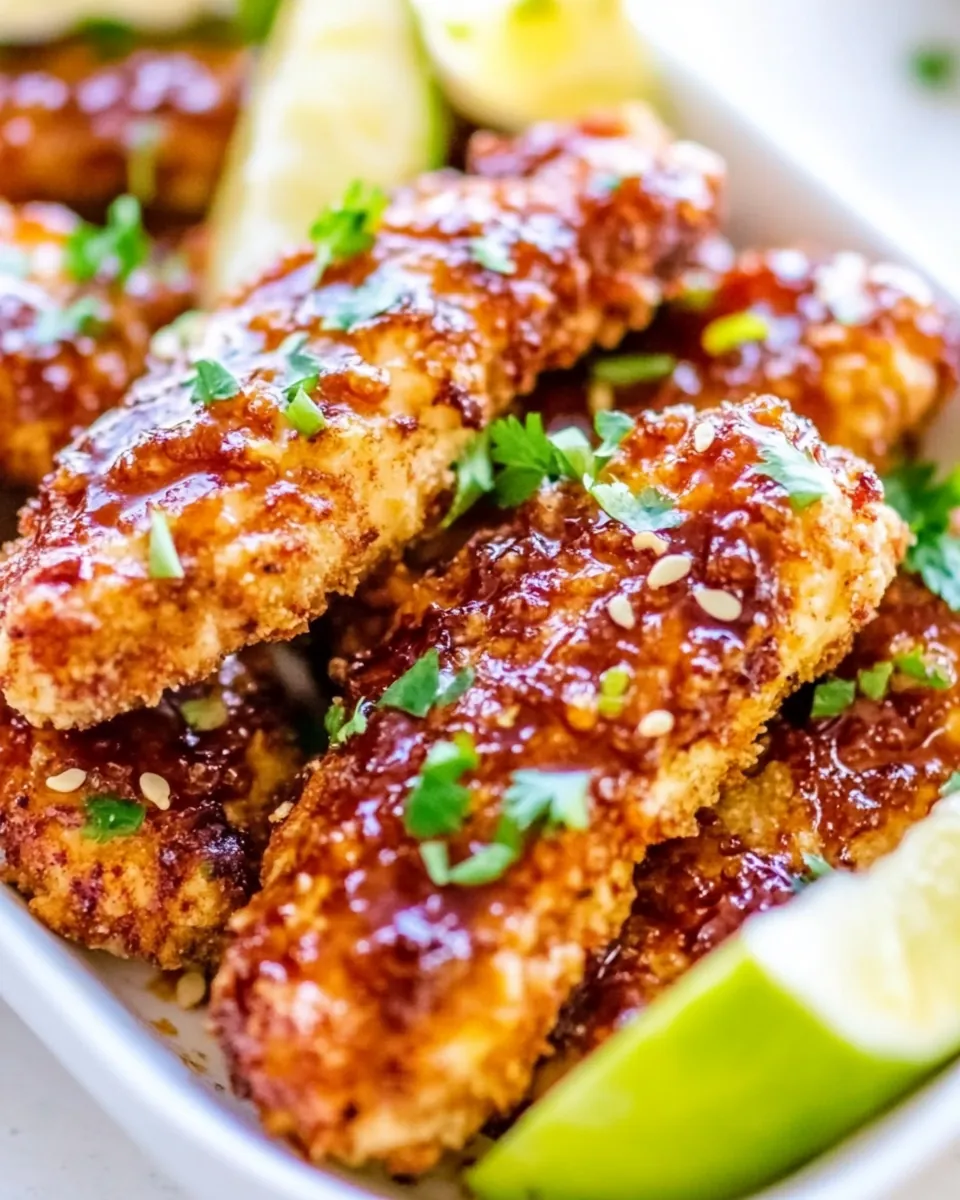
- Once the chicken fingers are ready, generously drizzle the glaze over them. For a finishing touch, garnish with chopped green onions if you’d like. The contrast of colors looks beautiful and adds freshness!
Things Worth Knowing
- Temperature Check: Always use a meat thermometer to check that the chicken reaches an internal temperature of 165°F (74°C) to ensure it’s safe to eat.
- Coating Technique: For extra crispy chicken fingers, double coat them by repeating the dredging process (flour, buttermilk, breadcrumbs).
- Flavor Variations: Feel free to experiment with different spices or sauces in the glaze to match your taste preferences.
- Cooking Time: Every oven is different, so keep an eye on the chicken fingers to prevent overcooking. They should be golden but not burnt.
Change It Up
If you’re looking to add a little twist to your Asian Glazed Chicken Fingers, here are some great ideas to mix things up and keep your meals exciting.
- Storage: These chicken fingers can be stored in an airtight container in the fridge for 3 to 4 days. When you’re ready to eat them, just pop them back into the oven to crisp them up again.
- Freezing: For longer storage, freeze the uncooked chicken strips after dredging. Lay them out on a baking sheet until solid, then transfer to a freezer-safe bag. They can be baked directly from frozen, just increase the cooking time.
- Pairing: Serve these chicken fingers alongside a fresh salad or steamed veggies for a well-rounded meal. They also pair wonderfully with rice or noodles for a more filling option.
- Garnishing: Consider adding sesame seeds or chopped cilantro for an extra pop of flavor and color.
- Glaze Options: If you want to change the flavor profile, try using teriyaki sauce or a sweet chili sauce instead of the honey soy glaze. This can offer a delightful new take on the dish!
Serving Ideas for Asian Glazed Chicken Fingers
Serving your Asian Glazed Chicken Fingers can be just as fun as making them! Here are some creative ideas to elevate your dining experience.
- As an Appetizer: These chicken fingers make a fantastic starter at gatherings or parties. Serve them with various dipping sauces like sweet chili or soy sauce for a fun appetizer platter.
- Family Dinner: Create a cozy family dinner experience by serving these chicken fingers with homemade fried rice and steamed broccoli on the side.
- Lunch Box: They’re perfect for lunch boxes! Pack them with some rice or veggies for a delicious, on-the-go meal.
- Game Day: For game day snacks, serve them with a variety of dipping sauces and maybe even a side of crispy fries. They’ll be a hit with your friends!
- Seasonal Twist: During the summer months, pair them with a refreshing cucumber salad or watermelon salad. It adds a nice contrast to the warm, crispy chicken.
- Picnic Ready: These chicken fingers are also great for picnics! They taste amazing cold and are easy to transport, making them a perfect addition to any picnic basket.
FAQ
Conclusion
In summary, Asian Glazed Chicken Fingers offer a wonderful blend of flavors and textures that are sure to impress your family and friends. They’re easy to prepare, making them a fantastic option for a weeknight dinner or any gathering. I encourage you to try making them at home; I promise they will become a favorite in your recipe rotation!
Asian Glazed Chicken Fingers
Ingredients
Equipment
Method
- Preheat your oven to 400°F (200°C). This step ensures that your chicken fingers cook evenly and achieve that crispy texture we all love. While the oven heats up, line a baking sheet with parchment paper to prevent sticking.
- In a small saucepan, whisk together the glaze ingredients: honey, soy sauce, sriracha sauce, chili flakes, Chinese five spice, and garlic powder. Set aside for now. The aroma of the glaze will have you excited for the final product!
- Take the boneless, skinless chicken breasts and cut them into long, thin strips. This allows for even cooking and a fun finger-food shape that's easy to dip.
- In a bowl, pour about a cup of buttermilk over the chicken strips. This not only adds flavor but also helps keep the chicken moist as it cooks. Let it sit for a few minutes to soak in.
- Prepare three shallow plates: one with all-purpose flour (seasoned with salt and pepper), the second with the remaining buttermilk, and the third with breadcrumbs (also seasoned). Think of this as your assembly line.
- To bread the chicken, first dredge each strip in the seasoned flour. Make sure to shake off any excess; you want a light coating to stick without being too thick.
- Next, dip the floured chicken into the buttermilk, ensuring it's completely coated.
- Finally, roll the chicken in the seasoned breadcrumbs, pressing gently to ensure they stick well. This layering technique is what will give you that perfect crunch!
- Place the coated chicken fingers on the prepared baking sheet. Make sure they’re not overcrowded so they can crisp up nicely.
- Bake in the oven for about 30 to 45 minutes, or until golden brown and cooked through. You can cut one in half to check for doneness; it should be juicy and no longer pink inside.
- If you prefer frying, heat vegetable oil in a large skillet. Fry the chicken fingers for about 3 to 5 minutes on each side until they reach that golden-brown perfection.
- While the chicken is baking or frying, bring your prepared glaze to a boil over medium-high heat. Once it starts bubbling, reduce the heat to medium and let it simmer until it reduces by half and thickens slightly.
- Once the chicken fingers are ready, generously drizzle the glaze over them. For a finishing touch, garnish with chopped green onions if you’d like. The contrast of colors looks beautiful and adds freshness!
Notes
- Storage: These chicken fingers can be stored in an airtight container in the fridge for 3 to 4 days. When you’re ready to eat them, just pop them back into the oven to crisp them up again.
- Freezing: For longer storage, freeze the uncooked chicken strips after dredging. Lay them out on a baking sheet until solid, then transfer to a freezer-safe bag. They can be baked directly from frozen, just increase the cooking time.