Preheat your oven to 400°F (200°C). This step ensures that your chicken fingers cook evenly and achieve that crispy texture we all love. While the oven heats up, line a baking sheet with parchment paper to prevent sticking.
In a small saucepan, whisk together the glaze ingredients: honey, soy sauce, sriracha sauce, chili flakes, Chinese five spice, and garlic powder. Set aside for now. The aroma of the glaze will have you excited for the final product!
Take the boneless, skinless chicken breasts and cut them into long, thin strips. This allows for even cooking and a fun finger-food shape that's easy to dip.
In a bowl, pour about a cup of buttermilk over the chicken strips. This not only adds flavor but also helps keep the chicken moist as it cooks. Let it sit for a few minutes to soak in.
Prepare three shallow plates: one with all-purpose flour (seasoned with salt and pepper), the second with the remaining buttermilk, and the third with breadcrumbs (also seasoned). Think of this as your assembly line.
To bread the chicken, first dredge each strip in the seasoned flour. Make sure to shake off any excess; you want a light coating to stick without being too thick.
Next, dip the floured chicken into the buttermilk, ensuring it's completely coated.
Finally, roll the chicken in the seasoned breadcrumbs, pressing gently to ensure they stick well. This layering technique is what will give you that perfect crunch!
Place the coated chicken fingers on the prepared baking sheet. Make sure they’re not overcrowded so they can crisp up nicely.
Bake in the oven for about 30 to 45 minutes, or until golden brown and cooked through. You can cut one in half to check for doneness; it should be juicy and no longer pink inside.
If you prefer frying, heat vegetable oil in a large skillet. Fry the chicken fingers for about 3 to 5 minutes on each side until they reach that golden-brown perfection.
While the chicken is baking or frying, bring your prepared glaze to a boil over medium-high heat. Once it starts bubbling, reduce the heat to medium and let it simmer until it reduces by half and thickens slightly.
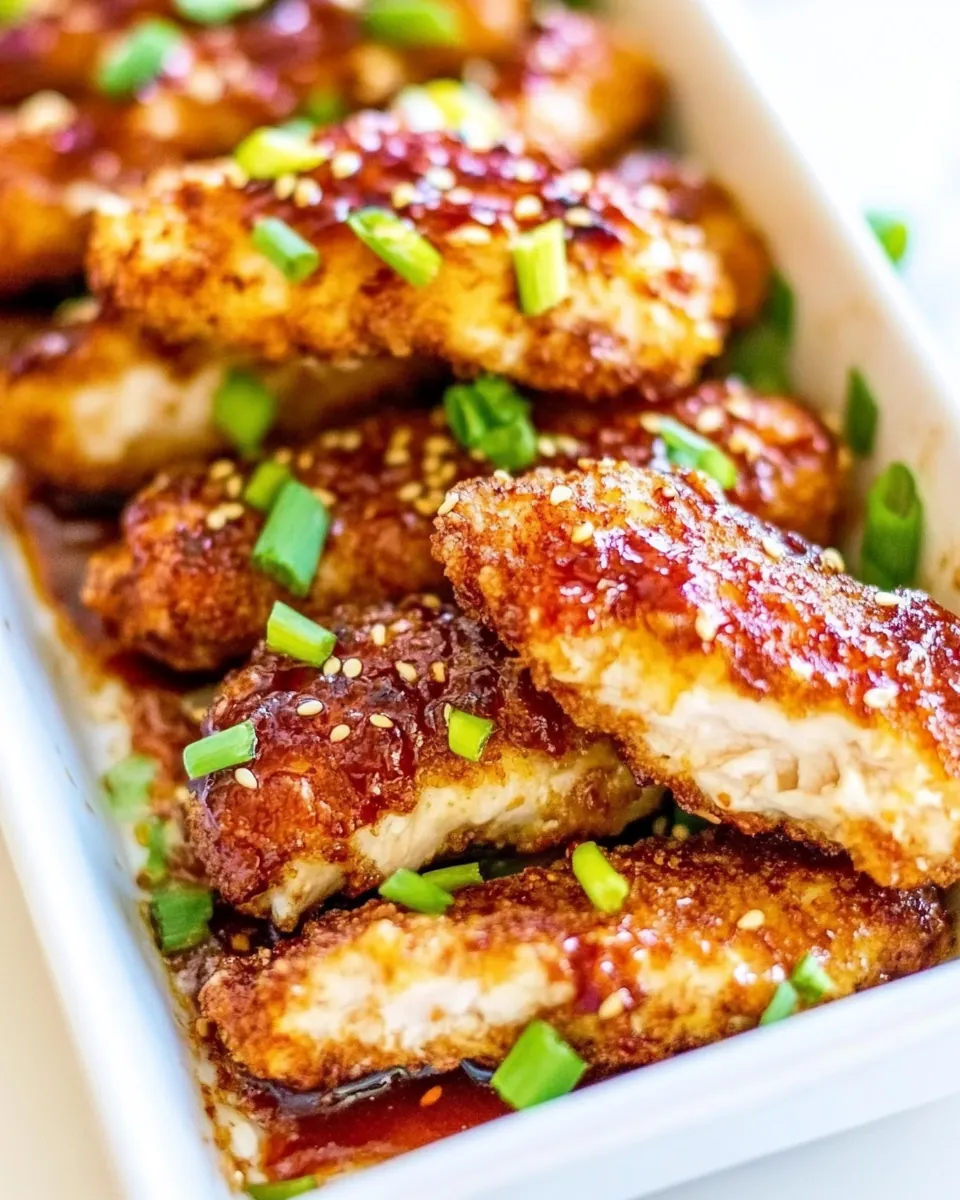
Once the chicken fingers are ready, generously drizzle the glaze over them. For a finishing touch, garnish with chopped green onions if you’d like. The contrast of colors looks beautiful and adds freshness!