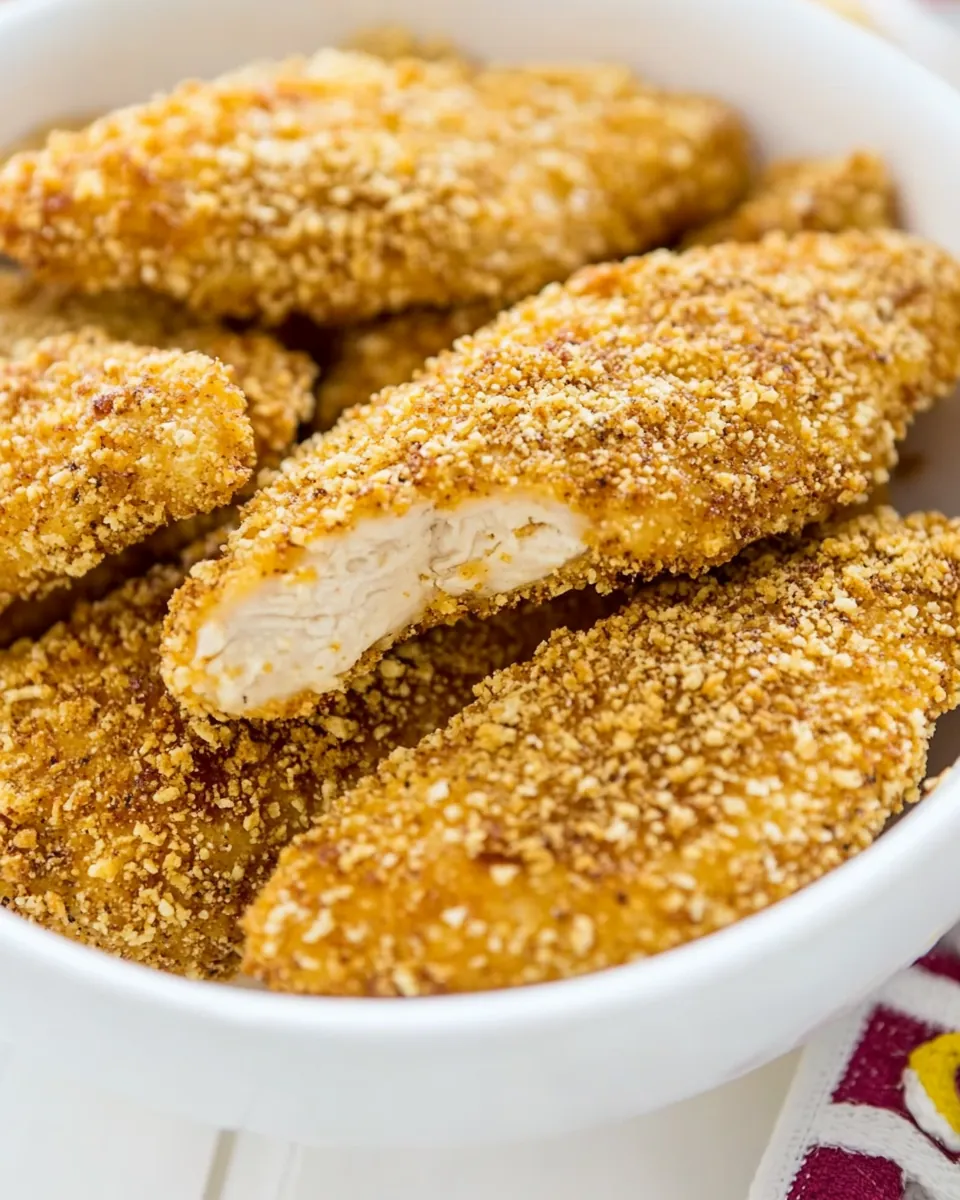
Baked Chicken Fingers
The aroma of Baked Chicken Fingers wafting through the kitchen is enough to make anyone’s mouth water! Growing up, I could always count on my mom to whip up a batch of these crispy delights whenever my friends came over. The simple act of breading the chicken was always a fun activity, and it felt like I was part of the magic happening in the kitchen. The joy of biting into a perfectly baked finger, crispy on the outside and tender on the inside, is a memory I cherish. It’s a dish that effortlessly brings back happy moments, laughter, and the warmth of family gatherings. Whether you’re making them for a cozy dinner or a casual get-together, these chicken fingers always hit the spot. Let me share how you can recreate this beloved dish in your own home!
Recipe Snapshot
45 mins
15 mins
30 mins
Medium
350 kcal
28 g
Gluten-Free, Low FODMAP
15 g
Baking Sheet, Wire Cooling Rack
What’s Great About This Baked Chicken Fingers
Perfect for Any Occasion
What I love about Baked Chicken Fingers is their versatility. They are perfect for quick weeknight dinners, weekend gatherings, or even a fun movie night. You can serve them as a main dish with sides or even as a snack during game day. Everyone loves them!
Healthier Option
Unlike traditional fried chicken, these fingers are baked, making them a healthier alternative without sacrificing flavor. You’ll get that satisfying crunch without the guilt. By using quality ingredients, you can feel good about serving them.
Easy to Prepare
These chicken fingers are not only delicious but also incredibly easy to prepare. With just a few straightforward steps, you can have a batch ready in no time! Even if you don’t consider yourself a pro in the kitchen, you’ll find this recipe simple and approachable.
Fun for Kids
Kids love getting involved in the kitchen, and making Baked Chicken Fingers is a great way to spend some quality time together. They can help with the breading process, turning cooking into a fun family activity. Plus, it’s a fantastic way to teach them about cooking and healthy eating!
Customization Galore
The recipe is highly customizable! You can tweak the spices to suit your taste or even add different coatings like breadcrumbs or nuts for variety. This flexibility allows you to create a version of chicken fingers that everyone in your family will love.
Perfect Pairings
These chicken fingers pair wonderfully with various dips, from tangy barbecue sauce to creamy ranch dressing. You can easily create a spread that complements their crispy goodness, making them even more enjoyable!
Everything You Need for Baked Chicken Fingers
When it comes to making Baked Chicken Fingers, the right ingredients make all the difference. Each component plays a crucial role in achieving that perfect crunch and flavor. The combination of the crispy coating and juicy chicken means that every bite is satisfying and delicious. Here’s what you’ll need:
- 2 boneless, skinless chicken breasts: The star of the dish! Tender and juicy, they make the perfect base.
- 1 cup crushed Corn Flakes cereal: This adds a delightful crunch that’s irresistible.
- 1 cup all-purpose flour: A classic binding ingredient that helps the coating stick.
- 1 large egg: This acts as a glue for the breadcrumbs, ensuring they adhere to the chicken perfectly.
- ½ teaspoon kosher salt: Essential for enhancing the flavors of all the ingredients.
- ½ teaspoon ground black pepper: Adds a bit of spice to the mix.
- 1 teaspoon sweet paprika: Provides a warm, smoky flavor that complements the chicken beautifully.
- ¼ cup shredded mozzarella cheese: Adds a cheesy richness that melts into the chicken.
- 1 cup yogurt: Great for a creamy dip, adding tanginess to balance the savory chicken.
- ½ lime: Fresh lime juice adds a zesty brightness to the dip.
- 1½ teaspoons extra virgin olive oil: A drizzle enhances the flavors and helps to crisp up the coating.
- 2 teaspoons chopped fresh cilantro: Offers a fresh herbaceous note to the dip.
The Method for Baked Chicken Fingers
Making Baked Chicken Fingers is a straightforward process that yields fantastic results. With a little patience and attention, you can create a dish that’s sure to impress your family and friends. Let’s dive into the steps you’ll need to follow:
- Preheat your oven to 400°F. This is crucial for getting that perfect golden brown finish on your chicken fingers.
- Line a baking sheet with baking paper. This will prevent the chicken from sticking and make cleanup a breeze.
- Place a cooling rack onto the baking tray. This allows for even cooking by letting hot air circulate around the chicken.
- Spray the cooling rack with nonstick cooking spray and set aside. This will help the chicken fingers crisp up nicely.
- Cut the chicken breasts into thin strips and set them aside. Aim for uniform sizes to ensure even cooking.
- To a medium-sized mixing bowl, add the crushed Corn Flakes cereal, flour, salt, pepper, paprika, and mozzarella cheese. This mixture will be your crunchy coating.
- In a different medium-sized mixing bowl, crack the egg and whisk it until it’s frothy. This step helps with binding the coating to the chicken.
- Add the chicken strips into the mixing bowl with the whisked egg, ensuring each piece is well-coated.
- Individually dip each chicken strip into the cereal mixture, ensuring they are fully coated. Pat the coating on to adhere well.
- Place the coated chicken strips onto the cooling rack, ensuring they aren’t touching. This is important for achieving that crispy texture.
- Bake for 20 minutes, or until they are golden brown and cooked through. You’ll know they’re ready when they start to smell incredible!
- While the chicken fingers are baking, you can prepare the dip. In a small bowl, mix the yogurt, the juice of ½ lime, olive oil, and cilantro. Chill the dip in the fridge until the chicken is done.
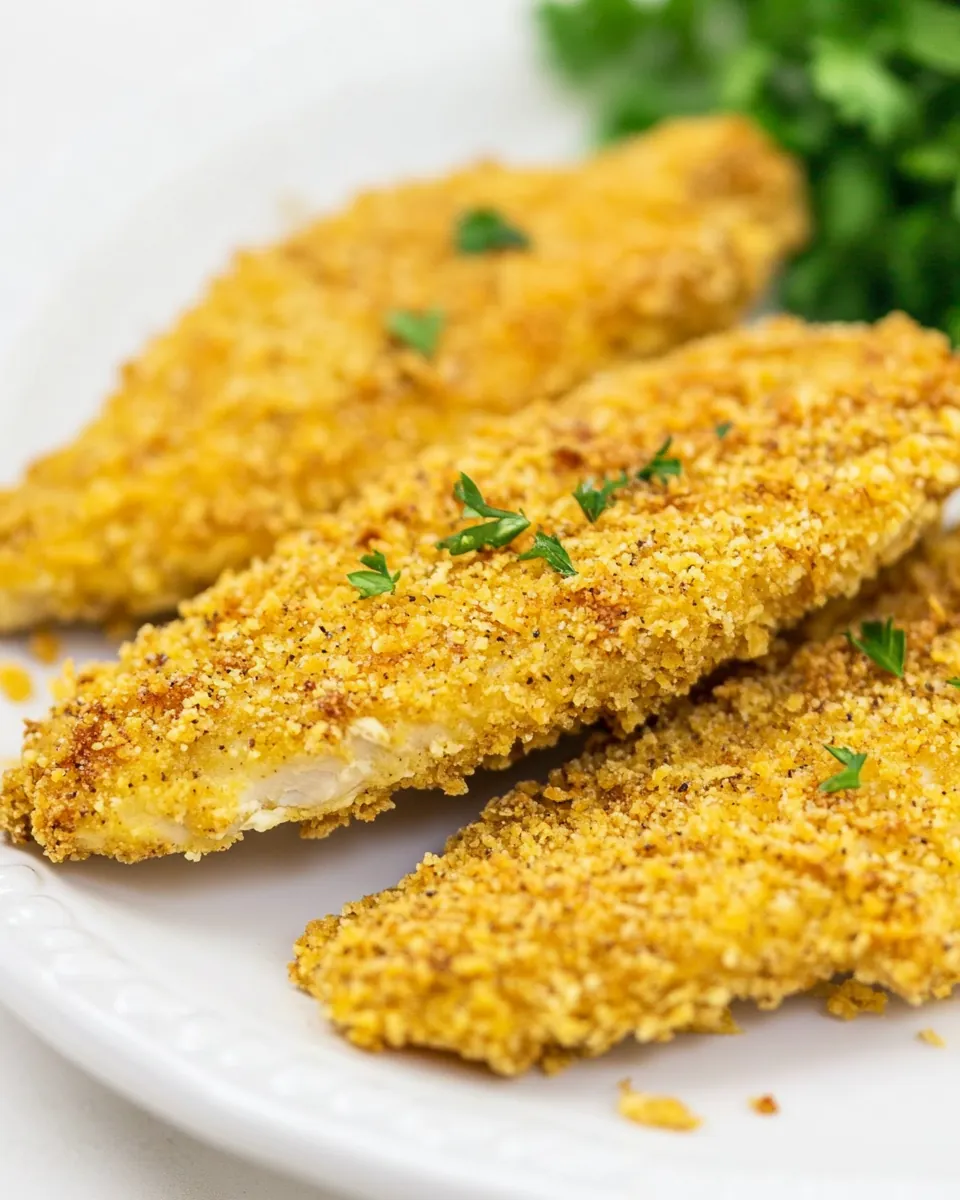
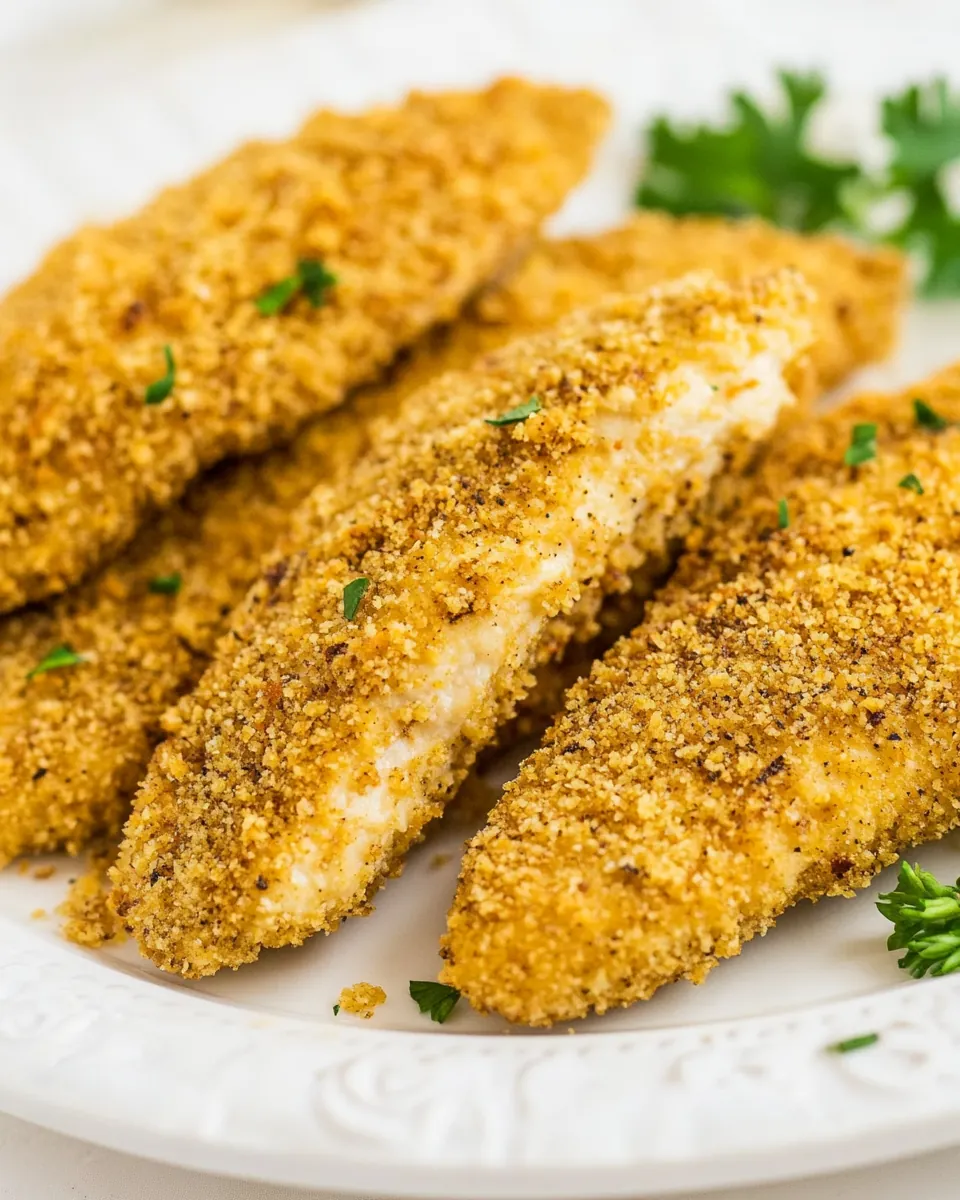
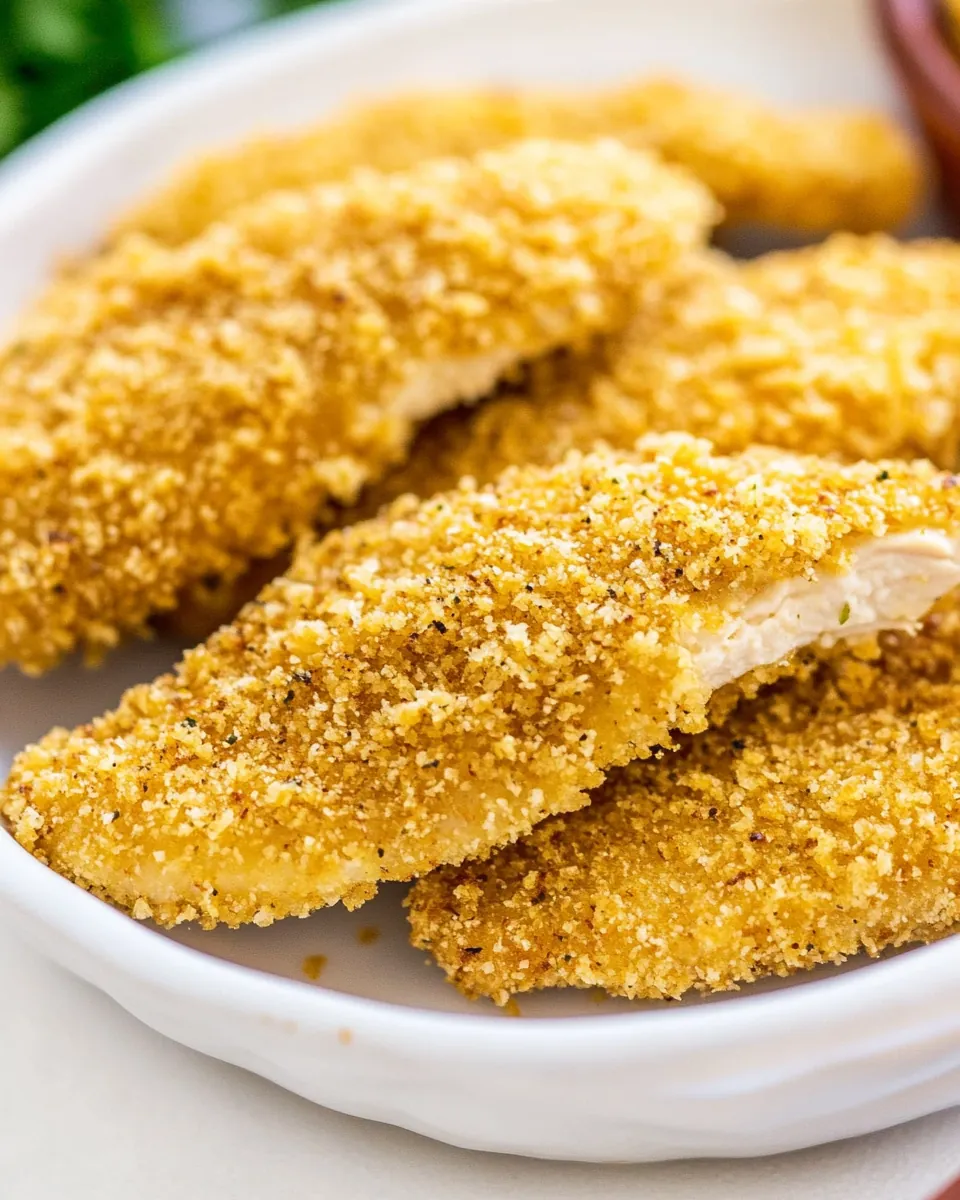
- Finally, serve the hot chicken fingers with the refreshing dip on the side for a delightful experience!
Things Worth Knowing
- Ensure Proper Coating: To avoid clumpy fingers, use one hand for the egg mixture and one for the crumb mixture. This technique helps prevent mess.
- Don’t Overcrowd: Leave space between each chicken strip on the cooling rack. Overcrowding can lead to steaming instead of crisping.
- Cooking Spray: A light mist of cooking spray or brushing with olive oil can help achieve a beautiful crisp and golden-brown finish.
- Check for Doneness: The best way to know if the chicken is done is to check its internal temperature. It should reach at least 165°F to ensure it’s safe to eat.
Making Adjustments
Cooking is all about flexibility, and Baked Chicken Fingers are no exception. Here are some tips to help you customize the recipe to fit your tastes or dietary needs:
- Experiment with Coatings: Try using different types of cereals or breadcrumbs for varied textures. Panko breadcrumbs can give an extra crunch!
- Spice it Up: If you love heat, add some cayenne pepper or chili powder to the coating mixture for an extra kick.
- Alternative Dips: Get creative with your dipping sauces. Honey mustard, ranch, or a spicy aioli can add exciting flavors.
- Healthy Sides: Pair your chicken fingers with a side of fresh veggies or a light salad to add a healthy balance to the meal.
- Cooking in Batches: If you want to make a larger quantity, feel free to double the recipe. Just ensure you have enough space on your baking sheet!
- Storage: Store leftover chicken fingers in an airtight container in the fridge for up to 3 days. Reheat in the oven to keep them crispy.
- Freezing: You can freeze uncooked coated chicken strips. Just layer them between parchment paper and store in a freezer bag for up to 2 months.
- Pairing: These chicken fingers go well with fries, a light coleslaw, or a side of fruit for a refreshing contrast.
Accompaniments for Baked Chicken Fingers
When it comes to serving Baked Chicken Fingers, the options are endless and can elevate your meal experience. Here are some fantastic accompaniments to consider:
- Fresh Salads: A crisp green salad with a light vinaigrette pairs beautifully, balancing the richness of the chicken fingers.
- Dipping Sauces: Offer a variety of dips like ranch, honey mustard, and sriracha mayo to cater to different tastes.
- Vegetable Sticks: Serve with raw vegetable sticks like carrots, celery, or bell peppers for a crunchy, healthy side.
- Seasonal Fruits: Fresh fruit like watermelon, strawberries, or apple slices can provide a refreshing contrast to the savory chicken.
- Comforting Sides: If you’re looking for something heartier, consider serving with mashed potatoes or a side of mac and cheese.
- Game Day Snacks: These chicken fingers are perfect for game days, so consider pairing them with nachos or a cheese platter.
- Picnic Fare: They are also great for a picnic, as they are easy to transport and delicious cold or hot.
FAQ
Conclusion
Incorporating Baked Chicken Fingers into your meal rotation is a surefire way to create delicious memories. They are not just tasty but also easy to make, making them a favorite for any occasion. So, why not gather your ingredients and try making them tonight? I promise you won’t regret it!
Baked Chicken Fingers
Ingredients
Equipment
Method
- Preheat your oven to 400°F. This is crucial for getting that perfect golden brown finish on your chicken fingers.
- Line a baking sheet with baking paper. This will prevent the chicken from sticking and make cleanup a breeze.
- Place a cooling rack onto the baking tray. This allows for even cooking by letting hot air circulate around the chicken.
- Spray the cooling rack with nonstick cooking spray and set aside. This will help the chicken fingers crisp up nicely.
- Cut the chicken breasts into thin strips and set them aside. Aim for uniform sizes to ensure even cooking.
- To a medium-sized mixing bowl, add the crushed Corn Flakes cereal, flour, salt, pepper, paprika, and mozzarella cheese. This mixture will be your crunchy coating.
- In a different medium-sized mixing bowl, crack the egg and whisk it until it’s frothy. This step helps with binding the coating to the chicken.
- Add the chicken strips into the mixing bowl with the whisked egg, ensuring each piece is well-coated.
- Individually dip each chicken strip into the cereal mixture, ensuring they are fully coated. Pat the coating on to adhere well.
- Place the coated chicken strips onto the cooling rack, ensuring they aren’t touching. This is important for achieving that crispy texture.
- Bake for 20 minutes, or until they are golden brown and cooked through. You’ll know they're ready when they start to smell incredible!
- While the chicken fingers are baking, you can prepare the dip. In a small bowl, mix the yogurt, the juice of ½ lime, olive oil, and cilantro. Chill the dip in the fridge until the chicken is done.
- Finally, serve the hot chicken fingers with the refreshing dip on the side for a delightful experience!
Notes
- Ensure Proper Coating: To avoid clumpy fingers, use one hand for the egg mixture and one for the crumb mixture. This technique helps prevent mess.
- Don’t Overcrowd: Leave space between each chicken strip on the cooling rack. Overcrowding can lead to steaming instead of crisping.
- Cooking Spray: A light mist of cooking spray or brushing with olive oil can help achieve a beautiful crisp and golden-brown finish.
- Check for Doneness: The best way to know if the chicken is done is to check its internal temperature. It should reach at least 165°F to ensure it's safe to eat.