Preheat your oven to 400°F. This is crucial for getting that perfect golden brown finish on your chicken fingers.
Line a baking sheet with baking paper. This will prevent the chicken from sticking and make cleanup a breeze.
Place a cooling rack onto the baking tray. This allows for even cooking by letting hot air circulate around the chicken.
Spray the cooling rack with nonstick cooking spray and set aside. This will help the chicken fingers crisp up nicely.
Cut the chicken breasts into thin strips and set them aside. Aim for uniform sizes to ensure even cooking.
To a medium-sized mixing bowl, add the crushed Corn Flakes cereal, flour, salt, pepper, paprika, and mozzarella cheese. This mixture will be your crunchy coating.
In a different medium-sized mixing bowl, crack the egg and whisk it until it’s frothy. This step helps with binding the coating to the chicken.
Add the chicken strips into the mixing bowl with the whisked egg, ensuring each piece is well-coated.
Individually dip each chicken strip into the cereal mixture, ensuring they are fully coated. Pat the coating on to adhere well.
Place the coated chicken strips onto the cooling rack, ensuring they aren’t touching. This is important for achieving that crispy texture.
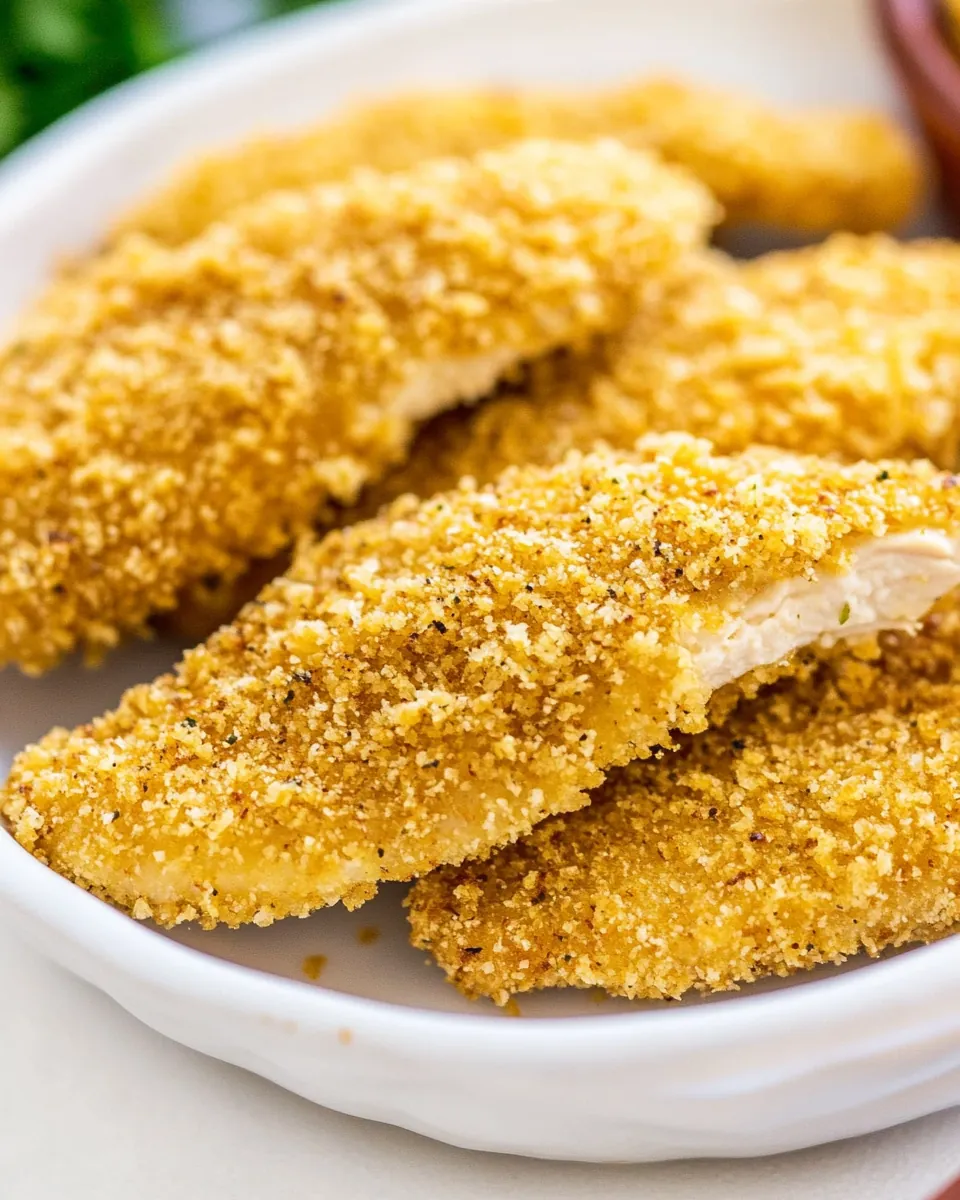
Bake for 20 minutes, or until they are golden brown and cooked through. You’ll know they're ready when they start to smell incredible!
While the chicken fingers are baking, you can prepare the dip. In a small bowl, mix the yogurt, the juice of ½ lime, olive oil, and cilantro. Chill the dip in the fridge until the chicken is done.
Finally, serve the hot chicken fingers with the refreshing dip on the side for a delightful experience!