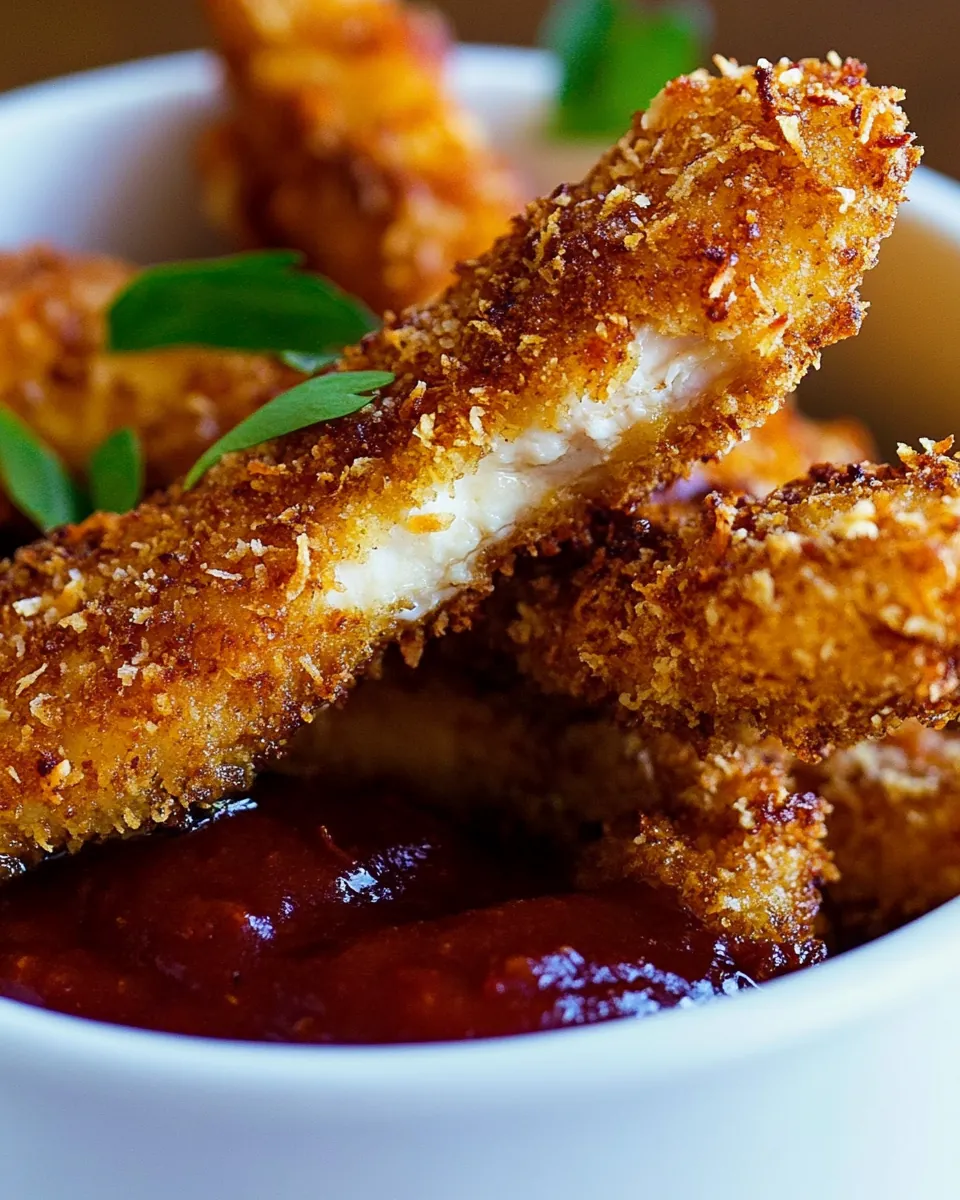
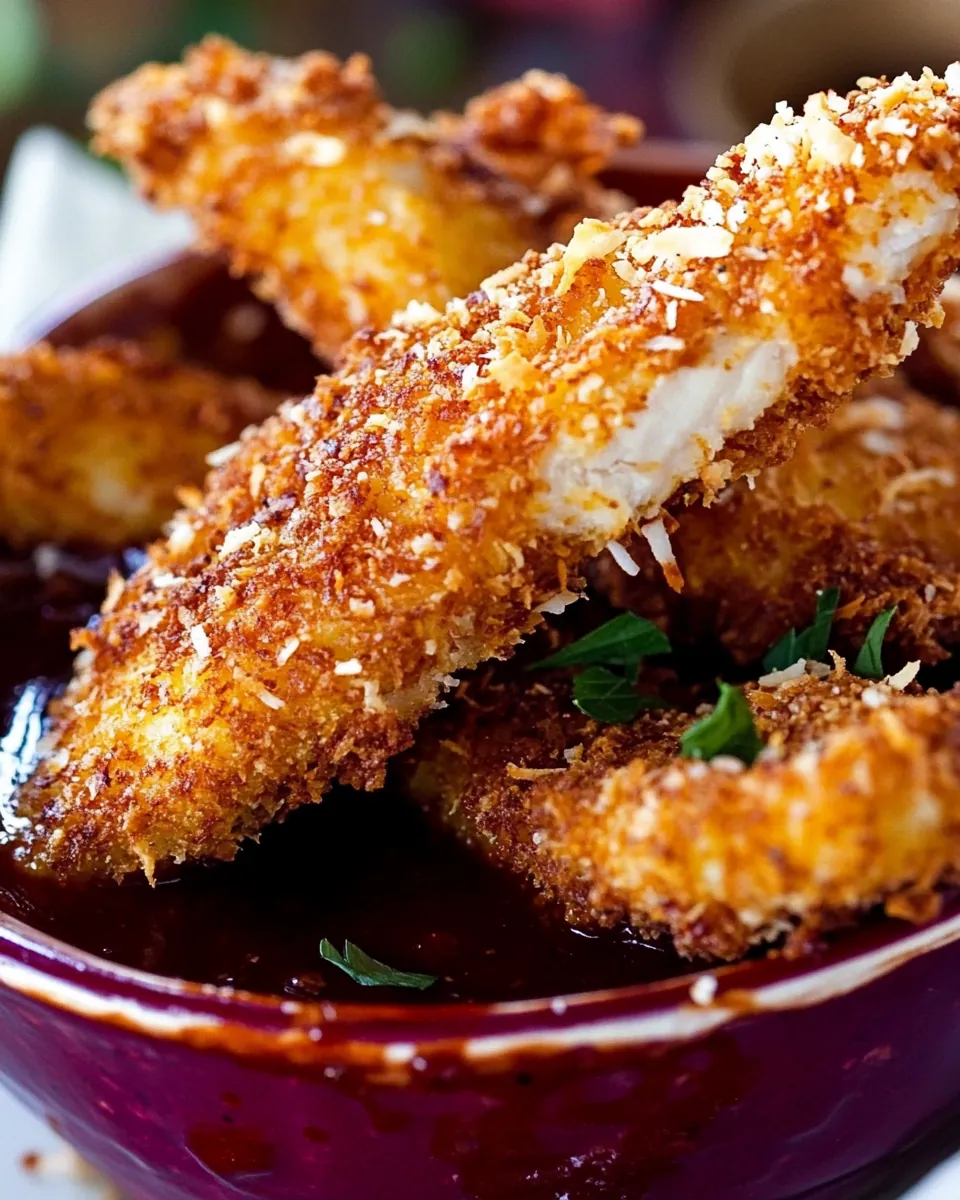
Baked Coconut Chicken Strips
Every time I crave something crispy yet light, I think of Baked Coconut Chicken Strips. It’s a dish that brings back memories of sunny afternoons and family gatherings where laughter and delicious food filled the air. I remember the first time I tried this recipe; the crunchy exterior of the chicken strips, paired with the sweet flavor of coconut, was an absolute revelation. It’s a dish that not only satisfies my hunger but also transports me to a warm beachside retreat with every bite. The best part? It’s so simple to prepare that I often whip it up on busy weeknights or serve it during casual get-togethers with friends.
Recipe Snapshot
40 mins
10 mins
30 mins
Medium
320 kcal
30 g
Keto, Low FODMAP
15 g
Oven, Mixing Bowl, Chef’s Knife, Baking Sheet
Why You’ll Love This Baked Coconut Chicken Strips
Healthier Option
This recipe offers a lighter alternative to traditional fried chicken. The use of baking instead of frying means you can enjoy those crunchy textures without the added grease. Plus, the coconut adds natural sweetness while keeping the dish wholesome.
Kid-Friendly
Kids can be picky eaters, but I’ve found that they can never resist Baked Coconut Chicken Strips. The crispy coating and fun texture make it a hit with even the fussiest of eaters, making dinner time less stressful.
Versatile Serving Options
These chicken strips are incredibly versatile. You can serve them as appetizers, toss them into salads, or enjoy them with a variety of dipping sauces. The possibilities are endless!
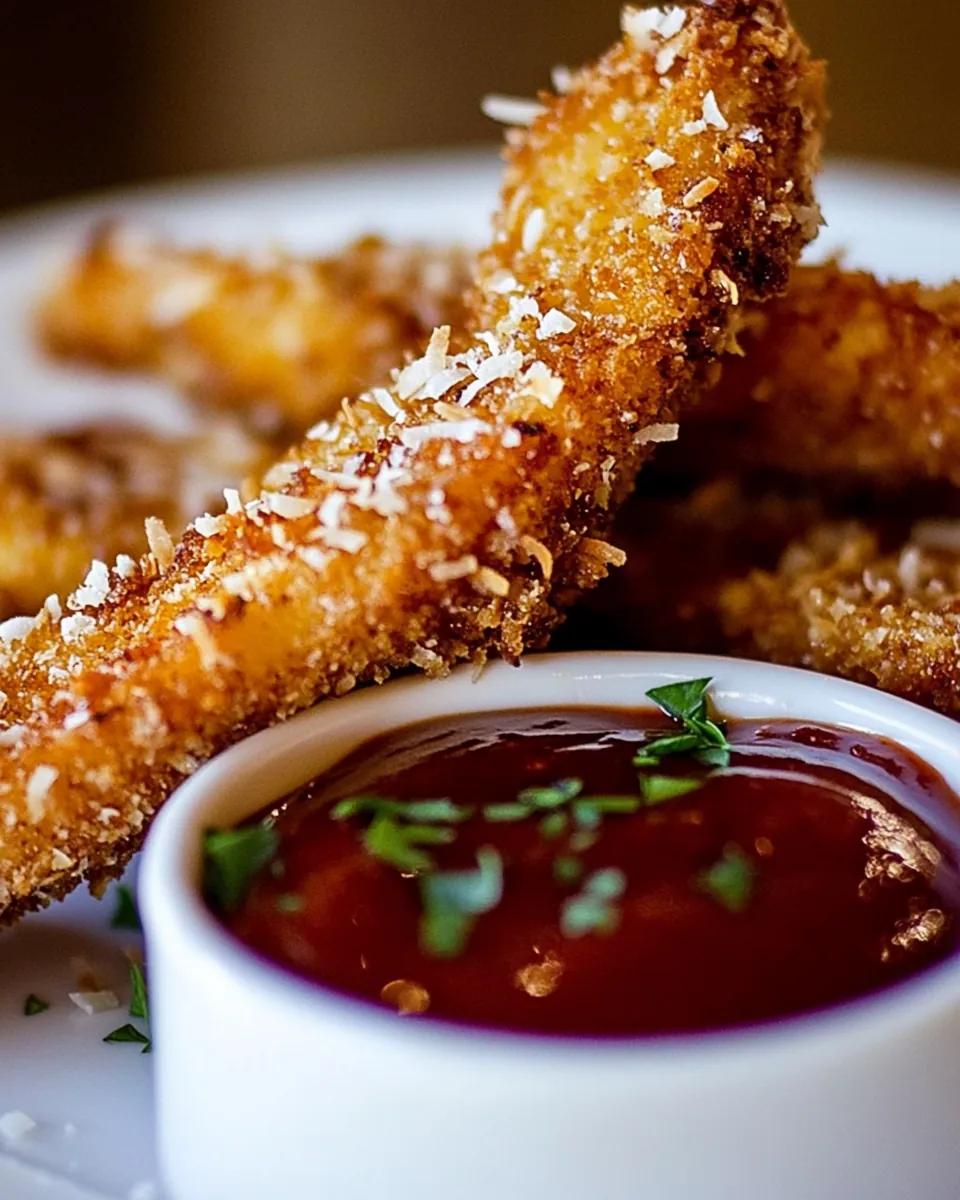
Flavorful Dipping Sauce
While the chicken strips are delicious on their own, making your own sauce or using your favorite can elevate this dish even further. A sweet and tangy sauce pairs perfectly with the coconut flavor, making it even more irresistible.
Quick and Easy
This recipe comes together quickly, and can be made with minimal prep time. It’s perfect for those busy evenings when you want something tasty without spending hours in the kitchen.
What Goes Into Baked Coconut Chicken Strips
The ingredients for Baked Coconut Chicken Strips are straightforward and complement each other beautifully. The key players are fresh, boneless chicken breasts, which provide a tender and juicy base, and coconut flakes, which deliver that signature crunch and flavor. Together, they create a delightful balance of textures and tastes that make this dish a crowd-pleaser.
- 1 pound boneless and skinless chicken breasts, sliced into strips – The star of the show, this chicken provides a juicy and satisfying bite.
- 2 tablespoons extra virgin olive oil – Used to coat the chicken, it helps the coconut adhere and adds richness.
- 1/2 teaspoon salt – Enhances the flavors of the dish and balances the sweetness of the coconut.
- 1/4 teaspoon pepper – Adds a subtle warmth to the chicken, complementing the sweetness of the coconut.
- 1 cup coconut flakes, unsweetened or shredded – Provides the signature flavor and crispy texture that make this dish special.
- Your favorite sauce or make your own – A delicious dip can elevate the chicken strips even further.
- 1/2 cup ketchup – A classic choice for dipping, adding sweetness and tang.
- 2 tablespoons lite soy sauce – Adds a savory depth that pairs nicely with the chicken.
- 2 tablespoons water – Used to thin out the sauce for a perfect consistency.
- 1/4 teaspoon pepper – Additional seasoning for the sauce, creating a balanced flavor.
Instructions for Baked Coconut Chicken Strips
Making Baked Coconut Chicken Strips is as easy as it is delicious. Get ready to enjoy a crispy, flavorful dish that everyone will love. Follow these simple steps, and soon you’ll have a beautiful platter of golden chicken strips to share.
- Preheat your oven to 400 degrees F. This ensures that your chicken strips bake evenly and get that lovely golden-brown color we all love.
- Coat the chicken strips with the extra virgin olive oil. Make sure each piece is well coated; this step is crucial for enhancing the flavor and allowing the coating to stick.
- In a small bowl, mix the salt, pepper, and coconut flakes. This combination will create a delicious coating that brings out the best in the chicken.
- Take each oily chicken strip and thoroughly coat it with the coconut mixture. Ensure every inch is covered for an extra-crispy texture.
- Place the coated strips on a baking sheet lined with parchment paper, making sure to space them out for even cooking.
- Bake in the preheated oven for 30 minutes or until they turn golden brown. Keep an eye on them in the last few minutes to avoid over-baking.
- If you’re making a dipping sauce, mix the ketchup, soy sauce, water, and pepper in a small bowl. Stir until well combined.
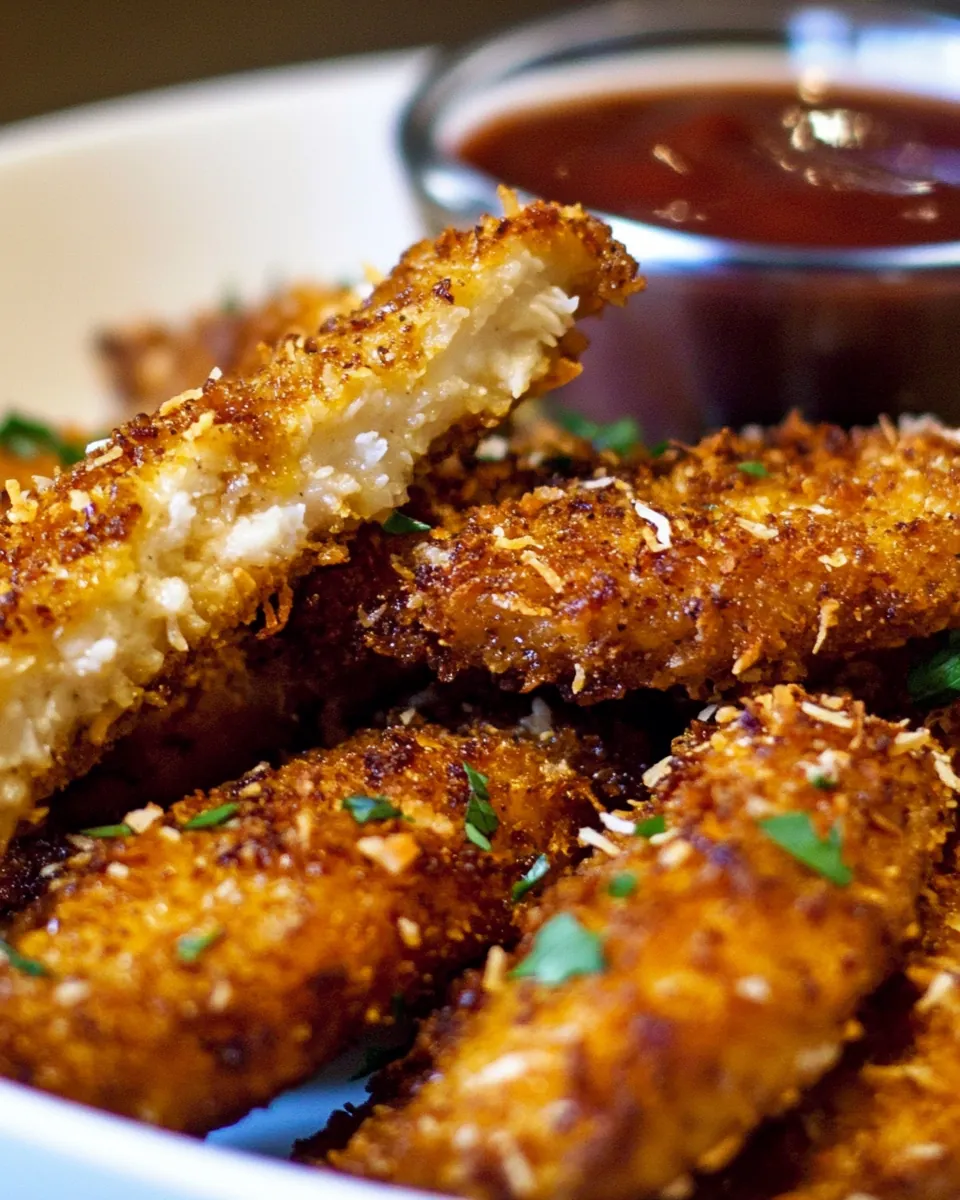
- Once the chicken strips are done, remove them from the oven and let them cool for a couple of minutes. This will allow the coating to set a little more.
- Serve the Baked Coconut Chicken Strips immediately with your dipping sauce on the side. Enjoy the crunchy, sweet flavor that makes this dish a favorite in my kitchen.
Things Worth Knowing
- Coating Technique: Ensure that the chicken is well-coated with olive oil before applying the coconut mixture. This helps the coating stick better during baking.
- Texture Check: Look for a golden brown color on your chicken strips before removing them from the oven. This indicates they’re perfectly cooked.
- Flavor Variations: Feel free to experiment with spices in the coconut coating for additional flavor. Try adding paprika or garlic powder for a unique twist.
- Chill the Chicken: If you have time, let the coated chicken sit in the refrigerator for about thirty minutes before baking. This helps the coating adhere more effectively.
Tips for Success
To truly nail your Baked Coconut Chicken Strips, here are some essential tips to keep in mind. These will ensure that your dish turns out perfectly every time.
- Storage: Store any leftovers in an airtight container in the refrigerator. They’ll stay good for up to three days, although they’re best enjoyed fresh.
- Freezing: You can freeze the raw, coated chicken strips before baking. Just be sure to separate them with parchment paper to prevent sticking.
- Pairing: These chicken strips pair wonderfully with a fresh salad or some crispy fries. They also make a great addition to a buffet spread.
- Baking Sheet: Use a non-stick baking sheet or line it with parchment paper to prevent the chicken from sticking.
- Check for Doneness: Always check if the chicken is cooked through by cutting into the thickest part of a strip; it should be opaque throughout.
Serving This Baked Coconut Chicken Strips
When it comes to serving Baked Coconut Chicken Strips, the options are plentiful! Here are some ideas to elevate your meal:
- Appetizer Delight: Serve these strips as an appetizer at parties, with a variety of dips for guests to choose from.
- Family Dinner: They make a great main dish. Pair them with a side of roasted vegetables or a light salad for a balanced meal.
- Kids’ Lunchbox: These chicken strips are perfect for kids’ lunches. They can be enjoyed cold or warmed up with their favorite dipping sauce.
- Game Day Snack: Perfect for game day gatherings, serve them with a selection of sauces and some crispy chips on the side.
- Seasonal Dishes: Add seasonal fruits like mango or pineapple in a side salad to complement the coconut flavor.
- Picnic Treat: These chicken strips are excellent for picnics! Pack them with some crunchy veggies and a homemade dip.
FAQ
Conclusion
Baked Coconut Chicken Strips are truly a delightful dish that combines crispy, coconut-flavored chicken with versatility and ease. Whether you’re whipping them up for a family dinner or a gathering with friends, they never fail to impress. I encourage you to try making these chicken strips in your kitchen; they’re sure to become a new favorite. Enjoy the crunchy goodness and the smiles they bring!
Baked Coconut Chicken Strips
Ingredients
Equipment
Method
- Preheat your oven to 400 degrees F.
- Coat the chicken strips with the extra virgin olive oil.
- In a small bowl, mix the salt, pepper, and coconut flakes.
- Coat the chicken strips with this mixture.
- Place on a baking sheet and bake for 30 minutes or until golden brown.
- For the sauce, mix the ketchup, soy sauce, water, and pepper.
- Serve the chicken immediately with the sauce.
Notes
- Tip 1: Store any leftovers in an airtight container for up to three days.
- Tip 2: You can freeze the raw, coated chicken strips before baking.
- Tip 3: These chicken strips pair wonderfully with a fresh salad or crispy fries.
- Tip 4: Use a non-stick baking sheet or line it with parchment paper to prevent sticking.
- Tip 5: Always check if the chicken is cooked through by cutting into the thickest part.