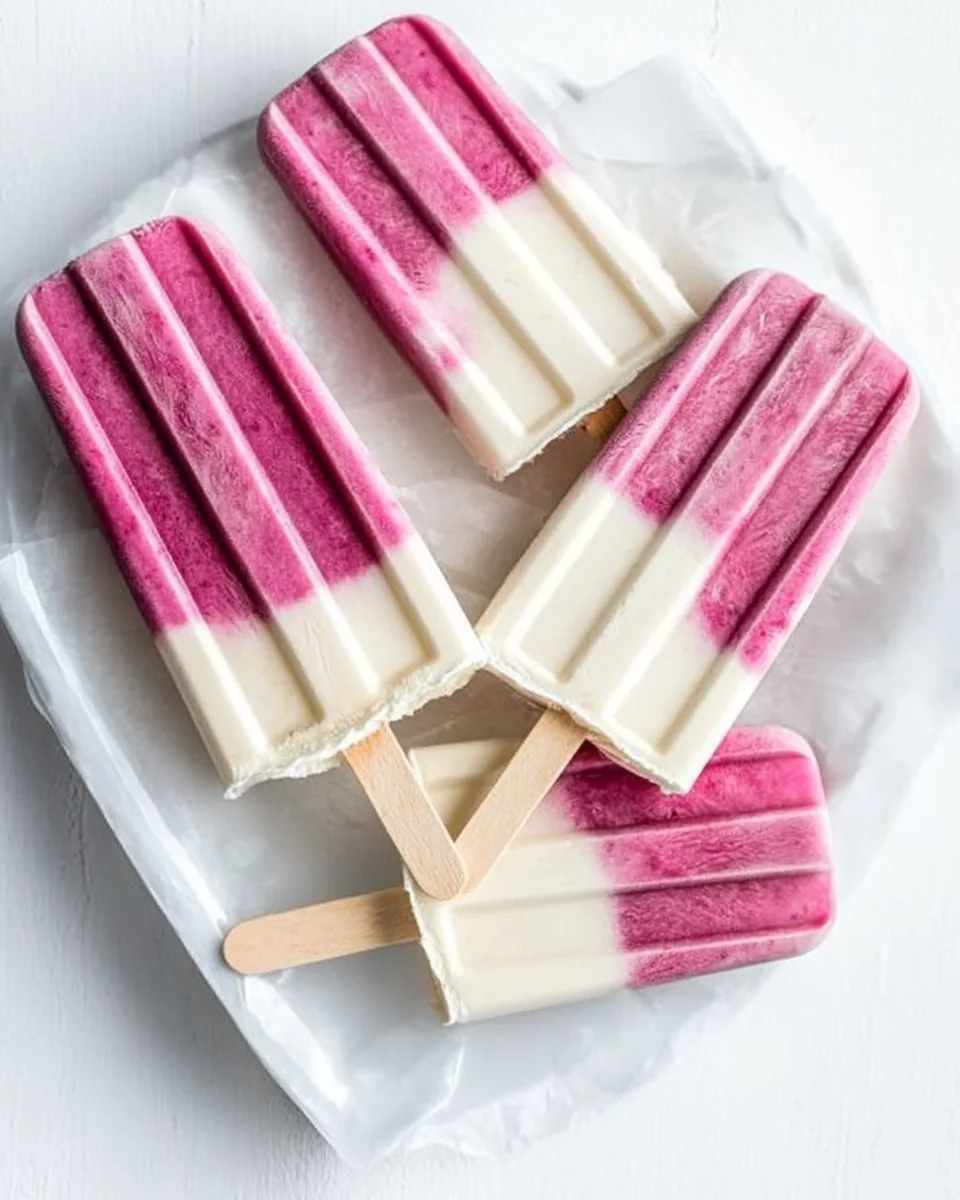
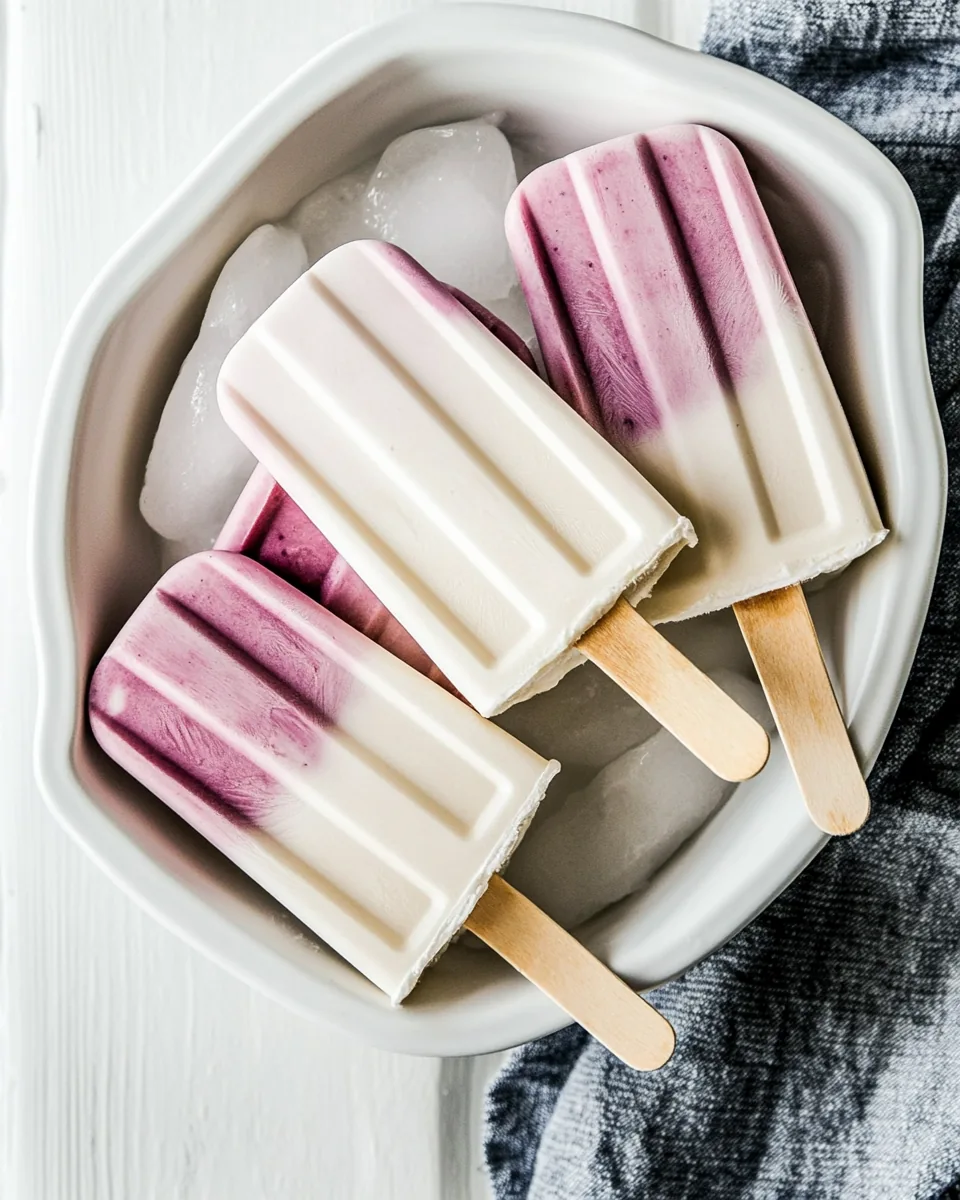
Greek Yogurt Popsicles
There’s something incredibly refreshing about a frozen treat on a hot summer day, and that’s why I love making Greek Yogurt Popsicles. I can still remember the first time I whipped up a batch in my kitchen. It was one of those scorching afternoons, and I longed for something cool and creamy. With just a handful of wholesome ingredients, I was able to create a delicious and satisfying snack that not only quenched my thirst but also made me feel good about what I was eating. These popsicles have become my go-to summer treat, and I can’t wait to share my secrets with you!
Recipe Snapshot
10 mins
10 mins
0 mins
Medium
130 kcal
5 g
Gluten-Free, AIP, Low FODMAP
4 g
Mixing Bowl, Blender
What We Adore About This Greek Yogurt Popsicles
Wholesome Ingredients
The beauty of Greek Yogurt Popsicles lies in their simplicity. Each ingredient plays a vital role in creating the perfect popsicle. The Greek yogurt serves as a creamy base, providing a good dose of protein while keeping the pops light and refreshing. The honey, when used, adds just the right amount of sweetness, and I love that it can be adjusted depending on your taste. The combination of fresh fruit not only adds flavor but also packs in vitamins and antioxidants. So, you can feel great about indulging in these delightful treats.
Endless Flavor Combinations
One of the things I adore about these popsicles is their versatility. You can mix and match your favorite fruits. Whether it’s classic strawberries, tropical bananas, or juicy blueberries, the possibilities are endless! I’ve even experimented with adding some zest like lime or a sprinkle of cinnamon to elevate the flavors. Each batch can be a new adventure, and that’s what keeps me coming back for more.
Perfect for All Ages
Greek Yogurt Popsicles are not just for adults; they’re a hit with kids too! I love making them during family gatherings or playdates. The children get excited about picking their fruits and creating their own unique popsicles. It’s a fun activity that not only makes for a delicious treat but also encourages healthy eating habits. Plus, what child can resist a colorful, frozen snack?
Make Ahead and Store
Another bonus is how easy they are to prepare ahead of time. You can whip up a big batch, freeze them, and always have a refreshing snack on hand. They last about two weeks in the freezer, so you can enjoy a popsicle whenever the craving strikes. I often find myself reaching for one after a long day, and it feels like a little reward.
Guilt-Free Indulgence
With Greek Yogurt Popsicles, you can satisfy your sweet tooth without any guilt. They’re lower in sugar compared to store-bought popsicles, and you get to control what goes in them. It’s a wonderful feeling to enjoy a sweet treat that also aligns with your health goals. So whether you’re looking for a cool snack after a workout or a sweet treat for the family, these popsicles are just what you need.
Ingredients Required for Greek Yogurt Popsicles
When it comes to crafting the perfect Greek Yogurt Popsicles, the ingredients you choose can make all the difference. Each one brings its own unique flavor and texture to the table, creating a harmonious blend that’s irresistible. The key players in this recipe are fresh fruits and creamy yogurt, which not only taste great but also provide nutritional benefits.
- 2 cups cleaned fruit (strawberries, bananas, blueberries, raspberries, etc) – Use any combination of your favorite fruits to create flavorful popsicles.
- 2 cups Greek yogurt (unsweetened or vanilla) – This acts as the creamy base, ensuring your popsicles are rich in protein.
- ¼ cup honey (omit if you are using sweetened yogurt) – A natural sweetener that adds just the right touch of sweetness, adjustable to taste.
How to Assemble Greek Yogurt Popsicles
Assembling your Greek Yogurt Popsicles is not just easy, but also a fun process! The best part is blending and pouring the ingredients into molds, and in just a few simple steps, you’ll have delicious treats ready to freeze. Let’s dive into the straightforward instructions that will guide you through this delightful experience!
Start by gathering your ingredients: cleaned fruit, Greek yogurt, and honey. If you have fresh fruit, wash and chop it into smaller pieces to make blending easier.
In a blender, combine the chopped fruits, Greek yogurt, and the honey if you’re using it. Blend on high until the mixture is smooth and creamy. Keep an eye on the texture; it should be thick but pourable.
If your fruit has seeds, like blackberries, you might want to strain the mixture through a fine mesh sieve to ensure a smooth texture. This step is optional, but it makes for a more enjoyable popsicle.
Once your mixture is ready, take your popsicle molds and pour the blended concoction into them. Fill each mold, leaving a little space at the top to allow for expansion as they freeze.
Insert the popsicle sticks into the molds. Make sure they’re centered so that they freeze evenly. If your molds have a lid, cover them to keep everything in place.
Now, it’s time to freeze! Place the molds in the freezer and let them sit overnight or for at least 6 to 8 hours until they’re completely solid.
When you’re ready to enjoy your popsicles, simply run the molds under warm water for a few seconds to loosen them. Gently pull on the sticks to remove the popsicles. They should come out easily!
Serve and enjoy your refreshing Greek Yogurt Popsicles. They’re the perfect cool down for a hot day!
Things Worth Knowing
- Choosing the Right Fruits: Fresh fruits yield the best flavor. Opt for seasonal berries for a burst of sweetness.
- Blending Technique: Blend until smooth for creamy pops; small bits of fruit can add texture, depending on your preference.
- Freezing Tips: Ensure molds are filled adequately but not overflowing to prevent spills as they freeze.
- Storing Leftovers: Store popsicles in an airtight container in the freezer to prevent freezer burn.
Customization Ideas
The beauty of Greek Yogurt Popsicles lies in their flexibility. You can easily customize them to suit your taste or seasonal availability. Here are some ideas to help you experiment!
- Add Extras: Consider adding a handful of spinach or kale for added nutrition without altering the flavor significantly.
- Try Different Yogurts: Experiment with flavored Greek yogurt for a twist. Just be mindful of the added sugars.
- Combine Flavors: Mix different fruits and yogurt flavors for a rainbow of popsicles.
- Infuse with Herbs: Add fresh herbs like mint for a refreshing kick.
- Sweetness Level: Adjust the sweetness with more or less honey based on the fruit’s natural sweetness.
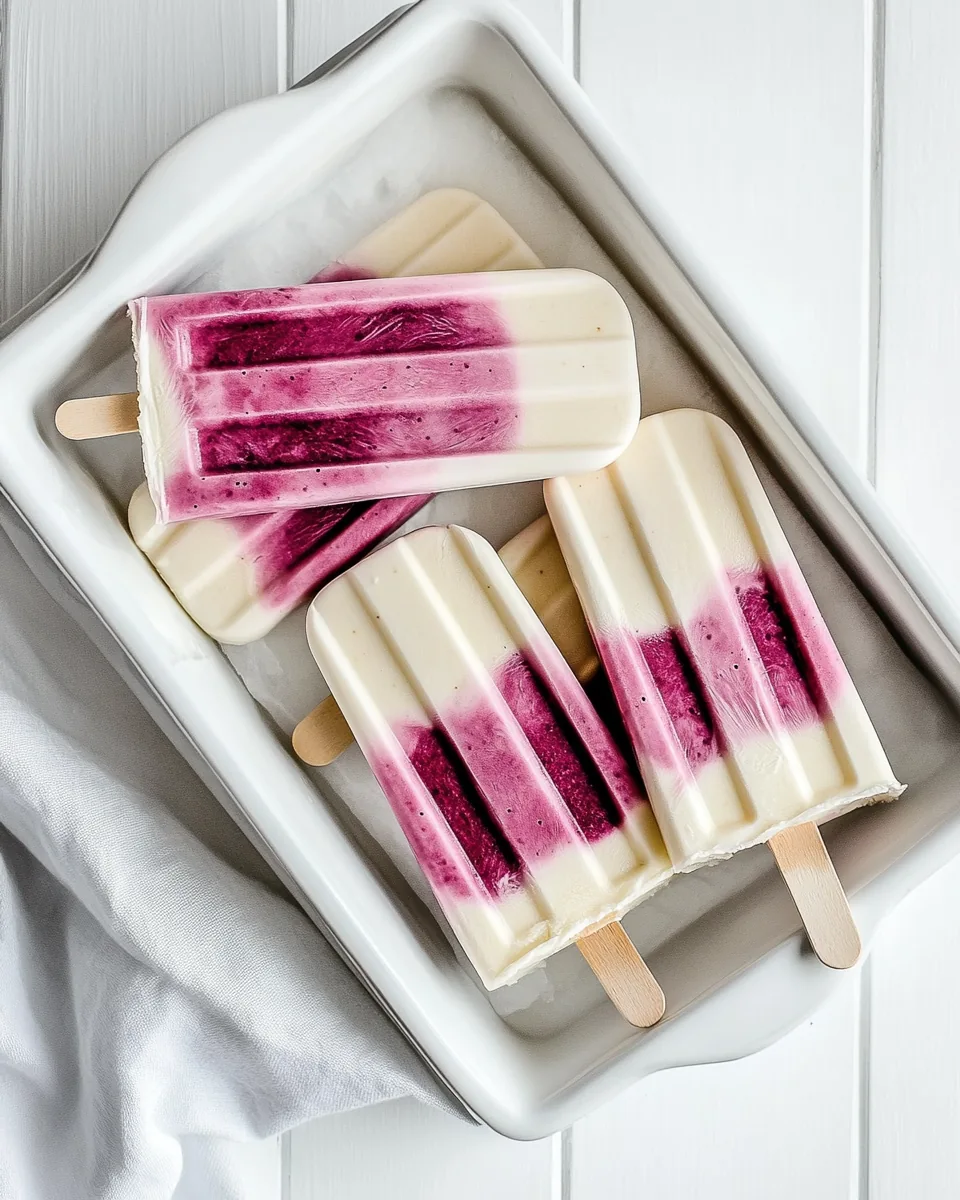
- Layering: For a fun look, layer different fruit mixtures in the molds before freezing.
- Vegan Option: Use coconut yogurt and maple syrup for a dairy-free version.
Perfect Pairings for Greek Yogurt Popsicles
When it comes to enjoying your Greek Yogurt Popsicles, there are plenty of delightful ways to serve and enjoy them. Here are some ideas to make the most of your popsicle experience!
- With Breakfast: Serve your popsicles alongside a bowl of granola and fruit for a refreshing breakfast treat.
- As a Snack: Keep them on hand for a quick afternoon snack or post-workout refuel.
- At Parties: These popsicles are perfect for summer gatherings; set up a popsicle bar with various toppings!
- For Kids: Make these popsicles a fun activity by letting kids choose their fruits and mix-ins.
- Seasonal Celebrations: Use festive molds to create popsicles for special occasions, adding a fun element to your celebrations.
- Storage Tip: Store popsicles in an airtight container to ensure freshness and quality.
- Pair with Desserts: Serve alongside a slice of pound cake or brownies for a delightful dessert experience.
FAQ
Conclusion
In conclusion, Greek Yogurt Popsicles are a delightful and healthy way to cool down during the hot summer months. They’re easy to make, customizable, and packed with nutrition, making them a perfect treat for everyone. I encourage you to try making these popsicles at home – you won’t regret having these delicious and refreshing snacks in your freezer for those warm days ahead!
Greek Yogurt Popsicles
Ingredients
Equipment
Method
- Start by gathering your ingredients: cleaned fruit, Greek yogurt, and honey. If you have fresh fruit, wash and chop it into smaller pieces to make blending easier.
- In a blender, combine the chopped fruits, Greek yogurt, and the honey if you’re using it. Blend on high until the mixture is smooth and creamy. Keep an eye on the texture; it should be thick but pourable.
- If your fruit has seeds, like blackberries, you might want to strain the mixture through a fine mesh sieve to ensure a smooth texture. This step is optional, but it makes for a more enjoyable popsicle.
- Once your mixture is ready, take your popsicle molds and pour the blended concoction into them. Fill each mold, leaving a little space at the top to allow for expansion as they freeze.
- Insert the popsicle sticks into the molds. Make sure they’re centered so that they freeze evenly. If your molds have a lid, cover them to keep everything in place.
- Now, it’s time to freeze! Place the molds in the freezer and let them sit overnight or for at least 6 to 8 hours until they’re completely solid.
- When you’re ready to enjoy your popsicles, simply run the molds under warm water for a few seconds to loosen them. Gently pull on the sticks to remove the popsicles. They should come out easily!
- Serve and enjoy your refreshing Greek Yogurt Popsicles. They’re the perfect cool down for a hot day!
Notes
- Berries and bananas work best for this recipe.
- Popsicles will keep well for about 2 weeks in the freezer.
- Every popsicle mold will differ.
- This recipe makes about 2 cups of popsicle filling.
- If you have more filling than space allows in your popsicle mold, you can keep the blended filling overnight in the refrigerator and refill the popsicle mold the next day with additional popsicles.