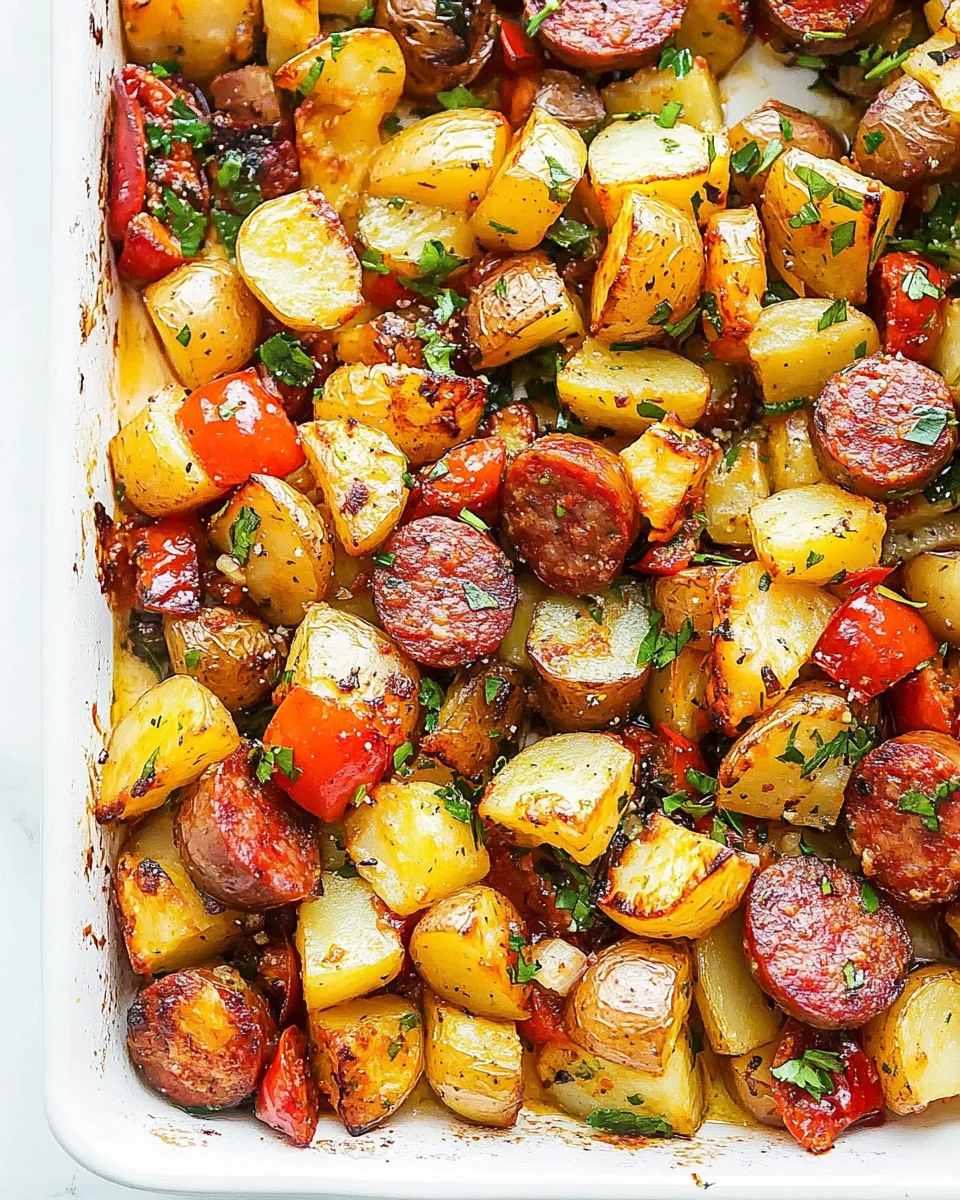
Kielbasa and Potatoes
The moment I think of Kielbasa and Potatoes, I’m transported to cozy evenings spent in the kitchen, the smell of savory goodness wafting through the air. This dish has always been a family favorite, with its comforting blend of flavors and textures. I remember my grandmother cooking it on chilly autumn nights, a ritual that warmed not just our bellies but our hearts as well. Each bite of juicy kielbasa paired with tender, roasted potatoes and colorful bell peppers has a way of bringing everyone together around the table. It’s a meal that’s simple yet so satisfying, perfect for those who crave a hearty dish that doesn’t take hours to prepare.
Gathering with family over Kielbasa and Potatoes always sparks laughter and storytelling. The ease of preparation allows for more time spent sharing memories rather than slaving away in the kitchen. It’s a dish that encourages conversation, where the aroma of olive oil and smoked paprika fills the air, making it hard to resist a taste before it’s even served. I can’t help but feel a sense of warmth and nostalgia as I prepare this dish, knowing it’s not just about the food, but about the love and togetherness it fosters. So, are you ready to experience this cozy, comforting meal that feels like home? Let’s dive in!
Recipe Snapshot
35 mins
10 mins
25 mins
Medium
340 kcal
15 g
Keto, Paleo, Whole30
20 g
Chef’s Knife, Baking Sheet, Frying Pan, Oven
Why This Kielbasa and Potatoes Works
Comforting and Hearty
There’s something undeniably comforting about a dish like Kielbasa and Potatoes. It brings back memories of family gatherings and cozy nights. The combination of kielbasa with hearty potatoes makes it not just a meal, but a comforting experience.
Easy to Prepare
One of the best aspects of this recipe is its simplicity. You can whip this up without needing to be a culinary expert. Just a few ingredients, a baking sheet, and you’ve got a fantastic dinner ready in no time!
Flavorful Ingredients
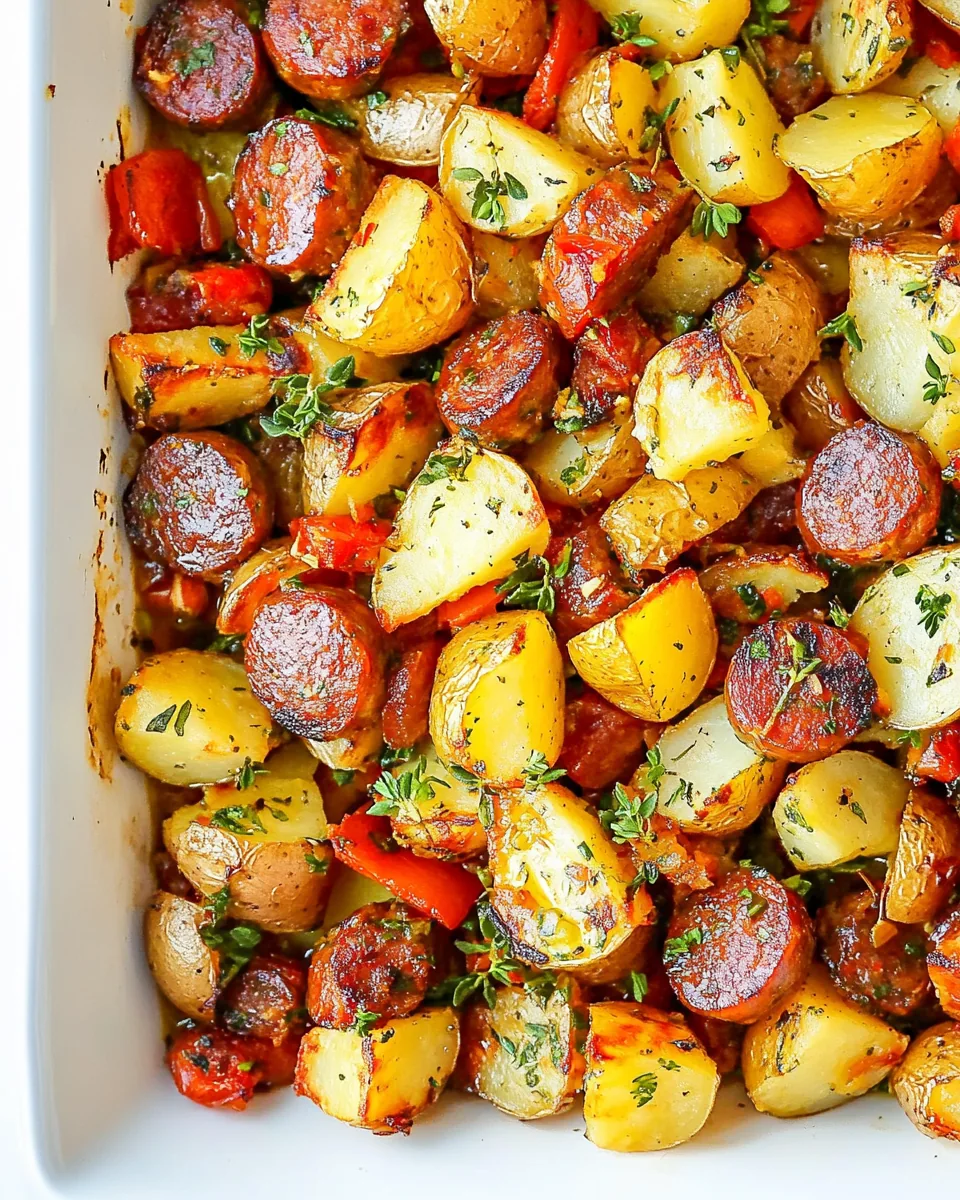
The flavors in Kielbasa and Potatoes work beautifully together. The smoked paprika adds a subtle warmth, while the garlic enhances the overall taste. The vibrant colors of the bell peppers make the dish visually appealing as well.
Versatile Dish
This dish is incredibly versatile. You can serve it as a filling dinner or a hearty lunch. It also makes for great leftovers, ensuring you have something delicious to enjoy the next day.
Perfect for Meal Prep
Preparing Kielbasa and Potatoes in advance is a breeze. It stores well, making it ideal for meal prepping. Just make a big batch, and you’ll have lunch or dinner sorted for days!
Kid-Friendly
This meal is perfect for families with kids. The flavors are mild yet delicious, and the colorful ingredients are a hit with youngsters. It’s an easy way to get them excited about dinner!
Ingredients Required for Kielbasa and Potatoes
When it comes to Kielbasa and Potatoes, the ingredients are straightforward yet essential to creating a delightful experience. Each component plays a crucial role in the dish, contributing to the overall harmony of flavors. The combination of savory meats, vibrant vegetables, and aromatic spices creates a symphony of taste that’s hard to resist.
- 14-16 ounces kielbasa sausage links – The star of the show, kielbasa is a type of Polish sausage that brings a unique flavor, enhancing the dish’s heartiness.
- 24 ounces baby potatoes – These tender morsels soak up the flavors while providing a satisfying bite.
- 2 bell peppers (red and green, seeded and cut into 1-inch pieces) – They add color and a sweet crunch, balancing the richness of the sausage.
- 1 cup onion (roughly chopped) – Onions lend a fragrant depth to the dish, complementing the other flavors perfectly.
- 3 tablespoons olive oil – This helps to roast the veggies beautifully, adding richness and flavor.
- 2-4 cloves garlic (minced) – Garlic is a must for that aromatic punch that elevates any dish.
- ½ teaspoon smoked paprika – It adds a lovely smokiness that ties everything together.
- Salt and pepper – Essential seasonings to enhance and bring out the flavors of the ingredients.
Putting Together Kielbasa and Potatoes
Making Kielbasa and Potatoes is a straightforward process that yields incredible results. You’ll love how simple it is to prepare this dish, allowing you to focus on enjoying the meal with your loved ones. Follow these steps to create this delicious dinner.
- Preheat your oven to 400°F (200°C). It’s important to get your oven nice and hot before baking to ensure everything cooks evenly. Setting a high temperature helps caramelize the potatoes and kielbasa, giving them a delightful golden color.
- Set out a large 13 x 18-inch rimmed baking sheet. This size is perfect for spreading everything out without overcrowding, ensuring even cooking. You want all the ingredients to get that beautiful roasted finish!
- Cut the kielbasa sausage links into ¾ to 1 inch sections. This bite-sized preparation allows the sausage to cook thoroughly and makes it easy to serve. As you cut, feel free to let those delicious juices flow!
- Cut the baby potatoes in half, then cut the bell peppers and onions into 1 inch pieces. Consistency in size is key here; it ensures everything cooks evenly. You want those potatoes to be fork-tender and the veggies just the right amount of crisp.
- Pile the kielbasa and veggies on the baking sheet. Don’t be afraid to mix it up and create a colorful medley! You’ll love the vibrant look of the fresh ingredients.
- Drizzle generously with olive oil. This adds flavor and helps everything roast beautifully. Make sure every piece is coated; this is where the magic happens!
- Toss everything well to coat, then spread the ingredients out in a single layer across the pan. This is crucial for even roasting; if things are piled on top of each other, they’ll steam instead of roast.
- Sprinkle the minced garlic over the top of the kielbasa and potatoes. The aroma of roasting garlic is irresistible and enhances the dish immensely.
- Then sprinkle generously with salt and pepper, and finally, sprinkle with smoked paprika. These seasonings are a must for layering flavor; you can never have too much!
- Place the baking sheet in the oven for 20 minutes. Set a timer and let those ingredients start roasting away! The smell will begin to fill your kitchen, becoming increasingly enticing.
- Use a large spatula to flip the kielbasa and potatoes over. This helps achieve that beautiful caramelization on both sides. It’s like a dance; you want to ensure everything is evenly cooked!
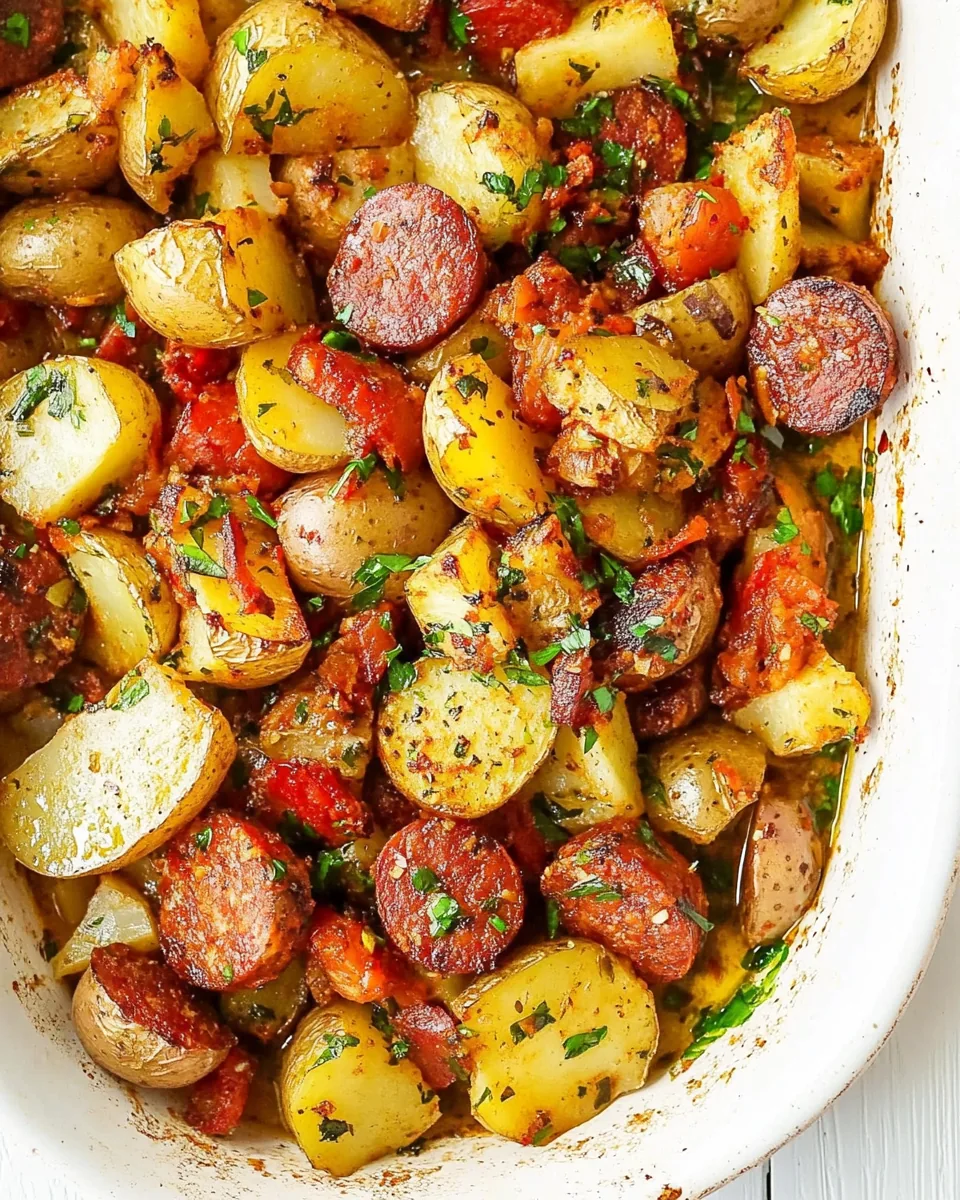
- Then continue to bake for an additional 5-10 minutes, until the potatoes are fork-tender. Check for doneness by poking a potato with a fork; it should slide in easily. Once they’re ready, you can hardly wait to serve!
- Serve warm and enjoy the delightful flavors of your Kielbasa and Potatoes. Gather around the table, share stories, and savor every bite of this comforting dish.
Things Worth Knowing
- Roasting Technique: Ensure the veggies are cut evenly for uniform cooking. This will prevent some from becoming mushy while others remain crunchy.
- Flavor Enhancement: Allow the dish to marinate for a short time after tossing with oil and spices before baking. It will deepen the flavors.
- Storage Idea: Store any leftovers in an airtight container in the fridge. It tastes even better the next day!
- Garnish Suggestions: Consider garnishing with fresh herbs like parsley or chives for a pop of color and flavor when serving.
Tips for Success
To ensure your journey to making Kielbasa and Potatoes is smooth and successful, here are some tips that will enhance your cooking experience. With a few thoughtful pointers, you’ll be well on your way to a culinary masterpiece.
- Storage: How to store leftovers: Keep any leftover Kielbasa and Potatoes in an airtight container in the refrigerator for up to 3 days. They taste great reheated!
- Freezing: Can you freeze this? Yes! You can freeze the dish after cooking, but I recommend undercooking the potatoes slightly to retain texture when reheating.
- Pairing: What to serve with this: Enjoy it with a side of steamed vegetables or a fresh green salad for a complete meal.
- Seasoning Variations: Experiment with different seasonings to customize the flavor profile. Consider adding your favorite herbs or spices to make it uniquely yours!
- Meal Prepping: This dish is perfect for meal prep! Make a large batch at once and portion it out for lunches or quick dinners throughout the week.
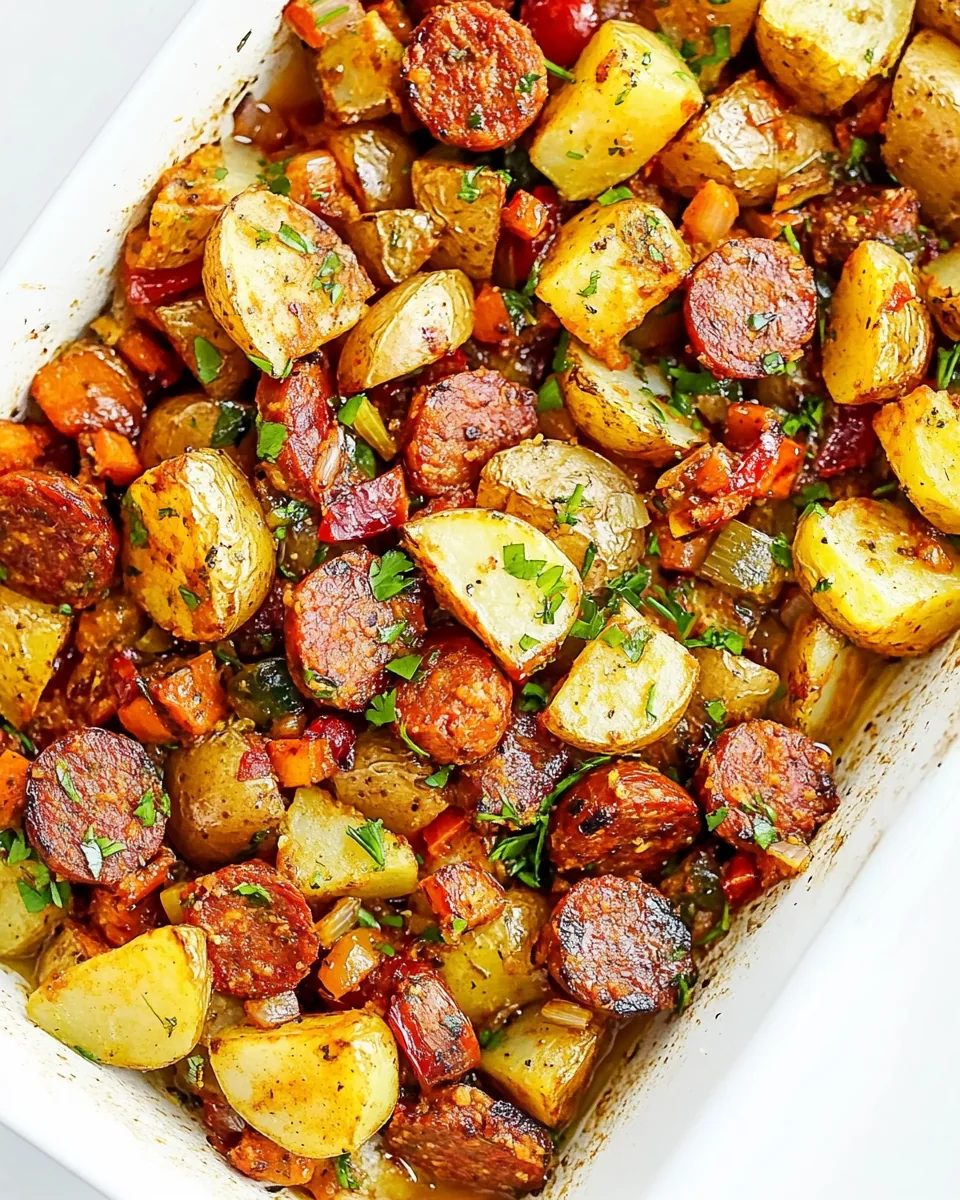
- Visual Appeal: Serve in a colorful dish; the vibrant colors of the ingredients make for a beautiful presentation that will impress your guests.
- Cooking Style: If you prefer a crispy texture, consider broiling the dish for the last few minutes of cooking for a delightful finish.
Great Combinations for Kielbasa and Potatoes
When serving Kielbasa and Potatoes, there are endless possibilities for delightful combinations that can elevate your dining experience. Here’s how you can enjoy this hearty dish:
- Light Salads: Pair it with a crisp green salad, perhaps with a tangy vinaigrette, to balance the richness of the dish.
- Steamed Vegetables: Adding a side of steamed broccoli or green beans can enhance the nutritional value while providing a contrasting texture.
- Crusty Bread: Serve with a slice of warm crusty bread to soak up all the delicious juices from the dish.
- Casual Dinner Gatherings: This dish is perfect for casual dinners with friends. Serve it family-style for a welcoming touch.
- Comfort Food Nights: Ideal for chilly evenings, it works wonderfully for cozy family gatherings or game nights.
- Picnics and Potlucks: Kielbasa and Potatoes can easily be transported, making it a fantastic choice for outdoor events.
- Seasonal Celebrations: Utilize seasonal vegetables alongside the main ingredients for a fresh twist based on what’s available.
FAQ
Conclusion
Kielbasa and Potatoes is not just a meal; it’s a heartwarming experience that brings family together. The delightful combination of flavors and the ease of preparation make it a must-try for any home cook. Don’t wait any longer to savor this comforting dish. Gather your loved ones and give it a whirl!
Kielbasa and Potatoes
Ingredients
Equipment
Method
- Preheat your oven to 400°F (200°C). It’s important to get your oven nice and hot before baking to ensure everything cooks evenly. Setting a high temperature helps caramelize the potatoes and kielbasa, giving them a delightful golden color.
- Set out a large 13 x 18-inch rimmed baking sheet. This size is perfect for spreading everything out without overcrowding, ensuring even cooking. You want all the ingredients to get that beautiful roasted finish!
- Cut the kielbasa sausage links into ¾ to 1 inch sections. This bite-sized preparation allows the sausage to cook thoroughly and makes it easy to serve. As you cut, feel free to let those delicious juices flow!
- Cut the baby potatoes in half, then cut the bell peppers and onions into 1 inch pieces. Consistency in size is key here; it ensures everything cooks evenly. You want those potatoes to be fork-tender and the veggies just the right amount of crisp.
- Pile the kielbasa and veggies on the baking sheet. Don’t be afraid to mix it up and create a colorful medley! You’ll love the vibrant look of the fresh ingredients.
- Drizzle generously with olive oil. This adds flavor and helps everything roast beautifully. Make sure every piece is coated; this is where the magic happens!
- Toss everything well to coat, then spread the ingredients out in a single layer across the pan. This is crucial for even roasting; if things are piled on top of each other, they’ll steam instead of roast.
- Sprinkle the minced garlic over the top of the kielbasa and potatoes. The aroma of roasting garlic is irresistible and enhances the dish immensely.
- Then sprinkle generously with salt and pepper, and finally, sprinkle with smoked paprika. These seasonings are a must for layering flavor; you can never have too much!
- Place the baking sheet in the oven for 20 minutes. Set a timer and let those ingredients start roasting away! The smell will begin to fill your kitchen, becoming increasingly enticing.
- Use a large spatula to flip the kielbasa and potatoes over. This helps achieve that beautiful caramelization on both sides. It’s like a dance; you want to ensure everything is evenly cooked!
- Then continue to bake for an additional 5-10 minutes, until the potatoes are fork-tender. Check for doneness by poking a potato with a fork; it should slide in easily. Once they're ready, you can hardly wait to serve!
- Serve warm and enjoy the delightful flavors of your Kielbasa and Potatoes. Gather around the table, share stories, and savor every bite of this comforting dish.
Notes
- Tip 1: Keep any leftover Kielbasa and Potatoes in an airtight container in the refrigerator for up to 3 days. They taste great reheated!
- Tip 2: Yes! You can freeze the dish after cooking, but I recommend undercooking the potatoes slightly to retain texture when reheating.
- Tip 3: Enjoy it with a side of steamed vegetables or a fresh green salad for a complete meal.
- Tip 4: Experiment with different seasonings to customize the flavor profile. Consider adding your favorite herbs or spices to make it uniquely yours!
- Tip 5: This dish is perfect for meal prep! Make a large batch at once and portion it out for lunches or quick dinners throughout the week.
- Tip 6: The vibrant colors of the ingredients make for a beautiful presentation that will impress your guests.
- Tip 7: If you prefer a crispy texture, consider broiling the dish for the last few minutes of cooking for a delightful finish.