Preheat your oven to 400°F (200°C). It’s important to get your oven nice and hot before baking to ensure everything cooks evenly. Setting a high temperature helps caramelize the potatoes and kielbasa, giving them a delightful golden color.
Set out a large 13 x 18-inch rimmed baking sheet. This size is perfect for spreading everything out without overcrowding, ensuring even cooking. You want all the ingredients to get that beautiful roasted finish!
Cut the kielbasa sausage links into ¾ to 1 inch sections. This bite-sized preparation allows the sausage to cook thoroughly and makes it easy to serve. As you cut, feel free to let those delicious juices flow!
Cut the baby potatoes in half, then cut the bell peppers and onions into 1 inch pieces. Consistency in size is key here; it ensures everything cooks evenly. You want those potatoes to be fork-tender and the veggies just the right amount of crisp.
Pile the kielbasa and veggies on the baking sheet. Don’t be afraid to mix it up and create a colorful medley! You’ll love the vibrant look of the fresh ingredients.
Drizzle generously with olive oil. This adds flavor and helps everything roast beautifully. Make sure every piece is coated; this is where the magic happens!
Toss everything well to coat, then spread the ingredients out in a single layer across the pan. This is crucial for even roasting; if things are piled on top of each other, they’ll steam instead of roast.
Sprinkle the minced garlic over the top of the kielbasa and potatoes. The aroma of roasting garlic is irresistible and enhances the dish immensely.
Then sprinkle generously with salt and pepper, and finally, sprinkle with smoked paprika. These seasonings are a must for layering flavor; you can never have too much!
Place the baking sheet in the oven for 20 minutes. Set a timer and let those ingredients start roasting away! The smell will begin to fill your kitchen, becoming increasingly enticing.
Use a large spatula to flip the kielbasa and potatoes over. This helps achieve that beautiful caramelization on both sides. It’s like a dance; you want to ensure everything is evenly cooked!
Then continue to bake for an additional 5-10 minutes, until the potatoes are fork-tender. Check for doneness by poking a potato with a fork; it should slide in easily. Once they're ready, you can hardly wait to serve!
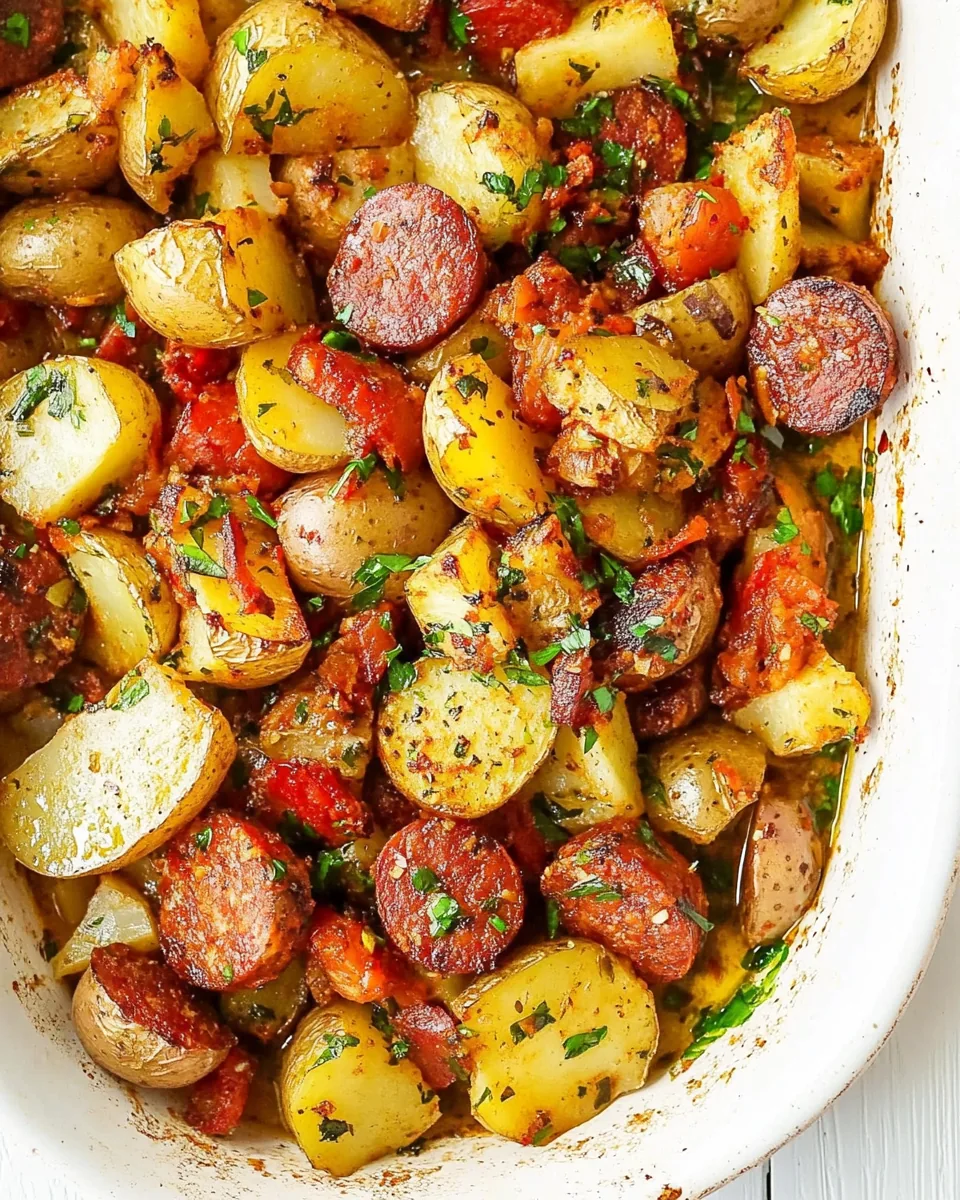
Serve warm and enjoy the delightful flavors of your Kielbasa and Potatoes. Gather around the table, share stories, and savor every bite of this comforting dish.