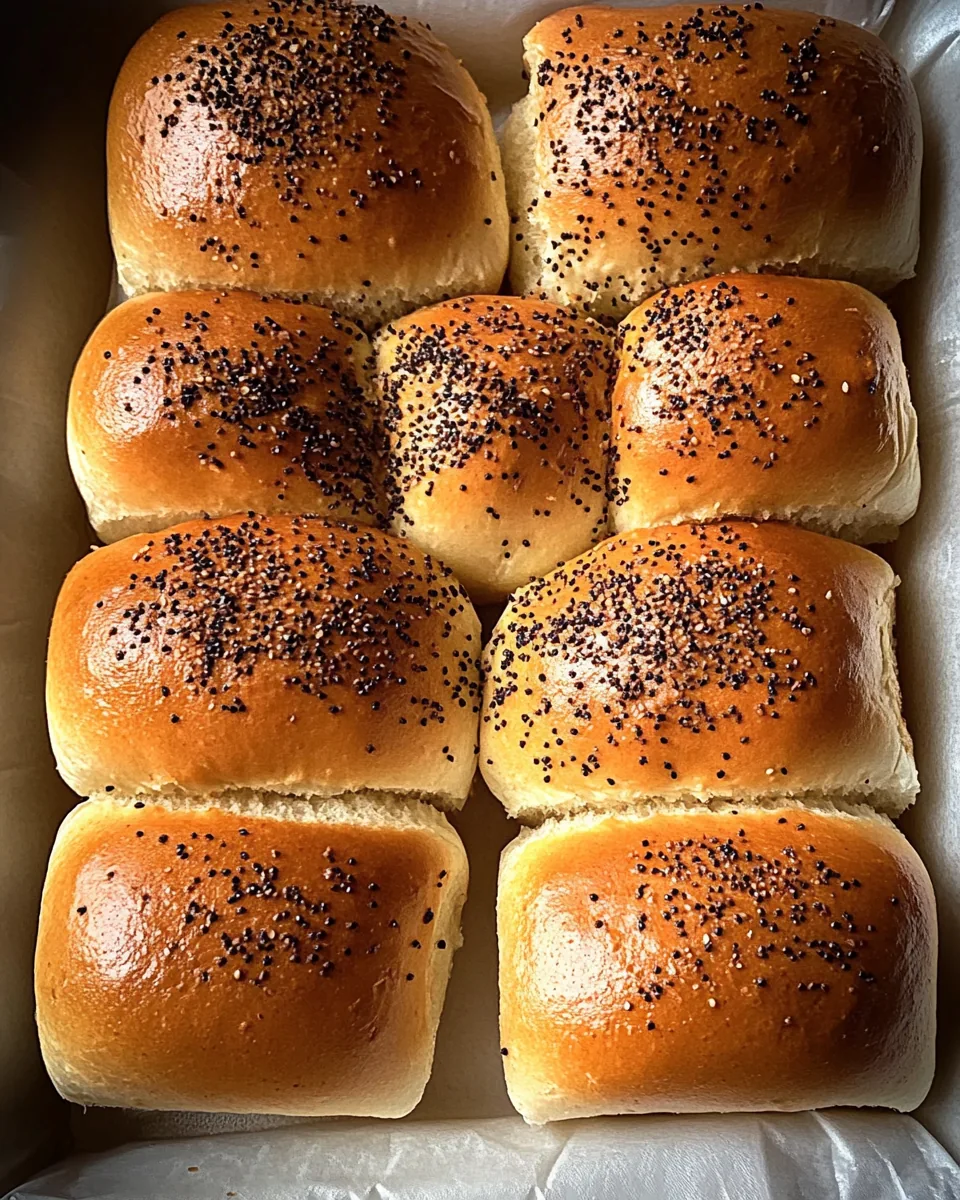
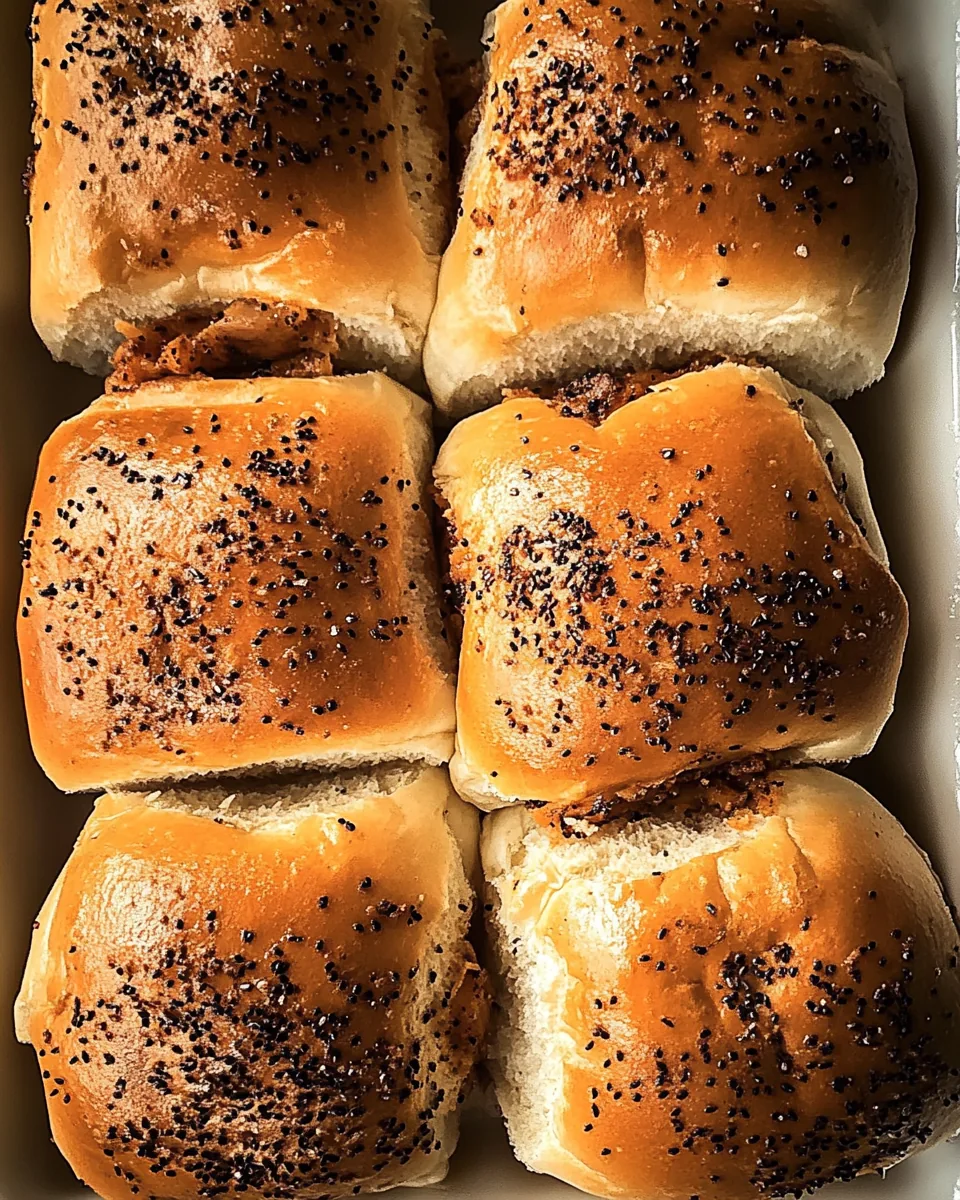
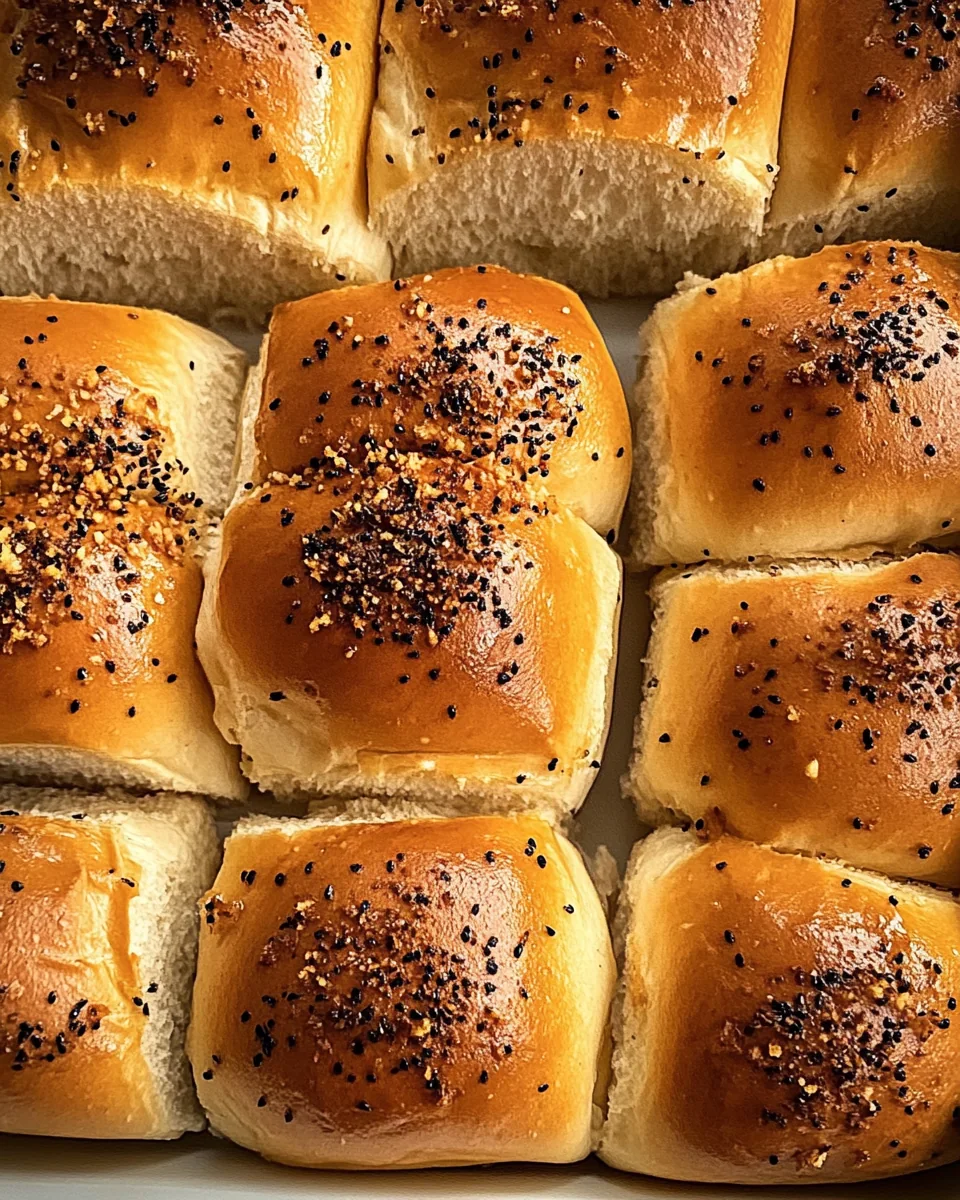
Thanksgiving Leftover Sliders
There’s something truly magical about transforming Thanksgiving leftovers into a delightful dish, and that’s exactly what Thanksgiving Leftover Sliders offer! After the big feast, when my family gathers around the table with full bellies and happy hearts, we inevitably end up with an array of delicious food left behind. One year, I decided to take that leftover turkey, stuffing, and cranberry sauce and create these sliders. The result? A meal that not only satisfied our cravings but also became a new family tradition!
Imagine the savory flavor of turkey layered between sweet Hawaiian rolls, coated with a tangy spread of mayo and Dijon mustard. Each bite is a burst of nostalgia, reminding us of all the joy that Thanksgiving brings. My kids, who are usually picky eaters, couldn’t get enough of these sliders. They loved building their own with their favorite toppings, making every bite personal and special.
What I love about Thanksgiving Leftover Sliders is their versatility. You can customize them to suit your family’s tastes, whether that means adding a slice of cheese or extra stuffing. Plus, they’re a hit at potlucks and casual gatherings, bringing everyone together to enjoy a comforting, familiar flavor in a fun new way. As I reflected on this dish, I realized it’s not just about reusing leftovers; it’s about cherishing moments spent with loved ones, sharing meals that evoke memories, and celebrating the flavors of the season.
The best part is how quick and easy they are to prepare! In no time, you can have a tray of warm, gooey sliders that will have everyone going back for seconds. Whether it’s a casual dinner or a festive gathering, these sliders are sure to impress!
Recipe Snapshot
30 mins
10 mins
20 mins
Medium
320 kcal
18 g
Keto, Gluten-Free, Low FODMAP
14 g
Chef’s Knife, Baking Sheet, Oven
Why This Thanksgiving Leftover Sliders Shines
Creative Use of Leftovers
One of the biggest reasons I absolutely adore Thanksgiving Leftover Sliders is how creatively they use up leftovers. After that big turkey feast, we often find ourselves with excess turkey, stuffing, and cranberry sauce. Instead of letting them go to waste, this recipe gives them a delightful second life. It’s a fantastic way to reduce food waste while treating your family to a new, exciting meal!
Quick and Easy Preparation
Another standout feature of this recipe is the quick preparation time. With just a few simple steps, you can whip up a batch of sliders that are ready to bake. The ease of layering the ingredients makes it accessible for anyone, even someone who may not be very experienced in the kitchen. Plus, with minimal cleanup, you can spend more time enjoying your meal with loved ones instead of stuck at the sink!
Customizable for All Tastes
These sliders are incredibly customizable, which is such a joy when cooking for a group or family. You can easily adapt the ingredients to fit what you have on hand or what your family enjoys. Whether you want to add extra cheese, different sauces, or even veggies, the possibilities are endless. This flexibility means that everyone can build their own sliders to suit their taste!
Perfect for Gatherings
When it comes to gatherings, Thanksgiving Leftover Sliders are a crowd-pleaser! They’re easy to serve, allowing everyone to grab a slider and enjoy. This makes them ideal for parties, potlucks, or informal family dinners. Plus, who doesn’t love a warm, cheesy slider filled with the flavors of Thanksgiving?
Full of Flavor and Comfort
There’s just something undeniably comforting about these sliders. The combination of sweet Hawaiian rolls, savory turkey, and tangy cranberry sauce creates a flavor profile that is both familiar and satisfying. Each bite transports you straight back to the warmth of the Thanksgiving table, making it a dish that provides not just sustenance, but also emotional comfort.
Kid-Friendly Option
If you have picky eaters in your home, these sliders are a fantastic option. Kids love being able to assemble their own sliders with their favorite ingredients, and the small size makes them perfect for little hands. It’s a fun way to get children involved in the cooking process, too!
Thanksgiving Leftover Sliders Shopping List

When it comes to making these delightful sliders, the ingredients are not only simple but also come together beautifully. Each ingredient plays a specific role, contributing to the overall flavor and texture of the dish. Key players like the Hawaiian sweet dinner rolls provide a soft, sweet base, while the turkey and stuffing deliver those comforting, familiar flavors we associate with Thanksgiving.
- 1 (12-ounce) package Hawaiian sweet dinner rolls: These sweet, fluffy rolls are the perfect vessel for your sliders, adding a delightful flavor contrast to the savory fillings.
- 2 tablespoons mayonnaise or plain Greek yogurt: Adds creaminess to the sliders, enhancing their texture and flavor.
- 1 ½ tablespoons Dijon mustard: A tangy kick that perfectly complements the richness of the turkey.
- 12 ounces leftover turkey slices: The star protein of the slider, providing that classic Thanksgiving taste.
- 1 ⅔ cups cooked stuffing: Adds a hearty, savory element that enhances the overall satisfaction of each bite.
- 1 cup cranberry sauce: A sweet and tart addition that balances out the rich flavors of the meat and cheese.
- 1 ½ cups shredded mozzarella cheese (or provolone, cheddar, or Havarti cheese, divided): Adds gooeyness and a delicious cheesy flavor.
- 6 tablespoons unsalted butter (melted): Helps to bind the ingredients and adds a rich flavor.
- 2 teaspoons poppy seeds: A small but flavorful topping that adds a bit of crunch and visual appeal.
Making Thanksgiving Leftover Sliders
Making Thanksgiving Leftover Sliders is an enjoyable and straightforward process! Let me guide you through each step to ensure your sliders turn out perfectly gooey and delicious. These instructions will help you create a dish that’s not only satisfying but also brings joy to your family table.
- Start by placing a rack in the center of your oven and preheating it to 350°F. This ensures your sliders bake evenly and get that perfect melty cheese layer.
- Line a baking sheet with parchment paper. This will make cleanup a breeze and prevent your sliders from sticking. You want them to come out easily and look perfect!
- Without disconnecting the buns at their sides, slice the slider buns in half horizontally. Be gentle as you slice to maintain the integrity of the buns, ensuring they hold everything together nicely.
- Spread the bottom half with mayo (or Greek yogurt) and the top half with Dijon mustard. This not only adds flavor but also creates a barrier that helps keep the buns from getting soggy.
- Layer on the turkey, then the stuffing. You may want to smush the stuffing a bit to help it stick together and ensure a good balance of flavors.
- Next, add the cranberry sauce on top of the stuffing, followed by the cheese. Make sure to cover the sliders evenly to guarantee every bite is cheesy and delicious.
- Add the top buns to complete the sliders. Gently press down to help the layers stick together.
- Transfer the assembled sliders to the prepared baking sheet. Keeping them close together will help them hold their shape as they bake.
- In a small bowl, combine the melted butter and poppy seeds. This mixture will add a flavorful and attractive topping to your sliders. Brush it generously over the top.
- Bake until the cheese is melty, about 20 minutes. At the 10-minute mark, check to make sure the tops are not browning too quickly. If they are, loosely tent with foil and continue baking.
- Once they’re done, transfer the baking sheet to a cutting board and let the sliders cool for a few minutes. This waiting time will help them set a little, making slicing easier.
- Carefully slice apart the sliders and serve them warm. They’re best enjoyed fresh out of the oven!
Things Worth Knowing
- Check Your Leftovers: Make sure your leftovers are fresh and safe to eat. It’s best to use turkey and stuffing that’s only a few days old.
- Layering is Key: Proper layering ensures that every slider is balanced in flavor and texture, providing a delightful bite every time.
- Don’t Rush the Baking: Allow the sliders sufficient time in the oven. The cheese should be perfectly melted, and the tops golden brown for the best results.
- Customize as You Wish: Feel free to add or substitute ingredients based on what you have. This recipe is quite forgiving!
Recipe Tips about Thanksgiving Leftover Sliders
When it comes to making Thanksgiving Leftover Sliders, there are a few tips that can help elevate your dish! I’ve gathered some helpful insights to ensure your sliders turn out perfectly every time.
- Storage: Store any leftover sliders in an airtight container in the refrigerator. They can last up to three days. Reheat them in the oven for a crispy finish.
- Freezing: Yes, you can freeze these sliders! Assemble them without baking, wrap tightly in plastic wrap, and place them in a freezer-safe bag. Bake from frozen, adding a few extra minutes to the cooking time.
- Pairing: Serve these sliders with a fresh salad or some roasted vegetables for a well-rounded meal. They also pair wonderfully with a warm soup!
- Make Ahead: You can prepare the sliders in advance and store them in the refrigerator before baking. This way, you can pop them in the oven when you’re ready to serve.
- Variations: Consider switching up the cheese or adding different condiments like sriracha or honey mustard for a unique flavor twist.
- Flavor Boost: For an extra flavor kick, sprinkle some herbs or spices like thyme or rosemary on the stuffing or turkey before layering.
Serve This Thanksgiving Leftover Sliders With
When it comes to serving Thanksgiving Leftover Sliders, there are plenty of fantastic options to enhance your meal. Here are some wonderful pairings and serving suggestions:
- Fresh Green Salad: A bright salad with mixed greens, cherry tomatoes, and a light vinaigrette can balance the richness of the sliders perfectly.
- Roasted Vegetables: Seasonal roasted vegetables add color and nutrition to your table. Think Brussels sprouts, carrots, or sweet potatoes!
- Soup: Pair these sliders with a warm bowl of soup; something light like a tomato basil or a hearty pumpkin soup would be delightful!
- Chips or Fries: For a more casual vibe, serve with potato chips or crispy fries. They add texture and fun to your meal.
- Drinks: Serve with your favorite non-alcoholic beverages, such as sparkling water or apple cider, for a refreshing complement.
- Seasonal Decor: Don’t forget to set your table with a festive touch! Some autumn-themed decor can create a warm atmosphere for the meal.
FAQ
Conclusion
The beauty of Thanksgiving Leftover Sliders lies not just in their deliciousness, but in their ability to connect us to cherished traditions. This recipe allows you to turn your holiday leftovers into something extraordinary, making every bite a reminder of family gatherings and laughter. I encourage you to give it a try and see how these sliders can become a beloved staple in your home. Enjoy the comfort and joy they bring!
Thanksgiving Leftover Sliders
Ingredients
Equipment
Method
- Start by placing a rack in the center of your oven and preheating it to 350°F. This ensures your sliders bake evenly and get that perfect melty cheese layer.
- Line a baking sheet with parchment paper. This will make cleanup a breeze and prevent your sliders from sticking. You want them to come out easily and look perfect!
- Without disconnecting the buns at their sides, slice the slider buns in half horizontally. Be gentle as you slice to maintain the integrity of the buns, ensuring they hold everything together nicely.
- Spread the bottom half with mayo (or Greek yogurt) and the top half with Dijon mustard. This not only adds flavor but also creates a barrier that helps keep the buns from getting soggy.
- Layer on the turkey, then the stuffing. You may want to smush the stuffing a bit to help it stick together and ensure a good balance of flavors.
- Next, add the cranberry sauce on top of the stuffing, followed by the cheese. Make sure to cover the sliders evenly to guarantee every bite is cheesy and delicious.
- Add the top buns to complete the sliders. Gently press down to help the layers stick together.
- Transfer the assembled sliders to the prepared baking sheet. Keeping them close together will help them hold their shape as they bake.
- In a small bowl, combine the melted butter and poppy seeds. This mixture will add a flavorful and attractive topping to your sliders. Brush it generously over the top.
- Bake until the cheese is melty, about 20 minutes. At the 10-minute mark, check to make sure the tops are not browning too quickly. If they are, loosely tent with foil and continue baking.
- Once they’re done, transfer the baking sheet to a cutting board and let the sliders cool for a few minutes. This waiting time will help them set a little, making slicing easier.
- Carefully slice apart the sliders and serve them warm. They’re best enjoyed fresh out of the oven!