Preheat your oven to 425°F. This is an essential step for achieving that perfect golden brown exterior. A hot oven ensures the tortillas crisp up nicely while the filling heats through.
In a large bowl, combine the cooked, shredded chicken with the salsa, cumin, and oregano. Mix everything until well combined. You'll notice the salsa turning the chicken a lovely red hue, and the spices will begin to infuse their flavors.
Prepare your Knorr® Fiesta Sides™ rice according to package directions. Usually, this involves covering and simmering for about 7 minutes. When it's ready, remove it from the heat. The rice will be fluffy and flavorful, a great addition to the chimichangas.
Once the rice is cooked, stir it into the chicken mixture along with the cheese. The cheese will melt slightly with the warmth from the mixture, creating a creamy filling that binds everything together.
Now, take your flour tortillas and divide the filling evenly among them. Be generous, but make sure you can still fold the tortillas without them bursting. Once filled, wrap them tightly and place them seam-side down on a lined baking sheet.
Brush the tops of the chimichangas with the remaining canola or vegetable oil. This will help them achieve that beautiful golden-brown color as they bake.
Bake in the preheated oven for about 20 minutes or until they are golden brown and crispy. Keep an eye on them; you want a lovely crunch, but you don’t want them to burn!
Once they’re out of the oven, allow them to cool for a few minutes. This will make it easier to handle them without burning your fingers. The aroma will be mouthwatering!
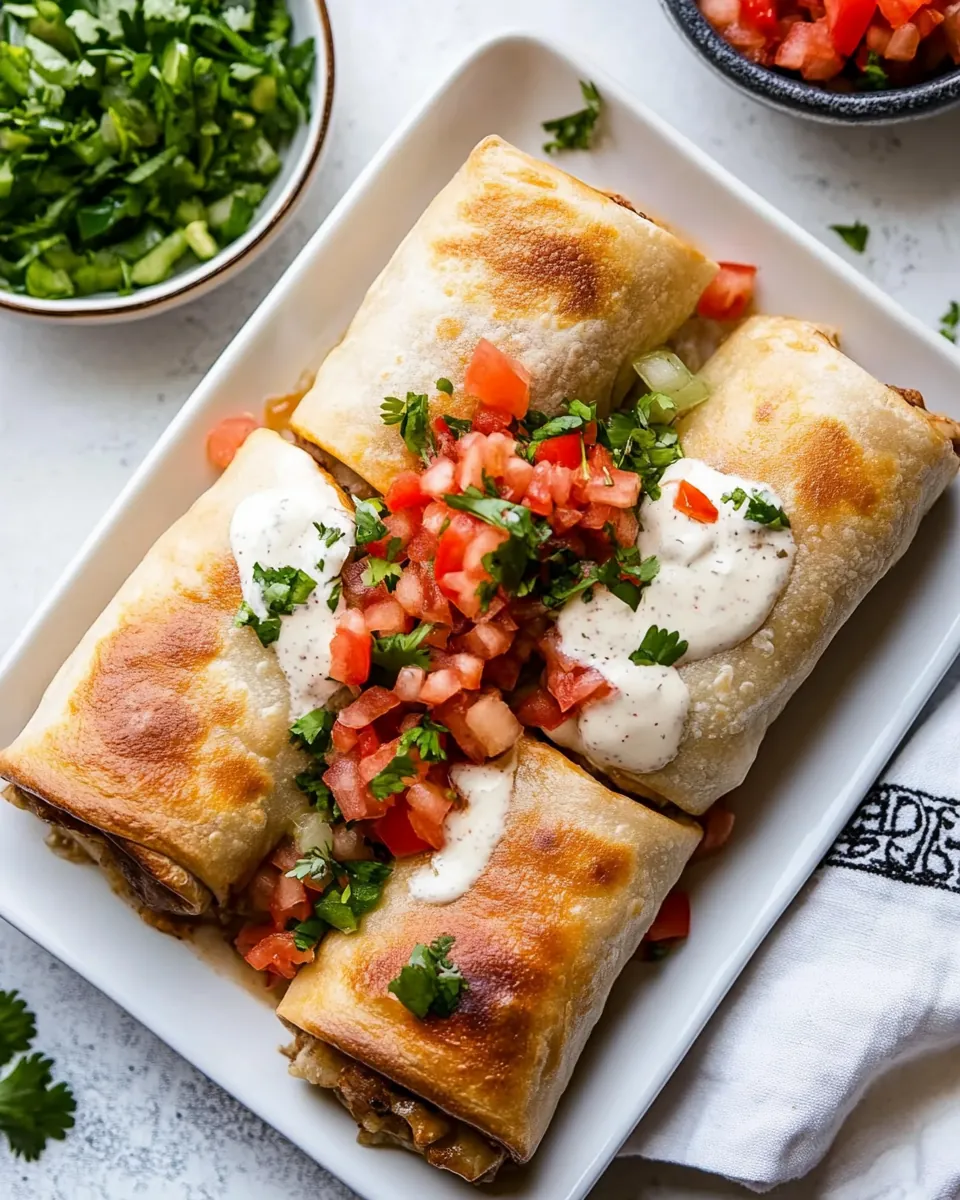
Serve the Baked Chicken Chimichangas with your favorite toppings like shredded cheese, sour cream, chopped tomato, cilantro, green onion, lettuce, salsa, guacamole, and lime wedges. Get ready for a flavor explosion!