Ingredients
Equipment
Method
- Start by lining the base of a 20 to 24 cm springform round cake tin with baking paper. This will make it easy to remove the cake once it’s frozen.
- Next, take the Ferrero Rocher chocolates and crush them using a food processor until they resemble crumbs. This will form a crunchy base for your cake.
- Spread the crushed Ferrero Rocher evenly over the base of the prepared cake tin. Press it down gently to form a solid layer and then chill it in the freezer for a little while.
- While the base is chilling, remove the chocolate ice cream from the freezer. Allow it to sit at room temperature for a few minutes until it softens slightly but doesn’t melt.
- Once softened, take the chilled base out of the freezer and layer on half of the chocolate ice cream. Use a rubber spatula or the back of a spoon to smooth it out evenly.
- Return the cake tin to the freezer for a while to let that layer firm up.
- Next, take the vanilla ice cream out to soften. Once it’s ready, crumble the mini pavlova into the softened vanilla ice cream and mix it well.
- Layer this vanilla mixture over the chilled chocolate ice cream layer in the cake tin, then top it with some unwrapped chocolate coins for added texture and fun.
- Place it back in the freezer again until it’s set.
- Once the vanilla layer is firm, add the remaining chocolate ice cream on top. Wrap the tin in cling wrap and freeze the cake. You can do this a few days before you plan to serve it.
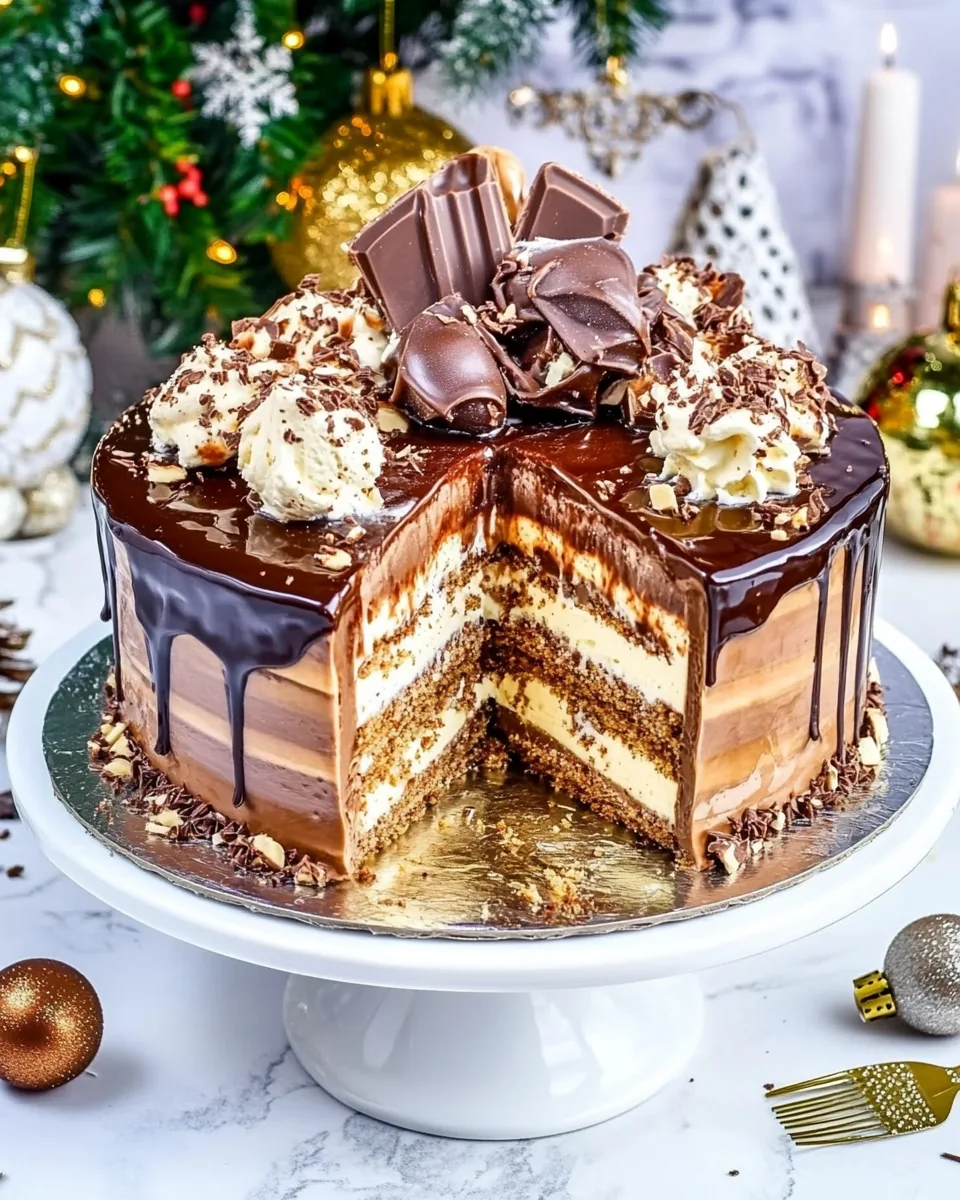
- On the day of serving, melt half a block of chocolate (I recommend using a rich variety like Whittakers Milk Chocolate with Hazelnuts). Remove the ice cream cake from the freezer and let it sit for a few minutes.
- Carefully remove the pan, then pour the melted chocolate over the top of the cake. Drizzle it slowly so it cascades down the sides, creating a beautiful effect as it solidifies quickly against the cold ice cream.
- Decorate the top with any remaining chocolate, Guylian chocolates, and Corinthian's wafers for that final touch of elegance.
- Serve immediately or return it to the freezer for a bit longer. It's best when served fresh after decorating.
Notes
Here are some helpful tips:
- Storage: Store leftovers in the original cake tin wrapped in cling film to keep it fresh for up to a week.
- Freezing: You can freeze this cake for several weeks. Just ensure it’s well-wrapped to prevent freezer burn.
- Pairing: Serve with a side of fresh berries or a drizzle of warm chocolate sauce for an extra treat.
- Presentation: Use a hot knife to slice the cake; it helps create cleaner cuts and presents beautifully.
- Flavors: Experiment with different flavors by swapping out the ice cream or adding layers of fruit for a refreshing twist.