Ingredients
Equipment
Method
- Start by warming canola oil in a large dutch oven or stock pot over medium-high heat. The oil should shimmer, indicating it’s hot enough. This is crucial for the next step.
- Season the chuck roast generously with kosher salt and freshly ground black pepper. This seasoning is vital for building the flavor of your broth.
- Carefully place the seasoned roast in the pot. Let it brown on all sides for about 4 to 5 minutes per side. You want to achieve a golden crust that will infuse your broth with a deep flavor. Once browned, transfer it to a plate.
- In the same pot, add the beef neck bones. Brown them in batches if necessary, ensuring they develop a nice color.
- After the bones are browned, add the chuck roast back into the pot along with the chopped carrot, celery, quarter onion, and garlic halves. If you're using parsnip, toss it in as well. These aromatics will contribute to the beautiful flavor profile of your broth.
- Pour in 4 quarts of cold water. The water should cover the meat and vegetables by at least 1 to 2 inches. This is essential for extracting the flavors from the ingredients.
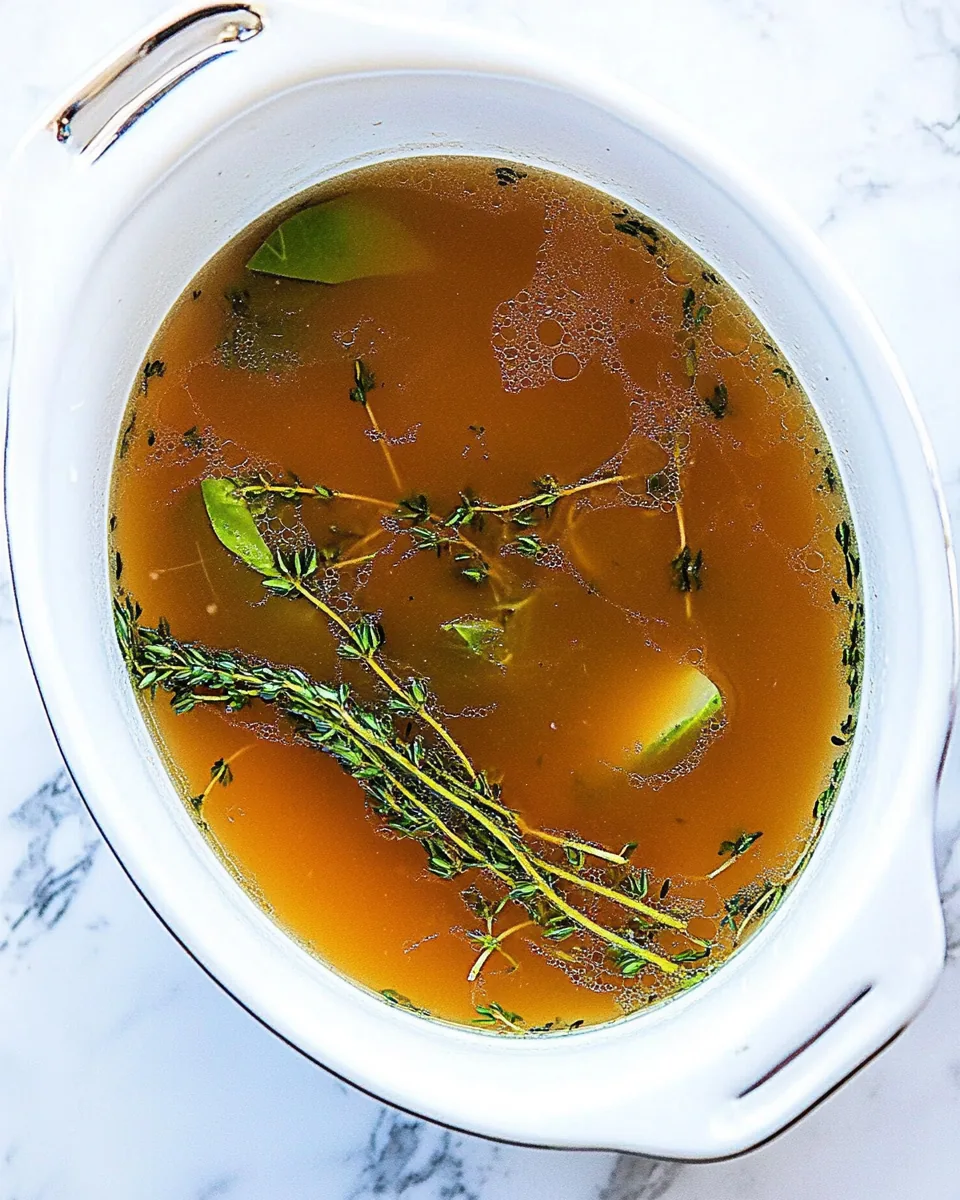
- Add in a handful of parsley (leaves and stems intact), thyme leaves, bay leaves, beef bouillon, and additional kosher salt to taste. This combination is what brings your broth to life.
- Bring the pot to a vigorous boil. Once boiling, reduce the heat to a simmer. It’s important to keep it on low heat so you can skim the broth every 30 minutes or so.
- Cook the broth for 2 to 8 hours. The longer it simmers, the richer the flavor will be. You’ll know it’s ready when it’s dark brown and tastes well-flavored.
- Once done, turn off the heat and let the broth cool slightly. If using immediately, place a large colander over a measuring cup and carefully pour the broth through it. This will catch any remaining solids.
- For storing, strain the broth into wide-mouth glass jars, leaving some headspace before sealing. Allow it to cool completely before refrigerating or freezing. It will keep for up to 5 days in the fridge or 6 months in the freezer.
Notes
Here are a few tips to enhance your broth-making experience:
- Storage: Ensure to cool the broth completely before transferring to airtight containers. This helps maintain freshness and prevents spoilage.
- Freezing: You can freeze the broth in ice cube trays for easy use. Perfect for adding small amounts to sauces or sautéed dishes.
- Pairing: Use the broth as a base for soups, stews, or sauces. It adds depth to risottos and enhances the flavor of grains.
- Variations: Experiment with different herbs or spices, such as rosemary or chili flakes, to add unique flavors to your broth.
- Straining: Use a fine mesh strainer to achieve a clear broth. This step is worth it for presentation and taste.
- Herb Packs: Tie your herbs in cheesecloth for easy removal after cooking. This lets you infuse flavor without having to fish out stems.