Ingredients
Equipment
Method
- 1. Unroll your pie crusts or roll out your homemade pie dough on a floured surface until it’s about 1/8 inch thick. Use a cookie cutter or the lid from a wide-mouth quart-sized jar to cut out circles that are about 3 1/2 inches in diameter. You should get around 12 disks total. If you’re using homemade dough, don’t worry if you have scraps; simply re-roll them to create more disks.
- 2. Grease a 12-count non-stick muffin pan lightly with cooking spray. Carefully place your dough rounds inside each cup, molding them to fit the shape of the muffin cups. Make sure the edges are secure to hold the filling.
- 3. In a large mixing bowl, combine the pumpkin puree, egg, egg yolk, brown sugar, granulated sugar, pumpkin pie spice, cinnamon, salt, and vanilla extract. Whisk everything together until smooth and well-blended.
- 4. Gradually pour in the evaporated milk, continuing to whisk until the mixture is completely combined. You want a smooth, creamy filling that’s ready to be divided among the crusts.
- 5. Evenly divide the filling between the muffin cups, filling each one almost to the top. It’s okay if they’re filled right up; they’ll rise slightly while baking.
- 6. Preheat your oven to 350°F (175°C) before placing the muffin pan inside. Bake for 30 to 40 minutes or until the tops of the crusts turn golden brown. Keep an eye on them: homemade crusts may take closer to 40 minutes, while store-bought will bake faster.
- 7. Once they’re done, remove the pan from the oven and let the pies cool in the pan for about 10 minutes. This will help them set slightly before you try to remove them.
- 8. Run a knife or a cake release tool around the edges of each pie to help release them from the pan. Carefully transfer the pies to a wire rack and allow them to cool completely to room temperature.
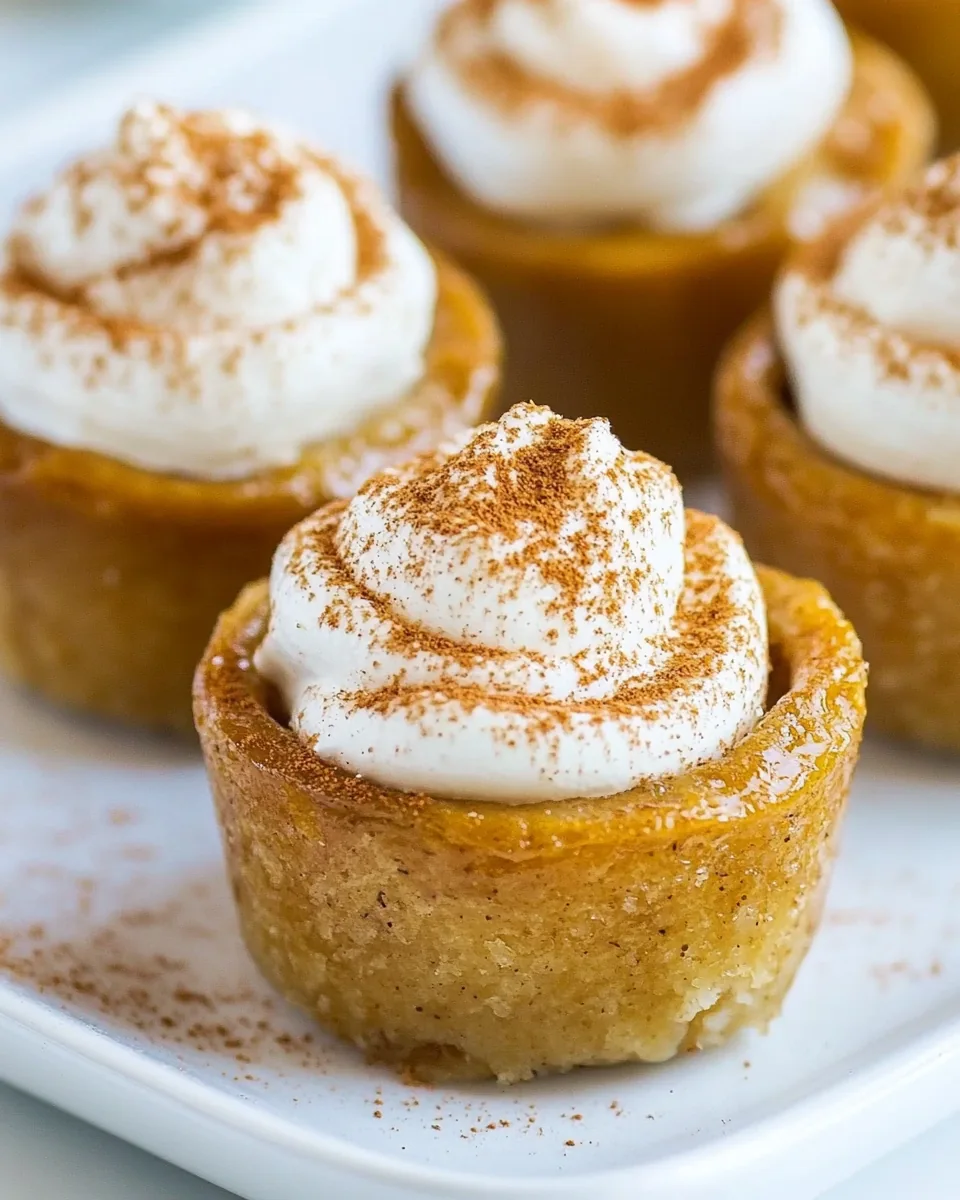
- 9. When they’re cool, you can get creative! Pipe some whipped cream on top and dust with a sprinkle of cinnamon for that extra festive touch. To make the whipped cream, beat the heavy cream for about a minute until soft peaks form, then add the granulated sugar and the vanilla extract. Beat again until it’s nice and pipeable, but don’t overbeat it!
- 10. Serve your delicious Mini Pumpkin Pies and watch them disappear! You’ll love sharing this seasonal treat with family and friends.
Notes
If you have any leftovers, store them in an airtight container in the fridge for up to 3 days. Yes, you can freeze these mini pies! Simply wrap them tightly in plastic wrap and store in the freezer for up to 2 months. When ready to eat, thaw them in the fridge overnight.