Preheat your oven to 350ºF. It’s important to have the oven ready so the crisp bakes evenly. You’ll notice that as it heats up, your kitchen will start smelling amazing!
In a 9-by-13-inch baking dish, add the berries, arrowroot starch, maple syrup, and vanilla. Stir well to coat the berries evenly. You want every berry to be enveloped in that sweet, vanilla goodness.
To prepare the crumble, add the pecans to a food processor fitted with an S-blade. Process briefly until they have a coarse, crumbly texture. This adds a fantastic crunch to the topping.
Add in the coconut, maple syrup, coconut oil, and salt to the processor, and process again until the mixture looks uniform. Be careful not to overblend; you don’t want it to become too greasy.
Once your topping is ready, sprinkle it generously over the berry mixture. Make sure to cover all the berries for that perfect combination of fruit and crunch in each bite.
Place your baking dish in the oven and bake at 350ºF until the topping looks lightly golden and the fruit is tender, about 40 minutes. Keep an eye out for those golden edges!
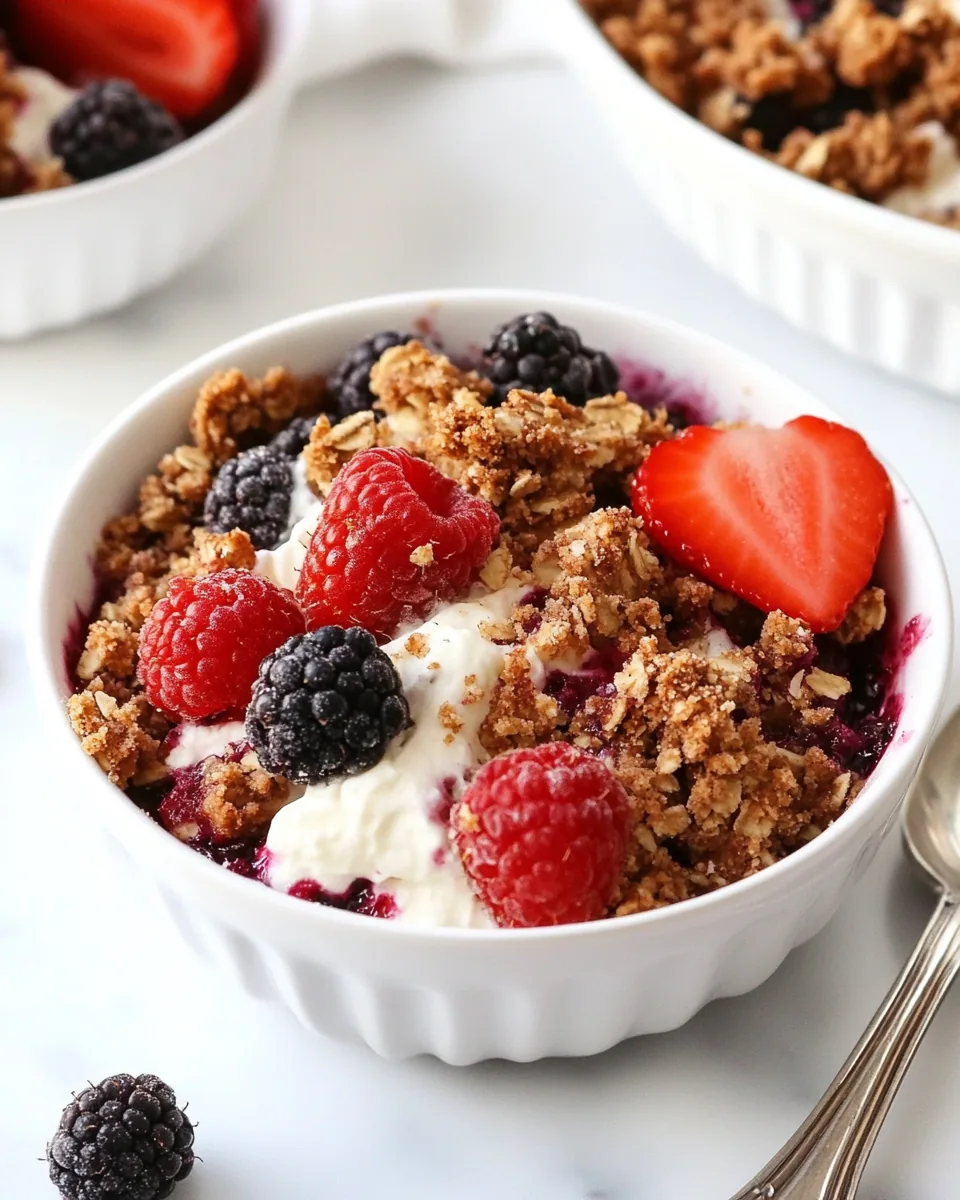
After baking, let the crisp cool for about 10 minutes. This allows the flavors to settle, and it’s the perfect time to prepare your favorite toppings, like coconut cream or dairy-free ice cream.
Serve warm and enjoy the delightful flavors of summer in every bite. You can’t go wrong with this combination!