Preheat your oven to 350°F (180°C). Prepare a 13x9-inch baking dish by spraying it with baking spray that contains flour. This ensures that your cake will come out easily once baked.
In the bowl of a stand mixer fitted with the paddle attachment, beat unsalted butter, granulated sugar, and lime zest at medium speed until fluffy, which should take about 3 to 4 minutes. Remember to stop and scrape down the sides of the bowl to ensure everything is mixed well.
Once fluffy, add the egg yolks one at a time, making sure to beat well after each addition. This step is crucial for emulsifying the mixture, giving your cake that rich texture.
Now, beat in the vanilla extract and coconut extract, creating a beautifully flavored batter that smells divine.
In a separate medium bowl, combine the cake flour, baking powder, kosher salt, and baking soda. This mixture will help give your cake the right texture.
In another small bowl, combine the coconut milk and lime juice. This will add moisture and flavor to the cake.
With the mixer on low speed, gradually add the flour mixture to the butter mixture, alternating with the coconut milk mixture. Start and end with the flour mixture to achieve the best results. Beat just until combined after each addition; overmixing can lead to a dense cake.
Transfer the batter into a large bowl. Clean the stand mixer bowl and switch to the whisk attachment. Beat the egg whites at high speed just until stiff peaks form. This means the egg whites should be glossy and hold their shape firmly when you lift the whisk.
Gently fold the beaten egg whites into the batter in three additions. The goal is to maintain as much air in the mixture as possible, creating a light and fluffy cake.
Pour the batter into the prepared baking pan, smoothing the top with a spatula if necessary. Place it in the oven and bake for about 30 minutes, or until a wooden pick inserted in the center comes out clean. The cake should be lightly golden on top.
Allow the cake to cool completely in the pan on a wire rack. Once cooled, transfer it to a large cutting board.
Using a long serrated knife, level the cake to about 1 inch tall. This will create a flat surface for easy layering. With one long side closest to you, cut the cake into 2 (8¼x6-inch) rectangles.
Spread a layer of strawberry preserves onto one rectangle, and then top it with the remaining rectangle to create a sandwich of cake and preserves.
Gently cut the layered cake into 12 (2-inch) squares. This is where the fun begins!
Place a wire rack on a rimmed baking sheet and arrange the cake squares about 1 to 2 inches apart on the rack. Freeze until firm, which should take about 45 minutes to 1 hour. This step helps the glaze stick better.
While the cake squares are freezing, prepare the strawberry glaze in a tall, narrow container. This will make dipping easier. When the cake squares are firm, take them out of the freezer.
Using a wooden skewer, pick up each cake square and dip it into the glaze until fully covered. Allow the excess glaze to drip back into the container. Return each dipped square to the wire rack and let them stand until completely set, which should take about 30 minutes.
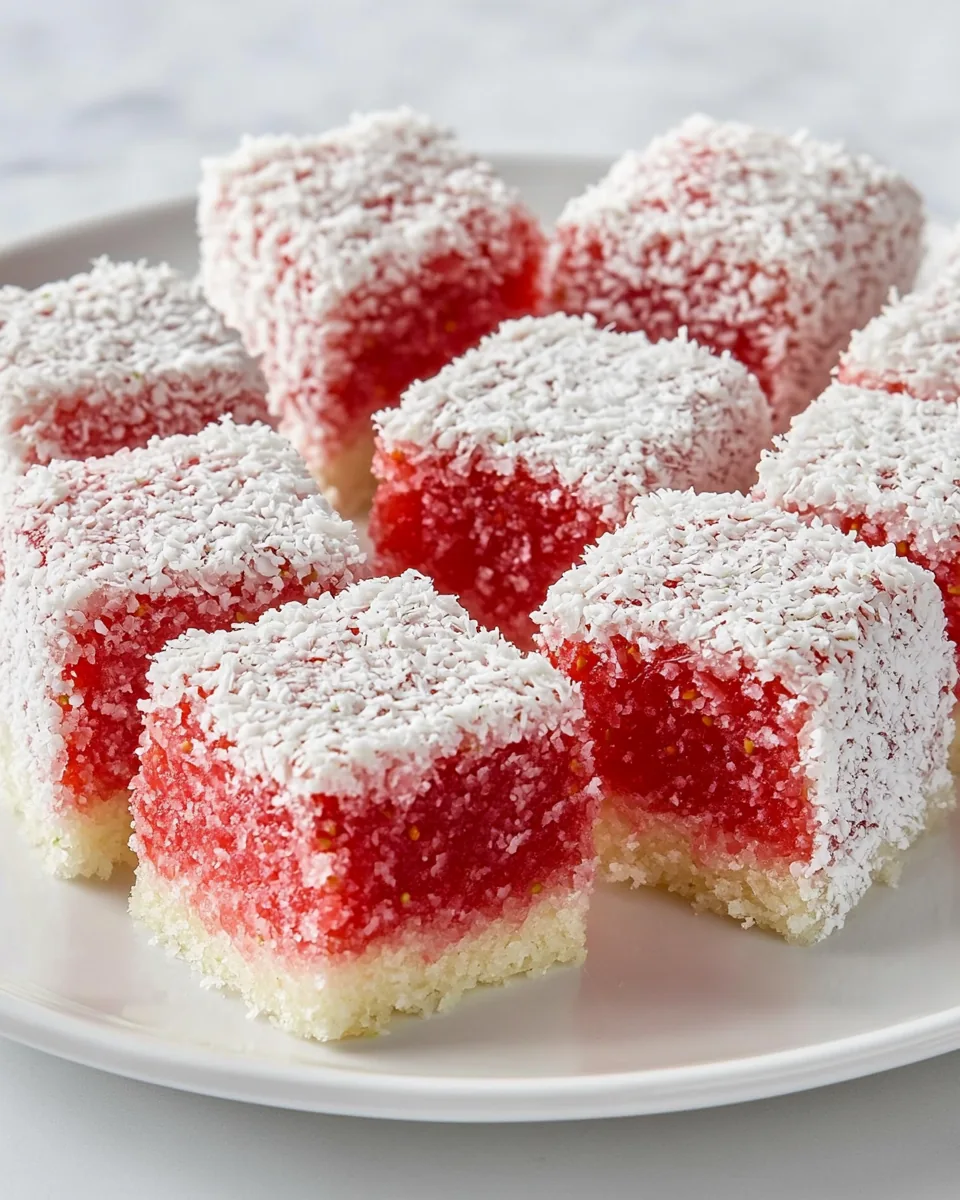
Finally, pour the flaked coconut onto a small baking sheet. Use a spatula or wooden skewer to roll each cake square in the coconut, coating them thoroughly. Place the finished lamingtons on your desired serving dish.
Let the lamingtons come to room temperature for about 1 to 2 hours before serving. You can refrigerate them in an airtight container for up to 3 days, but they’re best enjoyed fresh!