Start by gathering your ingredients. In a medium saucepan, combine milk, heavy cream, granulated sugar, and kosher salt. Heat this mixture over medium heat until it begins to simmer. Ensure you stir gently to prevent the bottom from scorching. This is where the magic begins, with the sweet aroma filling your kitchen!
Once the mixture is simmering, stir in the small pearl tapioca. Lower the heat to low and cook while stirring often. You’ll notice the tapioca pearls begin to plump and soften, which should take around 45 minutes. Keep an eye on the consistency; it should slightly thicken as you stir.
While the tapioca is cooking, crack the eggs into a bowl and whisk until smooth. It’s important to prepare them properly for the next step. Once the tapioca mixture is cooked and slightly thickened, take a ladle of this warm mixture and gradually add it to the beaten eggs. This technique helps temper the eggs, preventing them from scrambling when they are added back to the saucepan.
Repeat the tempering process, adding a few more spoonfuls of hot tapioca mixture to the eggs before incorporating the entire mixture back into the saucepan. Stir well to combine everything. This is where the pudding slowly transforms into its final creamy form!
Continue cooking the combined mixture for an additional 2 to 5 minutes, stirring constantly. You want it to thicken further, keeping in mind that it will thicken even more as it cools. The goal is a luscious, velvety pudding that will make your taste buds dance!
After you’ve reached the desired thickness, remove the saucepan from heat and stir in the vanilla extract. This final step brings that wonderful depth of flavor to your pudding. I can already smell its inviting aroma!
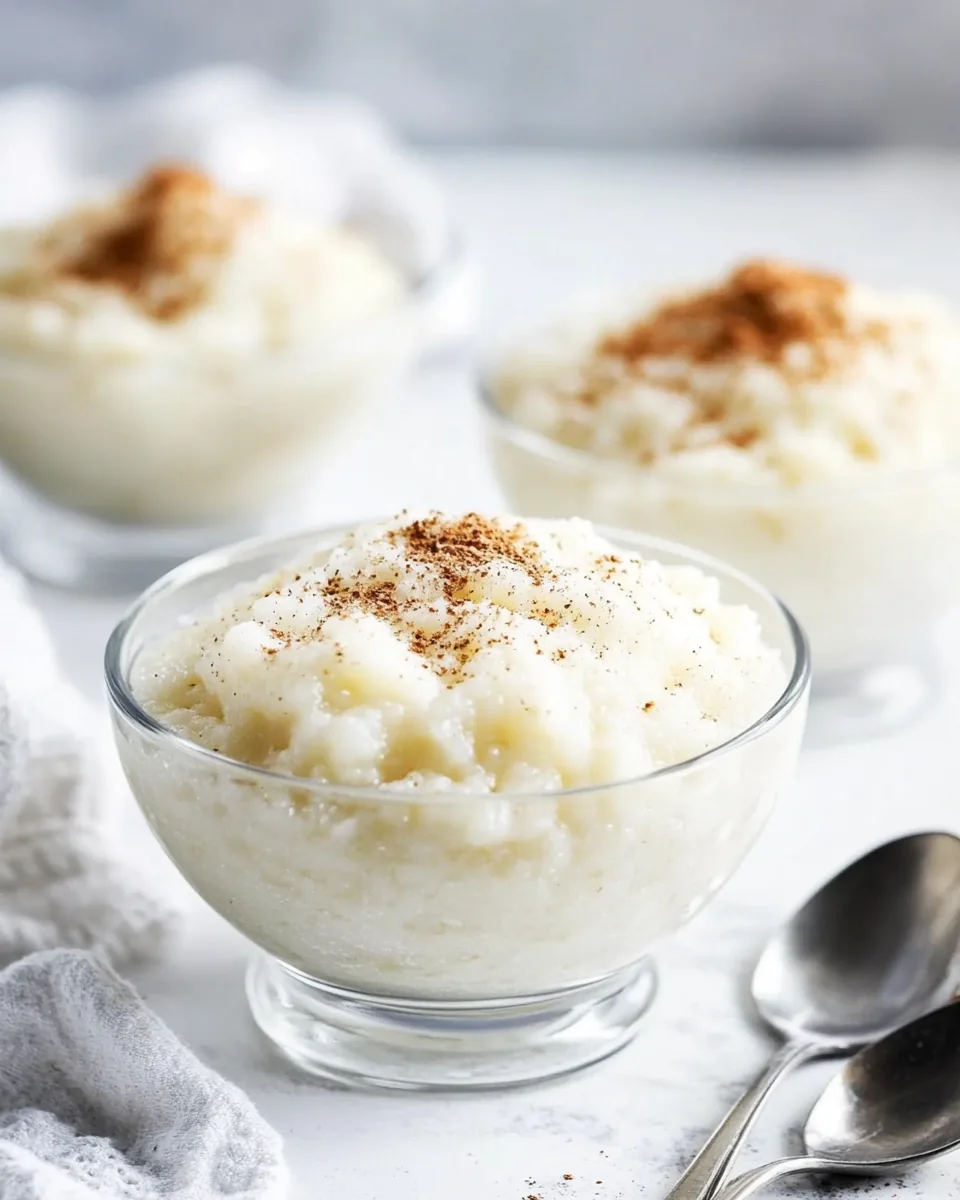
Transfer the pudding into a serving bowl. To avoid forming a rubbery skin on top as it cools, place a piece of plastic wrap directly against the surface of the pudding. Now comes the hard part: allowing it to cool before serving.
Once cooled, you can serve your Tapioca Pudding warm or chilled, depending on your preference. I love it chilled during the hot summer months, perhaps topped with some fresh fruit or a dollop of whipped cream!